Author: Jason

  • Siphox Health Review

    Siphox Health Review

    If you’ve been following along for a bit, you might remember that January is one of the months that I always do bloodwork to track the impact of the various health related experiments I do over the year. This month, in addition to my normal work done by InsideTracker, I also tested out a new system from Siphox Health.  Read on for my Siphox Health Review and to see how it compares to using InsideTracker.

    Why Siphox?

    So why did I decide to give Siphox a try?  If you’ve read my review of InsideTracker, you know that I’ve been mostly satisfied and have been using this product for years.  That being said, InsideTracker is fairly expensive.  Because of this, I usually only test twice a year.  With the frequency of experiments that I do, it would be useful to be able to test far more often.  InsideTracker also requires you to go for a full blood draw for each test.

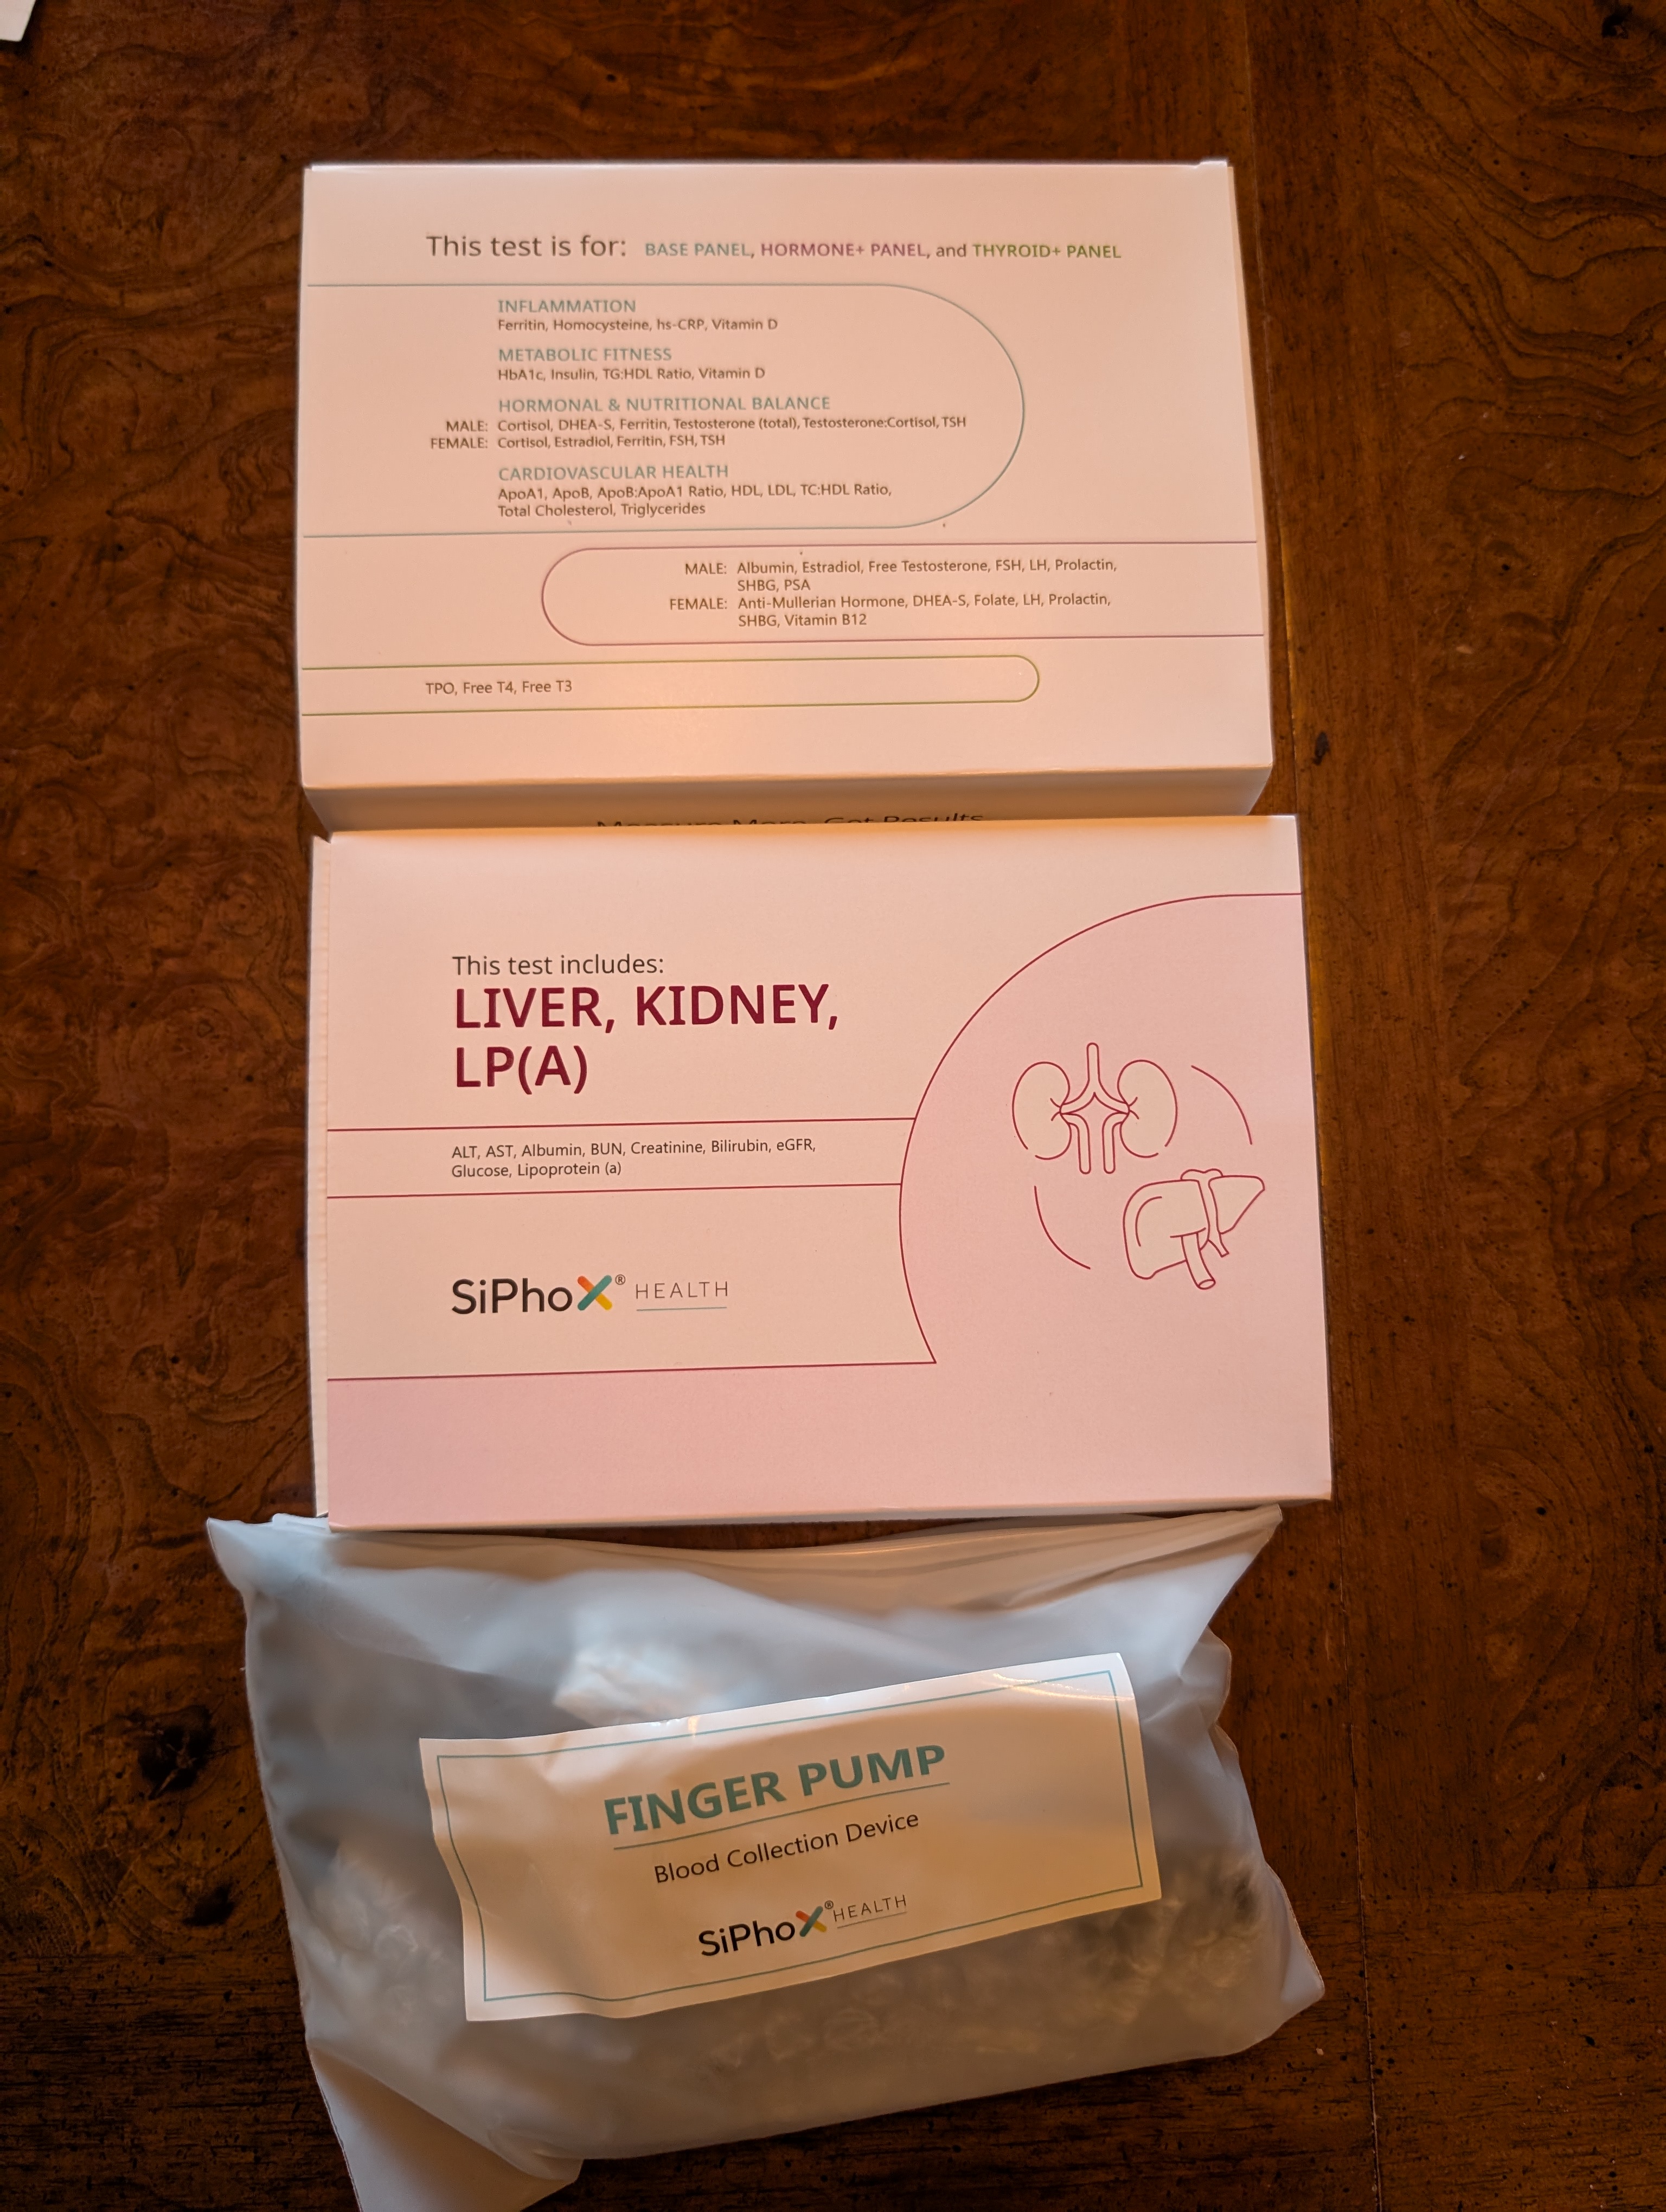
    Siphox’s mission statement is what caught my attention sometime last year: By leveraging silicon photonic biosensors, lower the cost of at-home health testing by 100x and provide results instantly.  Siphox’s system is unique because in theory, you can do everything from home. Instead of a traditional blood draw, it relies on blood spots from a finger prick. The provided special cards are designed to separate whole blood from serum.

    Siphox vs. Insidetracker Comparison

    So how does Siphox compare in practice?  I broke down my comparison into four sections.

    The Platform

    At the time of this writing, Siphox is exclusively a web app.  InsideTracker has both a web and mobile app, with mostly comparable functionality.  Both products provide an ‘action plan’ based on your results, but InsideTracker’s seems far more extensive.  One of the great things about InsideTracker’s mobile support is the regularly provided notifications about new things added to your action plan.

    Both platforms allow you to hookup wearables to supplement your biomarker information.  Siphox supports more wearables and having multiple connected simultaneously.  This is one area that always annoyed me about InsideTracker.  The wearable I use to track activity is not my preferred wearable for tracking sleep, so being able to support both at the same time would be fantastic.  This being said, Siphox seems to only look at the wearable data around when you take the test (and it’s not clear where it’s pulling some of this data from).  InsideTracker regularly looks at (and monitors) your wearable data and provides actionable results.

    Both platforms present your results initially in categories.  The both allow you to search or list individual biomarkers.  Siphox lets you set the ‘optimized’ range to biohacker mode which is more stringent than the normal mode.

    InsideTracker has an early AskAI feature.  I haven’t used this extensively, but it’s something that Siphox does not have yet.

    The Procedure

    Current Routine

    The procedure for obtaining results was what really drew me in to try Siphox.  My current InsideTracker routine requires me to wake up, hop in the car and drive in rush hour traffic to my nearest Quest lab location.  Then I need to fill up several vials of blood (and this number seems to go up each time InsideTracker adds additional biomarkers that they test).

    An Easier Routine

    The thought of waking up, walking downstairs and doing a few finger pricks, scheduling a FedEx pickup and then going on with my day is very appealing.  The reality though, was that it was definitely not this easy.  To test all the biomarkers that I wanted, I had to take several different classes of tests.  A test that only required filling up one card with blood was easy enough, but completing multiple on one day did not work out for me.  I had to use multiple lancets in almost all of my fingers in order to get close to enough blood.

    Worse still was the fact that my blood must coagulate fairly quickly.  It was extremely difficult for me to collect enough blood for one or two spots before I would stop bleeding.  This meant that it took a very long time to do all of these tests compared to the relatively quick blood draw at Quest.  Even more problematic, the design of the Siphox cards penalizes you if you cannot collect the blood spots quickly.  As the blood dries on the cards, additional drops cannot make it through and get separated into the whole blood and serum.  Because of this problem, the first multi test that I took failed and was unreadable.

    The EasyDraw Routine

    I explained these issues to Siphox and they sent me another test with an innovative product to combat this.  Siphox has an EasyDraw device which you painlessly attach to your upper arm (like a CGM).  This creates a vacuum and pumps blood into a vial that you then send back to Siphox bypassing the cards.  EasyDraw costs an additional $20 per test and for some reason ends up testing slightly different biomarkers than the card based tests do.  EasyDraw seems like a requirement for me to use Siphox.  The one drawback of using EasyDraw was that it is difficult to see the fill line on the device when it is attached to your arm.

    After my initial experience, I updated all possible tests to be EasyDraw.  Unfortunately, one of the tests requires two separate EasyDraws and one of them failed.  I tried collecting twice as much blood using a single EasyDraw but this also did not work.

    The Results

    The package that I tested from Siphox covered 35 biomarkers.  InsideTracker covers 47.  Many of the main ones that I’m interested in are covered in both but Siphox had one notable missing one… Insulin.  Also, for someone who specifically is actively testing blood iron implications, I was surprised to see that the only thing relevant tracked by Siphox is Ferritin.  Siphox had 3 biomarkers that I wish InsideTracker did – Free T4, Free T3 and Homocysteine.  It also had several biomarkers that better show kidney function that could come in handy.

    In terms of how the results compared,  I actually received my results in the InsideTracker app far faster than I did in Siphox.  This comparison is even more noticeable if you include the raw results from Quest as the results usually don’t show up in InsideTracker for a few days after the results start to trickle in from Quest.

    I really intended to do an accurate side by side comparison of all of the biomarkers covered by both platforms.  Unfortunately, because of all the issues with taking the tests that ultimately could not be processed by Siphox, only one of the tests were taken at exactly the same time.  This successful test included my kidney (which InsideTracker didn’t test) and liver function.  Albumin was comparable between both tests, but all other liver enzymes were significantly higher as tested by Siphox.  Additionally, Siphox reported my fasting glucose as being 10 mg/dL lower than InsideTracker.

    The Cost

    In terms of cost, at this point in time, Siphox is definitely not cheaper at the frequency that I do testing.  The program that I am on would cost at least $828 a year.  It would actually be significantly more than this because of the requirement to upgrade to the EasyDraw option for several of the tests at $20 for each one.  InsideTracker currently costs me less than $761 per year.  If I tested twice as often, InsideTracker would cost me another $578 for a total cost of $1331 per year.  Siphox is slightly more expensive at $1412 per year total (pre EasyDraw upgrade).

    Siphox Health Review

    At the time of this writing and with InsideTracker’s recent price decreases, Siphox isn’t really compelling from a cost perspective.  The issues with the collection procedure makes it more painful for me than InsideTracker.  The turnaround time to results is also significantly slower.  Being unable to compare more results side by side, I still have open questions about the accuracy of Siphox’s process.

    For me, Siphox would probably need to be half of its current cost in order for me to even begin to consider switching from InsideTracker.   I will likely give Siphox another try in the future to see if the collection procedures have improved and hope that I can do a more accurate results comparison.  If accuracy is comparable between those results and InsideTracker, I will consider using Siphox to supplemently test the biomarkers that InsideTracker doesn’t currently track.  Have you used Siphox? What was your experience? Let me know in the comments.
  • How to Be Productive

    How to Be Productive

    In today’s fast-paced world, being productive is crucial for achieving success in both personal and professional life. With numerous tasks competing for our attention, it’s easy to get bogged down and lose focus. However, by implementing a few simple yet effective strategies, you can significantly boost your productivity and accomplish more in less time.

    How to Be Productive: Strategies for Achieving More in Less Time

    Set Clear Goals

    The first step towards increasing productivity is to set clear and specific goals. What do you want to achieve? What are your priorities? I used to use SMART (specific, measurable, achievable, relevant, and time-bound) goals for this.  I’ve since moved to using OKRs.  I find OKRs simpler because they really just consist of two things: an Objective and Key Results.  The Objective is why you’re doing the task in the first place.  Key Results are how you plan to measure that your Objective is being met.

    No matter how you decide to define your goals, you will likely need to break them down into smaller, manageable tasks. This will help you stay focused and directed, ensuring that you’re making progress towards your goals.

    Create a Schedule

    A well-planned schedule is essential for maximizing productivity. Allocate specific time slots for each task, taking into account your energy levels and concentration. Be realistic about how long each task will take, and leave some buffer time for unexpected interruptions. Use a system to stay organized and on track.

    Prioritize Tasks

    Not all tasks are created equal. Identify the most critical tasks that align with your goals and tackle them first. At a minimum, use the Eisenhower Matrix to categorize tasks into:

    • Urgent and important (Do first)
    • Important but not urgent (Schedule)
    • Urgent but not important (Delegate, if Possible)
    • Not urgent or important (Eliminate)

    Minimize Distractions

    Distractions are a major productivity killer. Identify common distractions such as social media, email notifications, or chatty coworkers, and avoid them while you work.

    Implement these strategies to stay on track:

    • Turn off notifications for non-essential apps; Use other ‘Do Not Disturb’ settings.
    • Limit social media and email checks.  Use website blockers if your own will power is not strong enough.
    • Create a quiet, comfortable workspace
    • Schedule breaks to recharge and avoid burnout

    Use the Pomodoro Technique

    Personally, I often use the Pomodoro Technique.  This involves working in focused 25-minute increments, followed by a 5-minute break. After four cycles, take a longer break of 15-30 minutes. This helps you both stay focused and avoid burnout by scheduling regular breaks to recharge.

    Leverage Technology

    Even though technology can be a curse when it comes to productivity, proper use, can be a blessing. Utilize tools like project management software, browser extensions, or mobile apps to streamline tasks, automate repetitive processes, and enhance organization.  You may need to explore various tools to find what works best for you.

    Review and Adjust

    Regularly evaluate your progress toward your goals, adjusting your approach as needed. Celebrate accomplishments and identify areas for improvement.  Create new tasks when discovering gaps in the initial breakdown of the goal.

    Take Care of Yourself

    Finally, don’t forget to take care of your physical and mental well-being. Regular exercise, healthy eating habits, and adequate sleep are essential for maintaining energy levels and cognitive function. Incorporate meditation or practice deep breathing exercises to reduce stress when you’re not in your ‘focused’ time increments.

    Develop a Morning Routine

    Even if you don’t take time for yourself throughout the day, starting it with a positive ritual sets the tone for productivity. Incorporate activities that boost energy and motivation, such as:

    1. Exercise or meditation
    2. Journaling or goal-setting
    3. Reading or learning something new

    My Technique

    My personal productivity technique is highly derived from David Allen’s “Getting Things Done: The Art of Stress-Free Productivity“.  I read this book when it first came out and nothing has been more beneficial to my productivity than what arose out of reading this.  I started a system that was paper based as described in the original book, but quickly developed my own iteration using electronic tools. I’ve morphed this system to different tool chains at least 3 major times, but continue to use the same basic principles with some added enhancements of my own.

    The Five Steps of Getting Things Done

    The Getting Things Done (GTD) methodology is a comprehensive system for managing tasks, projects, and goals. The five core steps of GTD are:

    • Capture: Collect and gather all tasks, ideas, and projects in a centralized system. This can be a notebook, digital tool, or app. The goal is to get everything out of your head and into a trusted system.  Getting things out of your head really minimizes the ‘stress’ of potentially forgetting something.
    • Clarify: Process and organize the captured information into actionable tasks. Break down large projects into smaller, manageable steps. Identify the desired outcome and the next action required to move forward.
    • Organize: Categorize and prioritize tasks based on context, project, and priority. Use lists, tags, and folders to create a structured system that makes sense to you.
    • Reflect: Regularly review and update your system to ensure it remains current and accurate. This step helps you stay on track, adjust priorities, and make informed decisions.
    • Engage: Take action on the tasks and projects outlined in your system. Focus on the next step required to move forward, and trust that your system will guide you through the process.

    How to Be Productive with GTD

    Here is how I implement GTD in my daily life.  Currently I use Trello as my entry point into my ‘Capture’ system.

    Boards

    I have boards setup in Trello for each of the major project areas in my life.  Some examples include: House, Garden and a separate board for each organization that I do work for.  Each board at the bare minimum has buckets for: TODO, In Progress, Done.  Many of the organization boards have additional buckets based on the workflow in that organization.

    Cards

    I have special cards on each board that represent my OKRs.  Every other card is a task that needs to be done.   I use the Google drive and calendar integrations to connect cards to my schedule and to any supporting documentation that I may want to be able to refer to.  When I complete a Card, I’ll move it to the ‘Done’ bucket and archive it.  Archiving it allows me to exclude it from searches and get it out of ‘My Cards’ view without losing all the historical information related to it.

    Checklists

    I use Trello Checklists to relate any task card back to an OKR.  Ideally each of these task cards are small enough and detailed enough to be actionable.  If not, they can be broken down further using additional checklists and the parent card can be designated as a ‘blocker’.   Often if more information is needed, a task card might just be an ‘investigate something further’ card.  At any point in time, the non-DONE cards on a checklist should be organized so that the GTD ‘next action’ is clear.

    Labels

    I use Trello Labels to denote cards that are ‘blockers’.  When this is done, I know that more work needs to be done before I can go onto the next priority  I also use Trello Labels to identify cards that require special equipment (in front of a computer, use of a phone, something that can be done while walking) or to be in a special location (at the grocery store, at a hardware store, etc.).  I’ve then trained myself to check ‘in progress’ items in Trello whenever I’m in one of these states where I can complete these ‘special’ items.

    Review My Cards

    I use the ‘My Cards’ functionality of Trello as the main entry point into exactly what I’m working on ‘now’.  At a minimum, I review this at the beginning of the week and at the end of each work day.  My first priority is always to get a backlog of items, related to an Objective that has high near term ROI, to the ‘next action’ state.  This usually involves digging into ‘blockers’ that are ‘in progress’ and understanding what’s blocking them.  This results in breaking down existing or creating more Task Cards for investigation and adding them to the appropriate checklists.  Often, checklists will need to be reprioritized as part of this review process.

    Common GTD Mistakes to Avoid

    No matter what system you use to practice GTD, be aware of these common pitfalls:

    • Over-Organizing: Avoid creating too many lists, tags, and folders. Only make your system as complicated as necessary to work for you.
    • Under-Reviewing: Regular review sessions are crucial to maintaining a healthy GTD system. Schedule time to update and adjust your system regularly.
    • Not Capturing Everything: Make sure to capture all tasks, ideas, and projects in your system. This helps you stay on top of your work and avoid mental clutter.  Once my brain realized that I was using my system 100%, I’ve never felt so stress free as an adult.

    How are YOU Productive?

    Productivity is a skill that can be developed with practice, patience, and persistence. By implementing these strategies, you’ll be better equipped to manage your time, prioritize tasks, and achieve your goals. Remember to stay flexible and adapt to changing circumstances, and don’t be too hard on yourself when faced with setbacks. With time and effort, you’ll master the art of productivity and unlock your full potential.  What are your favorite productivity tips and tricks? Share them in the comments below!

  • Improving Indoor Air Quality

    Improving Indoor Air Quality

     Improving Indoor Air Quality: A Step-by-Step Guide

    Winter is coming!  I’ve been insulating and sealing everything in my home as a way to reduce heating/cooling costs.  Due to this, less fresh air is now actively being pulled into my house.  Because of this, I’ve been thinking a lot more about making sure the air inside is as pristine as possible. Read on for my journey in improving indoor air quality.

    Why Does Indoor Air Quality Matter

    As modern humans we spend more and more time indoors.  This means we cannot overstate the importance of maintaining good indoor air quality (IAQ).  The air we breathe indoors can have a significant impact on our health, cognitive performance, and overall well-being.

    Poor IAQ can lead to a range of health problems.  These can range from mild symptoms like headaches and fatigue to more severe conditions like respiratory diseases and cancer. According to the World Health Organization (WHO), more than 3 million people die every year due to indoor air pollution.  While the majority of these deaths occur in developing countries where indoor burning of solid fuels like wood, coal, and dung is common, I’ll focus more on the types of dangers that occur in modern homes.

    While these modern dangers might not lead to outright death, poor IAQ can exacerbate long term health conditions.  Even more so for those of us who currently work from home, poor IAQ can affect our cognitive performance and productivity.  Studies have shown that reduced classroom air quality can cause a reduction in cognitive performance of pupils, and that good indoor air quality and thermal comfort are prerequisites for human health and well-being.

    Establish a Baseline

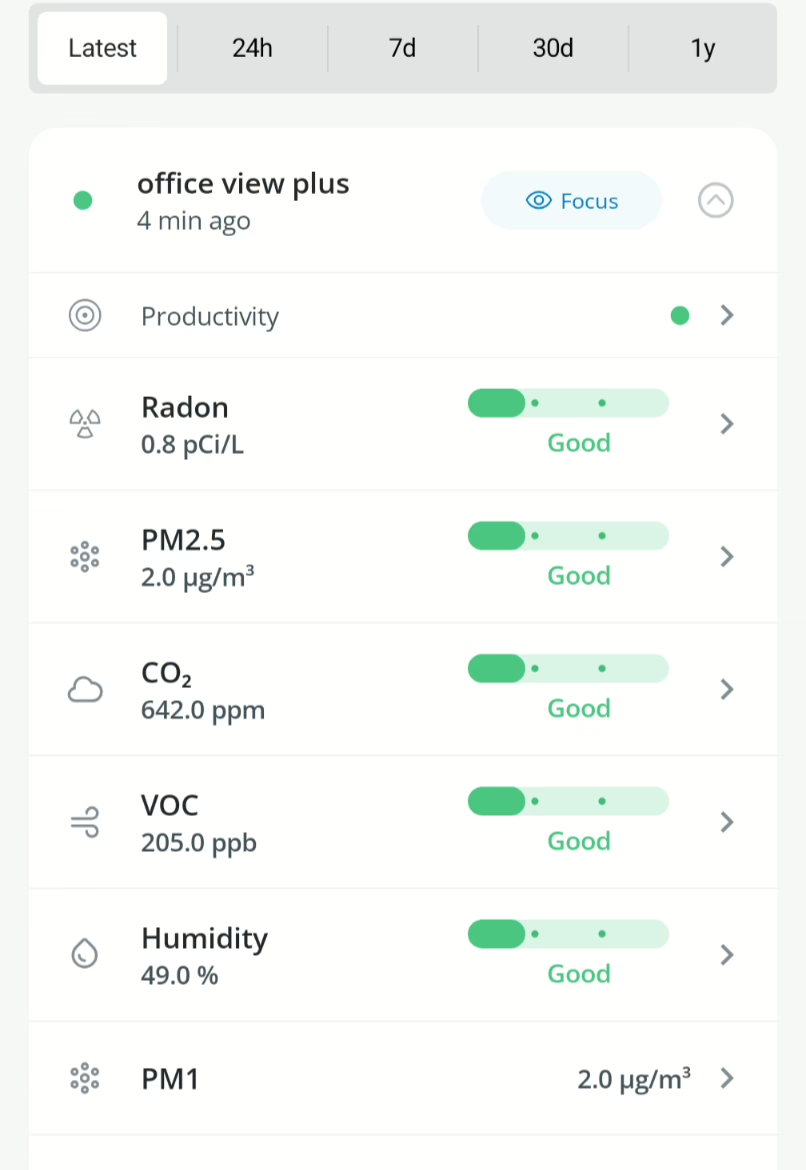
    The first step in improving indoor air quality is to test the air in your home or office.  There are several ways to do this.  You could get hire a professional for a snapshot in time measurement, but I’ve seen radical changes in IAQ throughout the day.  Because of this, I wanted a permanent way to constantly monitor my indoor air quality.  My earliest experiments with this involved home made devices with simple sensors.  I’ve since settled on integrating AirThings products into my smart home system.

    What Impacts Indoor Air Quality

    Indoor air pollution can come from a variety of sources, including building materials, household products, and outdoor pollutants that infiltrate the indoor environment. According to the US Environmental Protection Agency (EPA), certain immediate effects of indoor air pollution are similar to those from colds or other viral diseases, making it difficult to determine if the symptoms are a result of exposure to indoor air pollution.

    Common Indoor Air Pollutants

    Some common indoor air pollutants include:

    • Volatile Organic Compounds (VOCs): VOCs are chemicals that evaporate easily.  They can be found in household products, such as cleaning supplies, paints, and adhesives. Things like furniture, carpets, and building materials can also emit VOCs. VOCs can cause eye, nose, and throat irritation, as well as headaches and nausea.
    • Particulate Matter (PM): PM refers to small particles that can be suspended in the air.  This includes dust, pollen, and other airborne particles. High levels of PM can exacerbate respiratory issues like asthma.  Cooking, smoking, and outdoor pollution also emits PM.
    • Carbon Monoxide (CO): CO is a colorless, odorless gas.  Fuel-burning appliances, such as furnaces, water heaters, and generators can emit CO. CO can cause headaches, dizziness, and nausea, and high levels can be fatal.
    • Nitrogen Dioxide (NO2): NO2 is a gas.  Fuel-burning appliances can emit NO2 but it often arises from outdoor pollution. NO2 can cause respiratory problems, such as coughing and wheezing, and can also exacerbate existing conditions like asthma.
    • Radon: Radon is a radioactive gas that can accumulate in buildings, particularly in basements and crawl spaces. Radon can increase the risk of lung cancer and is the second leading cause of lung cancer in the United States.
    • Mold and Mildew: Mold and mildew can grow in damp environments, such as bathrooms and basements, and can emit spores that can cause allergic reactions and respiratory problems.
    • Pesticides and Insecticides: Pesticides and insecticides used in the home to control pests  can also emit toxic chemicals that can cause health problems.
    • Asbestos: Asbestos is a mineral that was commonly used in building materials, such as insulation and flooring, until the 1970s. Asbestos can cause lung cancer and mesothelioma, a rare form of cancer.
    • Carbon Dioxide (CO2): High levels of CO2 can lead to increased heart rate and blood pressure.  This can exacerbate existing respiratory issues.  By decreasing blood oxygen levels, elevated CO2 has also been shown to cause headaches, fatigue and drowsiness.  Studies have shown high levels can reduce productivity by up to 10%.

    Improving Indoor Air Quality

    Once you have tested your IAQ, depending on what is out of optimal range, you can take steps to improve it.  The AirThings monitoring system that I’ve put together monitors many of these things, but not 100%.  I’ve determined that Asbestos isn’t something that I’m extremely concerned about in my home, so don’t currently monitor that.  For CO monitoring, I’ve been using Nest products.  I haven’t really found a good product for Mold/Mildew outside of keeping the overall humidity in my home low.  I currently have not done enough research on indoor pesticide/insecticides (I tend to just avoid using these in general) and NO2.

    Mitigation Strategies

    There isn’t usually a one size fits all strategy for combating poor IAQ, but depending on what’s problematic, you can consider:

    • Increase ventilation: One of the simplest ways to improve IAQ is to increase ventilation. This can be as simple as opening a window or using a whole-house fan.  Obviously, this goes against the whole thing that started me down this path, but it’s still one of the most effective ways to clean up your air.  I setup my smart thermostats to cycle my fan for 10 minutes every hour just to bring fresh air into the house.  I recently started researching Energy Recovery Ventilation (ERV) systems.  The next time I need to do more invasive work with my HVAC system, I’m seriously considering installing a full blown ERV setup.
    • Maintain your HVAC system: Regularly maintain your heating, ventilation, and air conditioning (HVAC) system to ensure it is working properly and not emitting pollutants.  If your HVAC system incorporates filters, regularly clean/change them.
    • Use an air purifier: One of the next easiest ways to improve IAQ is by purchasing an air purifier.  Air purifiers can help remove many pollutants from the air. Look for a purifier that is specifically designed to remove the types of pollutants you are concerned about.  I became an early adopter of the AirThings Renew purifier.  In my testing, it’s been very effective.  The key with any air purifier is to properly maintain it by cleaning/replacing the filters as needed.
    • Reduce VOCs: Some air purifiers can take care of VOCs, but it’s overall best to just try to avoid them.  A wide range of products, including paints, adhesives, and cleaning products can emit VOCs.  You can avoid VOCs by choosing products that are labeled as “low-VOC” or “VOC-free.”  In general, opting to use non-toxic products will benefit you in more ways than just improving your IAQ.
    • Mitigate sources of pollution: If you have identified a source of pollution in your home or office, such as a gas stove or a moldy bathroom, take steps to remove or mitigate it.  By modifying sources of indoor combustion, you can improve ventilation and reduce what is emitted into the living space.
    • Use plants: This has been one of my favorite ways of cleaning up my IAQ.  Years ago, I read the results of a NASA indoor clean air study that involved several common plants.  Plants are great for mitigating high CO2 levels, but this study found that some were great at removing VOCs and PM as well.  English Ivy has been one of my favorites (just because I have an outdoor abundance of it), but peace lilies have been a close second because of how easy they are to propagate.  Since I’ve recently been focusing on improving CO2 levels in my workspace, I’ve been using snake plants and bird’s nest fern.  An interesting thing that I learned is that many plants actually emit CO2 at night.  This makes them not very good for fixing elevated CO2 levels in the bedroom.  Most succulents do not do this though, so you might want to consider adding a few of those to your bedroom.
    • Use a dehumidifier: High humidity can contribute to mold and mildew growth.  Using a dehumidifier can help keep the indoor air dry and healthy.
    • Install Radon Mitigation:  If testing has shown consistently high radon levels, contact a professional to install a proper mitigation system.  I recently had this done and can discuss the process in more detail for anyone interested.

    Outcome

    Indoor air quality is a critical aspect of our daily lives, and its importance cannot be overstated. Poor indoor air quality can lead to a range of health problems.  It can affect our cognitive performance and productivity, and have a significant impact on our overall well-being.  We can easily understand the sources of indoor air pollution.  Once knowing this, we can take steps to improve indoor air quality.  Ultimately, we can create healthier and more comfortable living and working spaces.  Who’s already taken steps to monitor and improve their IAQ?  I’m interested in hearing about your solutions (Comment or find me on your favorite social platform).

  • Training the Inspiratory Muscles: A Review of the O2Trainer

    Training the Inspiratory Muscles: A Review of the O2Trainer

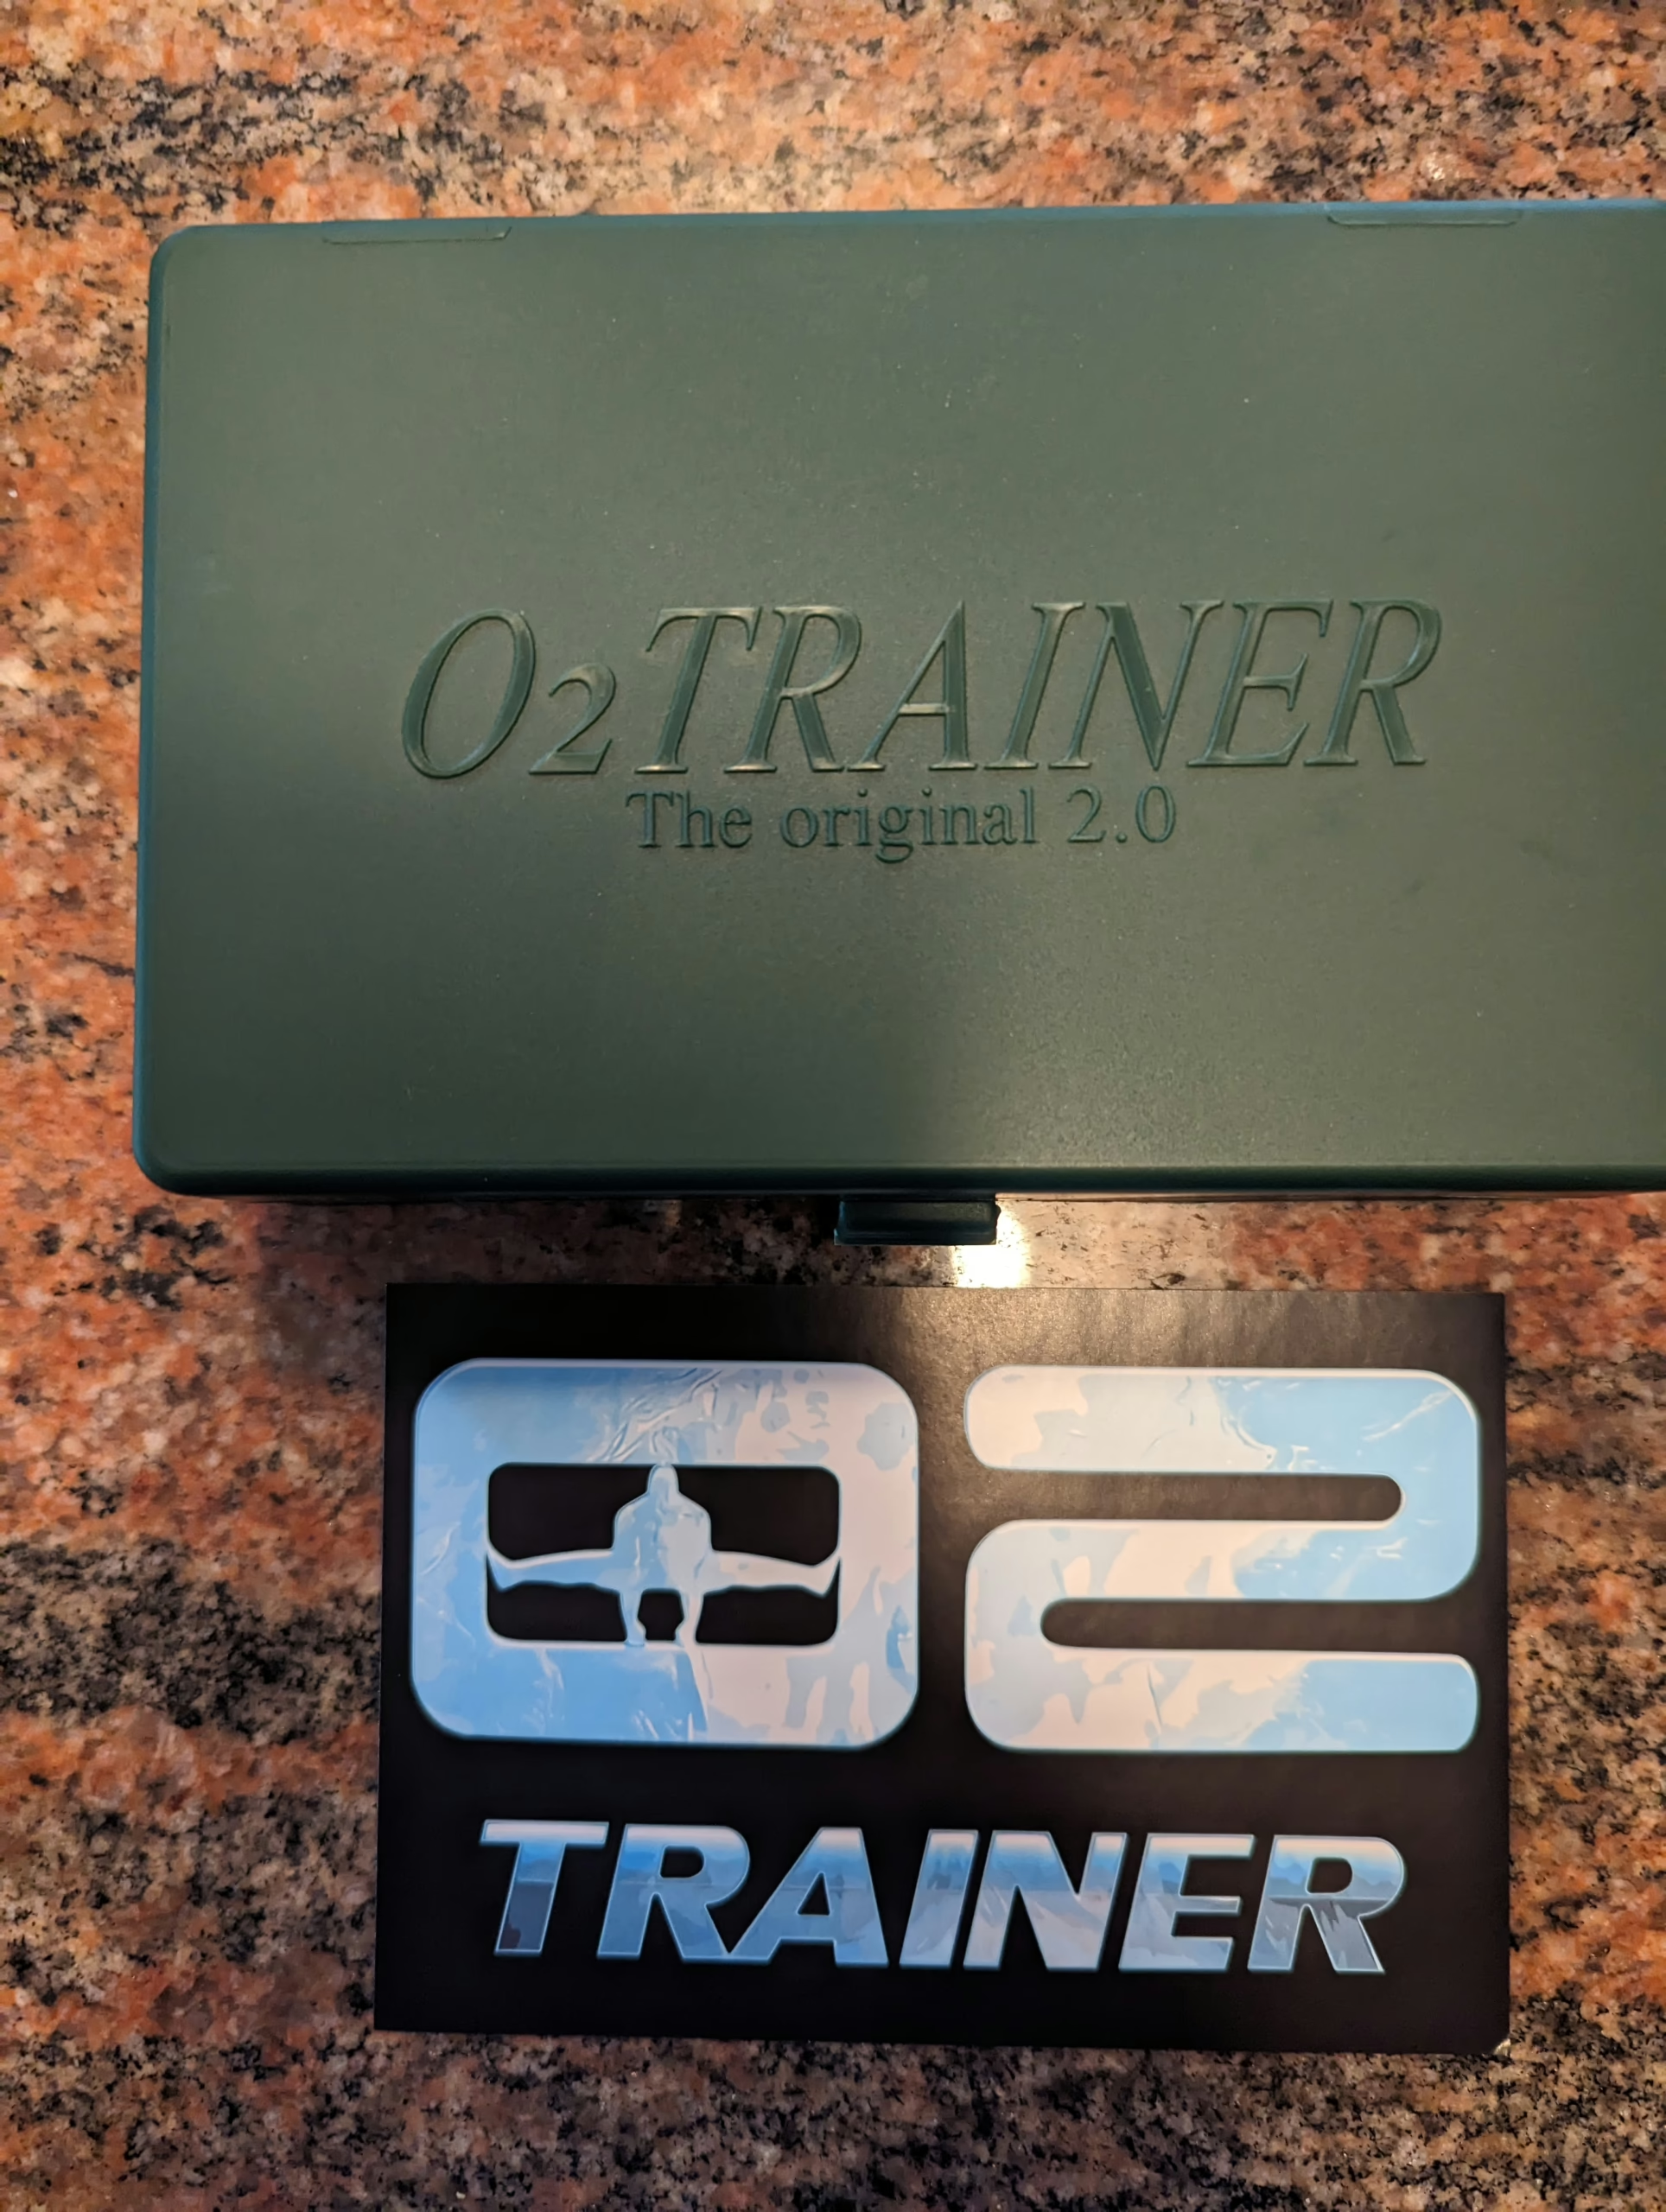
    In the realm of fitness and wellness, training your respiratory muscles has gained significant attention in recent years.  These muscles, comprising the diaphragm and accessory muscles, play a vital function in facilitating efficient breathing.  A few months ago, I started using the O2Trainer to enhance my breathing capabilities and overall performance.  In this blog post, I’ll delve into the importance of training your inspiratory muscles.  I will also discuss the pros and cons of using the O2Trainer.

    Why Train the Inspiratory Muscles?

    Inspiratory muscle training is essential for individuals with respiratory conditions, such as chronic obstructive pulmonary disease (COPD), asthma, and cystic fibrosis.  Even if you don’t suffer from one of these conditions, training these muscles can provide a noticeable performance boost in any physical activity that you take part in.  Breathing may be an involuntary process, but that doesn’t mean that you can’t train to improve this.  Weak inspiratory muscles can lead to:

    1. Reduced lung function: Weakened inspiratory muscles impair lung expansion, resulting in decreased oxygenation and increased respiratory distress.
    2. Increased respiratory rate: Compensatory mechanisms, such as increased breathing frequency, can lead to fatigue, discomfort, and decreased quality of life.
    3. Decreased exercise capacity: Insufficient inspiratory muscle strength hampers athletic performance and daily activities.  With stronger diaphragmatic contractions, you’ll be able to take in more oxygen and expel more carbon dioxide.  This will result in increased stamina and endurance during workouts.
    4. Boost overall health: Stronger respiratory muscles can help combat conditions like asthma, sleep apnea, and chronic obstructive pulmonary disease (COPD).

    The O2Trainer: A Device for Inspiratory Muscle Training

    The O2Trainer is a portable, non-invasive device designed to strengthen the inspiratory muscles.  This device was developed by a former MMA fighter where it was predominantly used for several years.  It progressively trains your inspiratory muscles in a way that anyone can start with the easiest setting.  It accomplishes this by using an adjustable mechanism to provide external resistance, simulating the demands of breathing under load.  By engaging the diaphragm and accessory muscles using the device, the O2Trainer is meant to improve respiratory function and increase endurance.

    Pros of Using the O2Trainer

    1. Convenience: The O2Trainer is lightweight and portable, making it easy to incorporate into daily routines, such as during travel or at home.
    2. Customizable resistance: The device allows users to adjust resistance levels, accommodating different fitness goals and abilities.
    3. Improved respiratory function: Regular use of the O2Trainer can lead to enhanced lung function, increased oxygenation, and reduced respiratory symptoms.  Numerous studies have demonstrated the effectiveness of inspiratory muscle training using devices like the O2Trainer in enhancing respiratory function and performance.
    4. Cost-effective: Compared to other respiratory training devices, the O2Trainer is relatively affordable.

    Cons of Using the O2Trainer

    1. Initial adjustment period: Some users may experience discomfort or fatigue during the initial adaptation phase, which typically subsides within a few sessions.
    2. User-dependent: The device’s effectiveness seems to vary depending on individual factors.  If you’ve already spent time training your inspiratory muscles, you might not see benefits in using this device.  Overall, this device requires discipline and consistency in order to reap the benefits.
    3. Limited accessibility: While the O2Trainer is portable, it may not be as easy to incorporate into your routine as other devices.  Competitor devices are often ‘full mask’ incorporating a headstrap to keep the device on during more vigorous activity.

    My Use of the O2Trainer

    I first discovered the O2Trainer after the first time I took the BreathingIQ quiz.  My score on this test was extremely poor the first time I took it. This was a shock since I always considered myself a ‘good breather’ 🤣 Soon after this, I made it a point to improve my score on this test and incorporated the 02Trainer into my daily practice.  I started by adding this into the meditation portion of my day.  Within days, I noticed that it had the side effect making me extremely conscious of any time that I was breathing in an incorrect way.  After a few months, my respiratory rate had decreased by 1 breath per minute, my estimated VO2Max had noticeably increased and there was a positive impact to my HRV as well!

    Hypoxic Training

    More recently, while preparing for my first multi day backpacking trip at high altitude, I started to incorporate the 02Trainer into my training.  I used it as a form of hypoxic training while walking at an ever increasing pace on my treadmill on the max incline setting while wearing a weighted vest.

    Hypoxic training typically involves training at high altitudes or in hypoxic environments to stimulate the production of red blood cells and improve oxygen delivery to the muscles. While the O2Trainer isn’t technically a form of true hypoxic training, you can approximate some of the benefits.  Getting these benefits using the o2Trainer also allows you to bypass some of difficulties of true hypoxic training:

    1. Accessibility: Hypoxic training requires access to high-altitude environments or specialized equipment, which can be expensive and difficult to obtain. The O2Trainer, on the other hand, is a portable, easy-to-use device that can be used anywhere.
    2. Cost: Hypoxic training can be costly, both in terms of equipment and/or travel expenses. The O2Trainer is a more affordable option, with a one-time purchase and no additional expenses.
    3. Time commitment: Hypoxic training typically requires a significant time commitment, as athletes must spend extended periods at high altitudes to achieve the desired benefits. The O2Trainer, however, can be used in short, daily sessions, making it a more time-efficient option.
    4. Respiratory muscle training: While hypoxic training does challenge respiratory muscles, it primarily focuses on increasing oxygen delivery to the muscles. The O2Trainer specifically targets inspiratory muscle training, which can lead to improvements in respiratory efficiency and overall respiratory health.
    5. Safety: True hypoxic training carries some risks, including altitude sickness and respiratory complications. The O2Trainer is a safer option, as it gradually increases resistance levels and does not expose users to extreme altitudes/low oxygen environments.

    Conclusion

    I feel that the O2Trainer is a valuable tool for individuals seeking to strengthen their inspiratory muscles and improve respiratory function.  Like adding anything to your routine, the O2Trainer requires dedication and consistency.  Despite this, you can unlock a new level of performance and overall well-being by incorporating inspiratory muscle training into your fitness regimen.

  • Cold Water Immersion

    Cold Water Immersion

    Embrace the Chill: Unleashing the Joys of Cold Water Immersion

    In the realm of personal wellness, few practices have gained as much attention and popularity as cold water immersion. This technique is accessible to everyone.  It has been embraced by athletes, mental health advocates, and everyday individuals looking to supercharge their physical and mental well-being.  In this post, I’ll delve into the world of cold plunging, providing you with a comprehensive guide on how to perform a cold plunge and explore the myriad benefits that await those who dare to embrace the chill.

    What is Cold Water Immersion?

    Cold water immersion involves voluntarily exposing yourself to cold water long enough to feel uncomfortable. This practice has been employed by athletes, entrepreneurs, and individuals seeking to find additional means of eek-ing out gains. The sudden change in temperature causes a stress response in the body, which in theory can lead to a range of benefits.

    Benefits of Cold Plunging

    Cold immersion is one of the many therapies that rely on an hormetic stressor for its benefits.  Some documented bodily changes include:

    Increased circulation

    Cold water causes your blood vessels to constrict, and when you warm up, they dilate, improving circulation.  Improved circulation leads to many other benefits within the body.

    Reduced inflammation

    Cold water has anti-inflammatory properties, which can help to reduce muscle soreness and joint pain.  One of the most effective things that I have found reduces a chronic foot pain that I’ve been dealing with is cold water immersion.

    Improved immune function

    Cold water stimulates the release of white blood cells, which helps to fight off infections and reduce the risk of chronic diseases.  Cold water immersion has been linked to an increase in the production of T-lymphocytes and NK cells, which play a crucial role in innate tumor immunity.

    Improved Recovery

    Likely due to the reduction in inflammation and increased circulation, cold plunging has been shown to improve recovery time.  Ultimately, meta studies have shown this leading to enhanced physical performance.  Cold plunging can help alleviate muscle soreness and stiffness, making it an ideal practice for athletes and fitness enthusiasts.  It is important to be aware of additional studies that have shown that cold exposure can have negative outcomes if used to close to resistance training.

    Mental Clarity and Focus

    The cold water shock triggers the release of adrenaline, which can improve mental clarity, boost focus, and reduce stress and anxiety.   Overcoming the discomfort of a cold plunge can help build mental toughness and willpower, translating to other areas of life.  Enhanced mood and emotional well-being due to the release endorphins, is one of the most noticeable immediate impacts of cold water immersion.

    Improved Metabolism

    Studies have shown that those who are acclimated to cold exposure have a higher resting metabolism.  It’s theorized that this is due to increased amounts of and more metabolically active brown adipose tissue.

    The Art of Cold Plunging

    General consensus among cold plunging advocates is that immersing yourself in water with a temperature of 50°F (10°C) or lower for a short period, typically ranging from 1 to 3 minutes qualifies as cold water immersion.  In reality, studies have shown that many of the benefits can be obtained with warmer temperatures if you scale up the time spent.  In winter time, I will often just work outside for 20 minutes in shorts and a t-shirt.

    My first experiences with intentional cold exposure came while studying the Wim Hof Method.  Wim’s practice embraces the cold in many ways, but I started just by doing colder showers than I would normally take.  Even a few minutes of doing this will have you believing that there is something noticeable occurring with your mental state.  Eventually, I started arranging backpacking trips around sources of natural cold water so that I could enjoy this after a day of hiking.  After building a sauna at home, I purchased a container that I could fill with my well water and added ice so that I could indulge in hot/cold contrast.

    The Cold Water Immersion Process

    As noted above, to reap the benefits of cold exposure, you could just finish your shower at a colder and colder temperature every day.  I would encourage everyone though to work up to doing a proper ‘cold plunge’.  Here are some tips to make the most of it.

    Location

    Obviously, the first step is finding or creating a location where you can immerse yourself in cold water.  These exist all over in nature and that’s a great way to see if this practice is right for you or not.  Additionally, there are now many workshops where you can go with others for your first cold water immersion experience.

    Acclimation

    Many people will play around with acclimation, especially when starting out.  Do hot/cold contrast showers or at a bare minimum start with warmer temperatures and gradually move colder over time.  As with anything, it’s probably not the best idea to go to extremes right from the start.

    Mental Preparation

    No matter where you go and what temperature you choose, preparing yourself mentally will likely be required.  The Wim Hof Method incorporates breathwork and some other mindfulness practices to assist with this, but just focusing on your breath before immersion and trying to avoid shallow breathing while you’re in the cold is very helpful.  Please note, that especially if you’re immersing yourself in water, be very careful about doing any type of breathwork that may lead to loss of consciousness while you’re immersed.

    Immersion

    Now submerge yourself fully in the cold up to the neck.  Don’t go in slow, just commit.  Focus on breathing normally rather than shallowly and try to relax.  Depending on how you feel, you might want to fully submerge your head at this point.  This will trigger the mammalian dive reflex which may add further to the benefits of the cold water immersion.  Try to spend 2 – 3 minutes in the water.

    Recovery

    Slowly emerge from the water.  Take deep breaths and allow your body to gradually warm up.  You can perform some light movements to assist with this, but recent studies have shown additional metabolic benefits of allowing yourself to warm via shivering.

    Repeat

    Once you’re warm again, you can repeat the whole process if you would like!

    Embrace the Cold

    Embracing the chill of cold water immersion may seem daunting at first, but the benefits are undeniable.  Cold water immersion is a powerful tool for transforming your physical and mental well-being.  You’ll experience a range of physical, mental, and emotional advantages that will have you coming back for more.  So, take the plunge and discover the joys of cold water immersion for yourself.  Your body and mind will thank you.