
Category: Reviews
-

Barefoot Shoes for Foot Health
The Barefoot Revolution: Why You’ll Love Wearing Zero Drop Shoes for Adventure and Beyond As we focus on the complexities of modern life, it’s easy to overlook one of the most fundamental aspects of our daily existence: our feet. We stuff them into ill-fitting shoes, pound the pavement, and expect them to perform without complaint.…
-
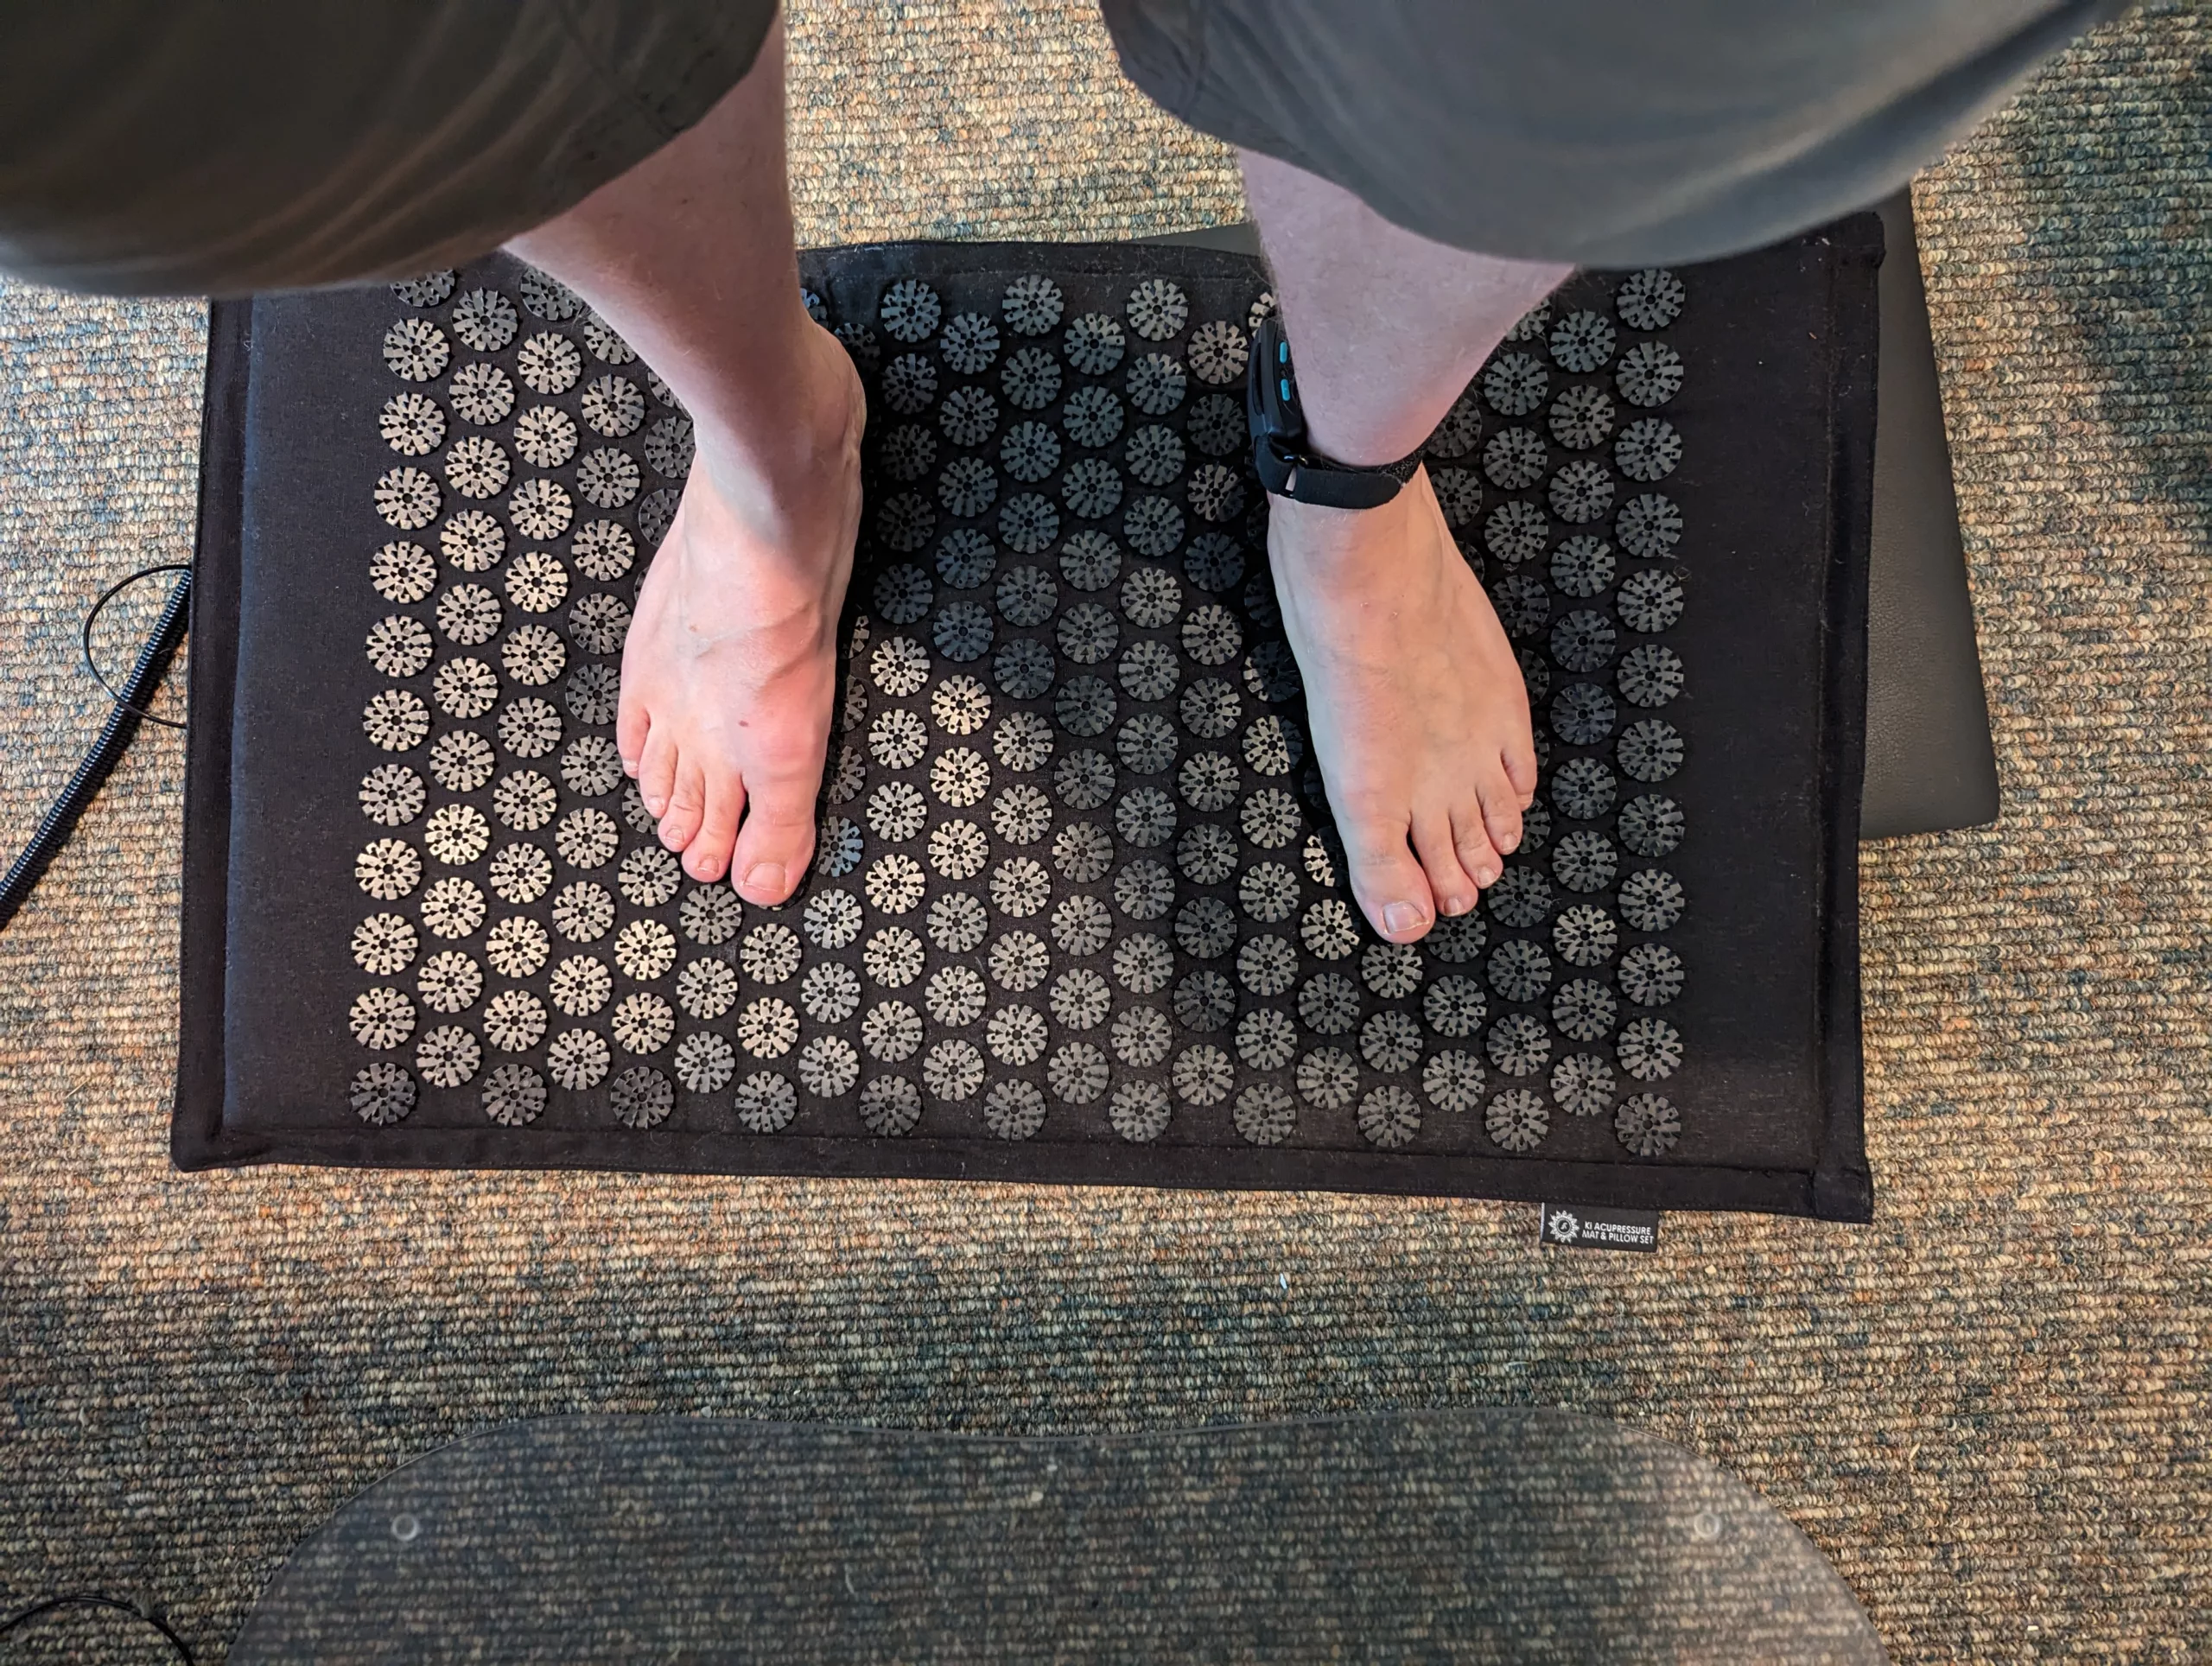
Benefits of Using an Acupressure Mat
Are you seeking an alternative way to alleviate pain, improve your well-being, and enhance your overall health? Look no further than the ancient art of acupressure. I’ve been battling recurring foot pain for a few months and I’ve tried several things to address it. One of the most effective things that I’ve found is this…
-
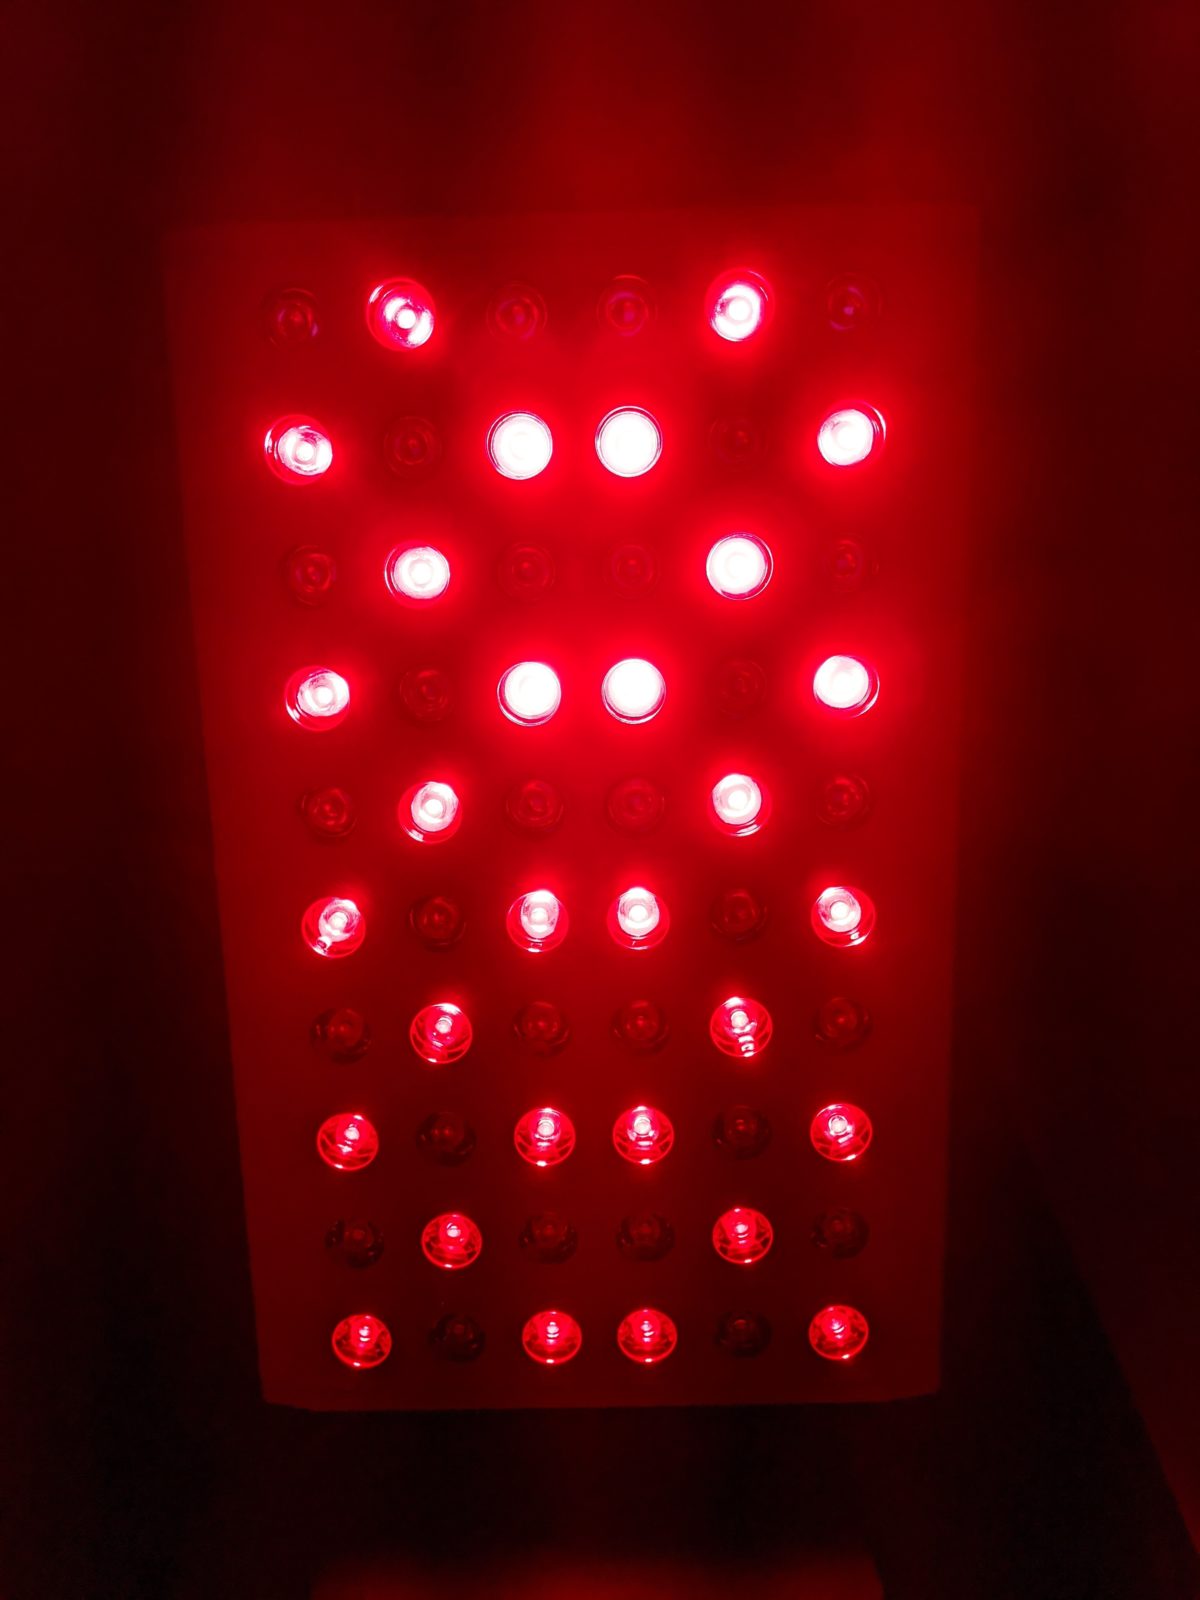
Joovv Review
The Joovv is the gold standard when it comes to red light therapy devices. It’s a medical grade, modular system that allows you to build the ideal red light therapy setup for your needs over time. It supports both red and near infrared wavelengths and allows you to control them independently. The EMF levels emitted…
-

Apollo Neuro Review
When I finally got serious about ‘getting fit’, I bought my first Oura ring. At the time, I primarily wanted to fix my sleep issues. A happy side effect of this purchase was that it made me more aware of my Heart Rate Variability (HRV). I always considered my HRV on the lower side, but…
-
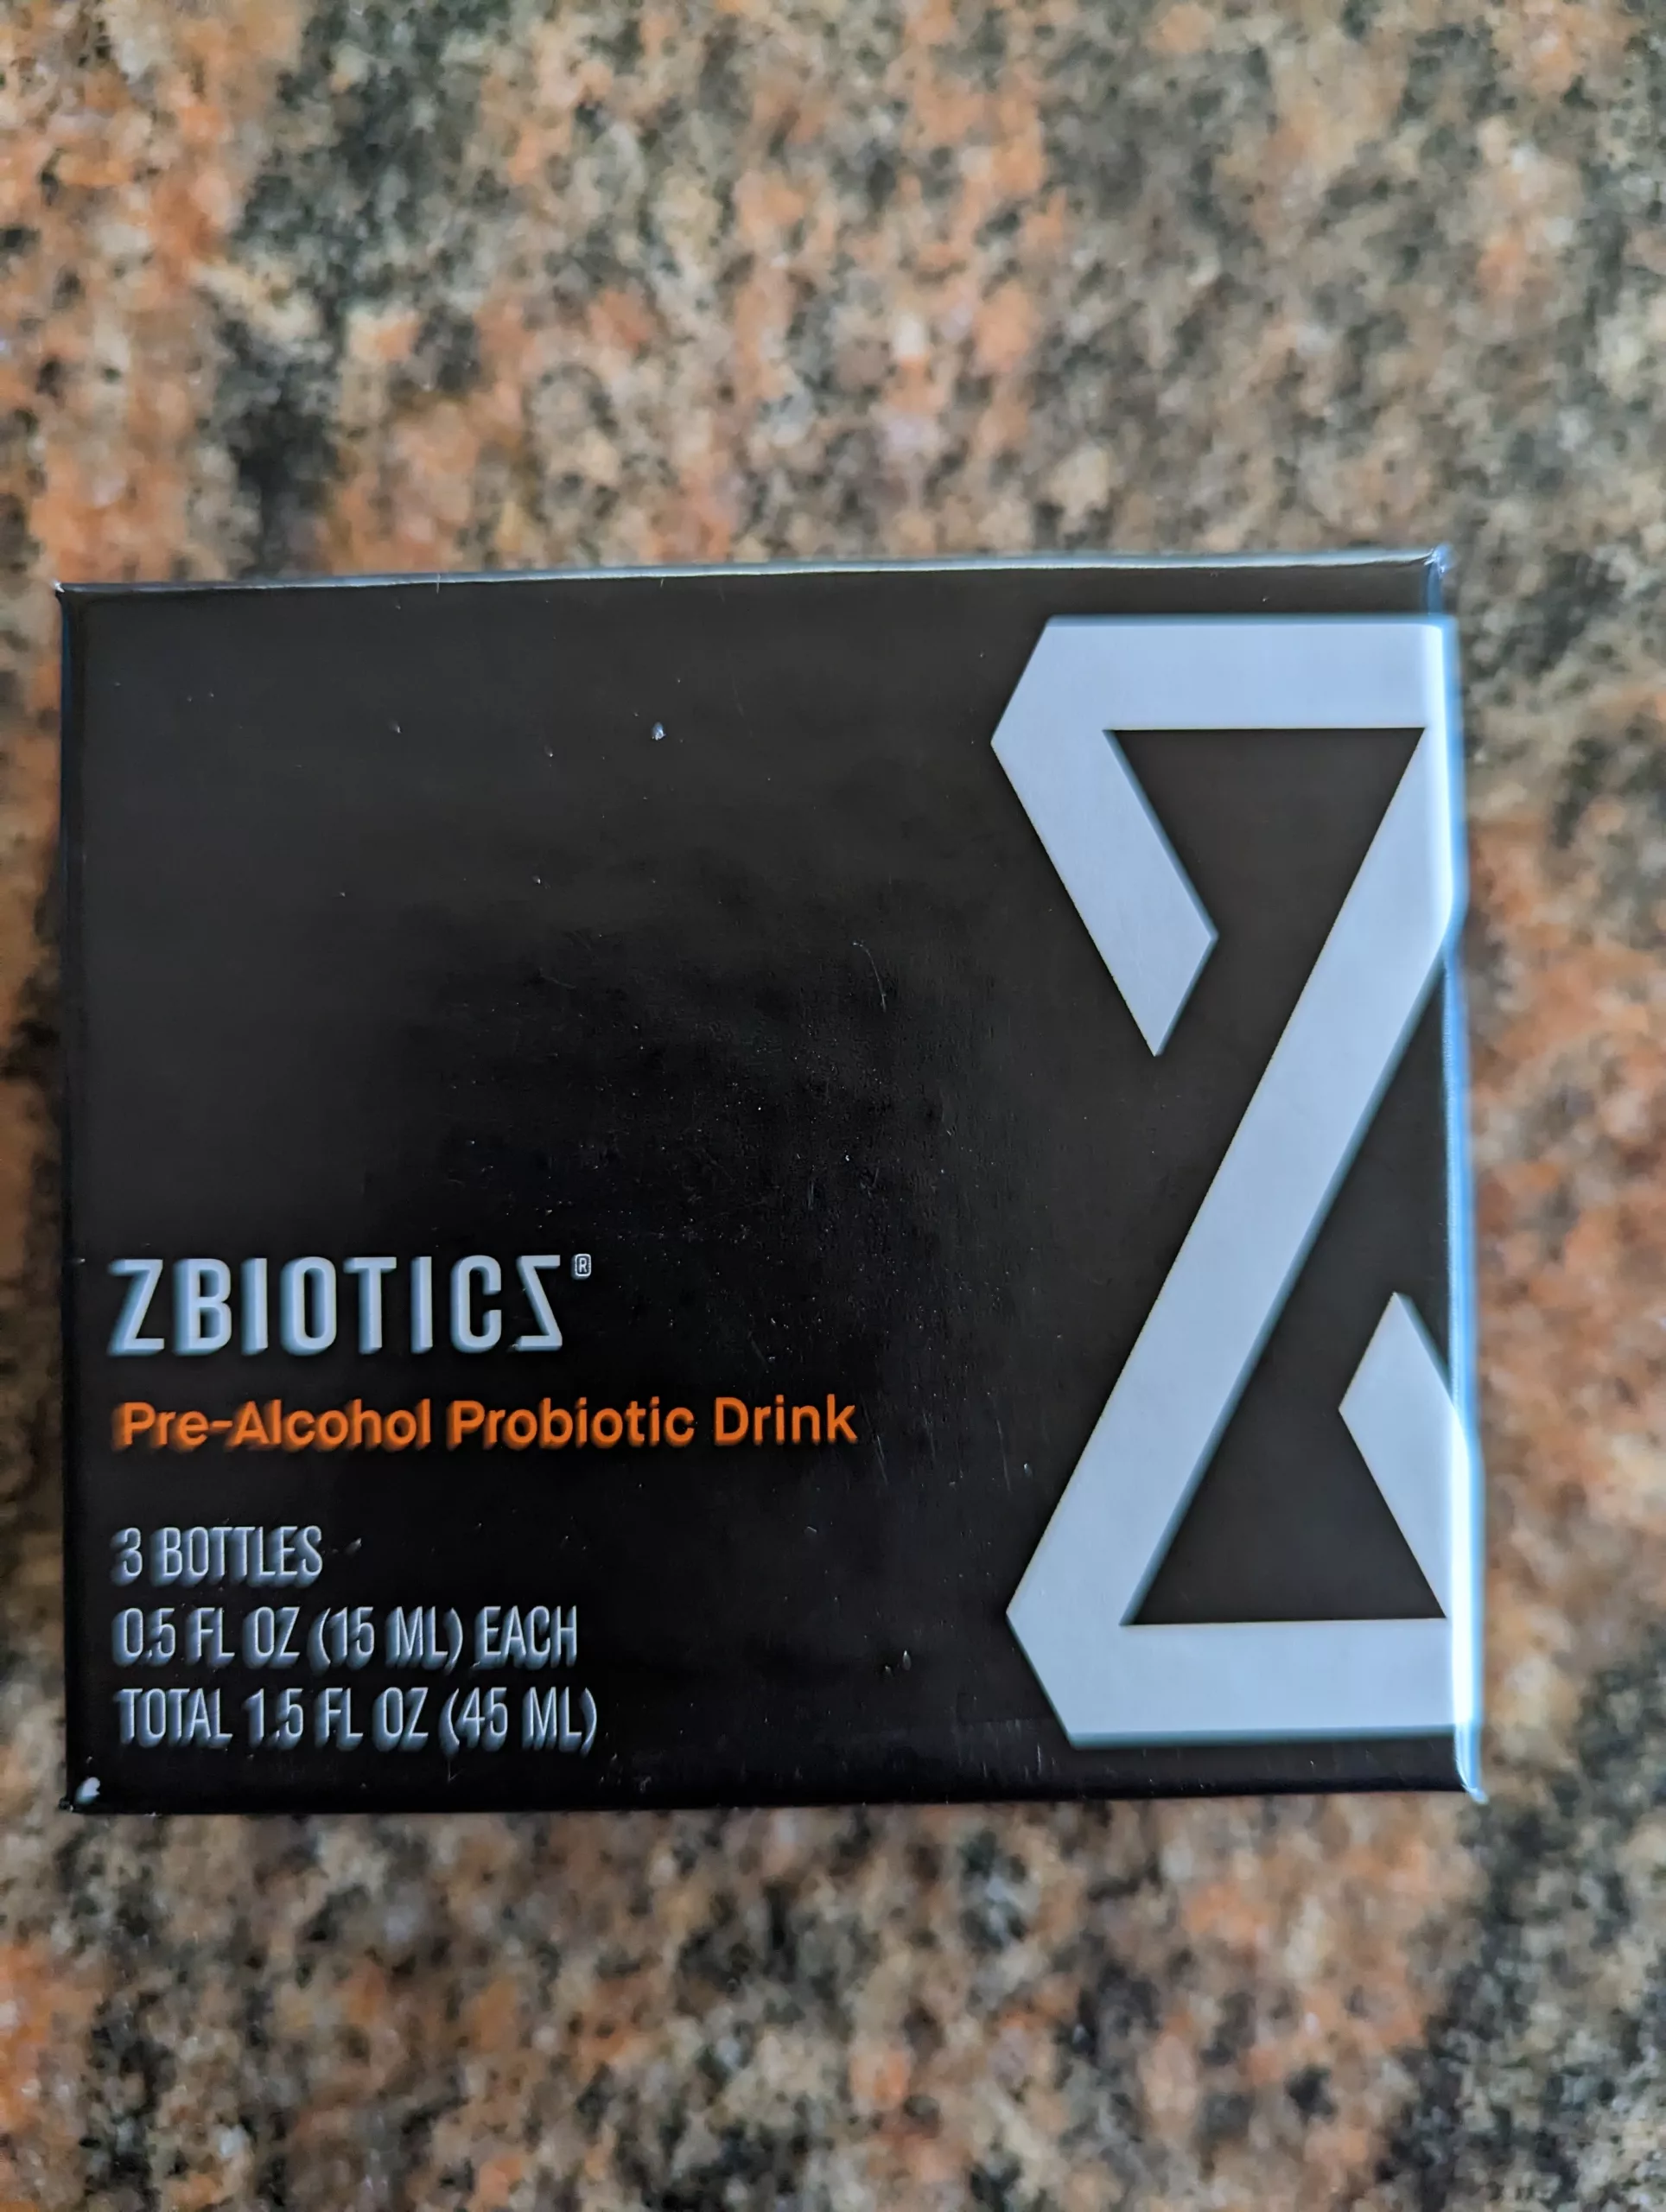
ZBiotics Review
There are parts of the year when there is a beer fest every weekend. Whenever the weather is great, I want to hang out at a great outdoor beer garden. If I ever want to become a BJCP Master Beer Judge, I also need to take advantage of judging homebrew whenever I can. This lifestyle…
-

ScaleBlaster Review
Every home that I’ve ever lived in has had hard water. There are pros to having hard water, but there are also many cons. The cons have led me to investigate ways of mitigating hard water, but this also has additional drawbacks. I recently purchased and installed a ScaleBlaster. Read on for my ScaleBlaster review.…
-
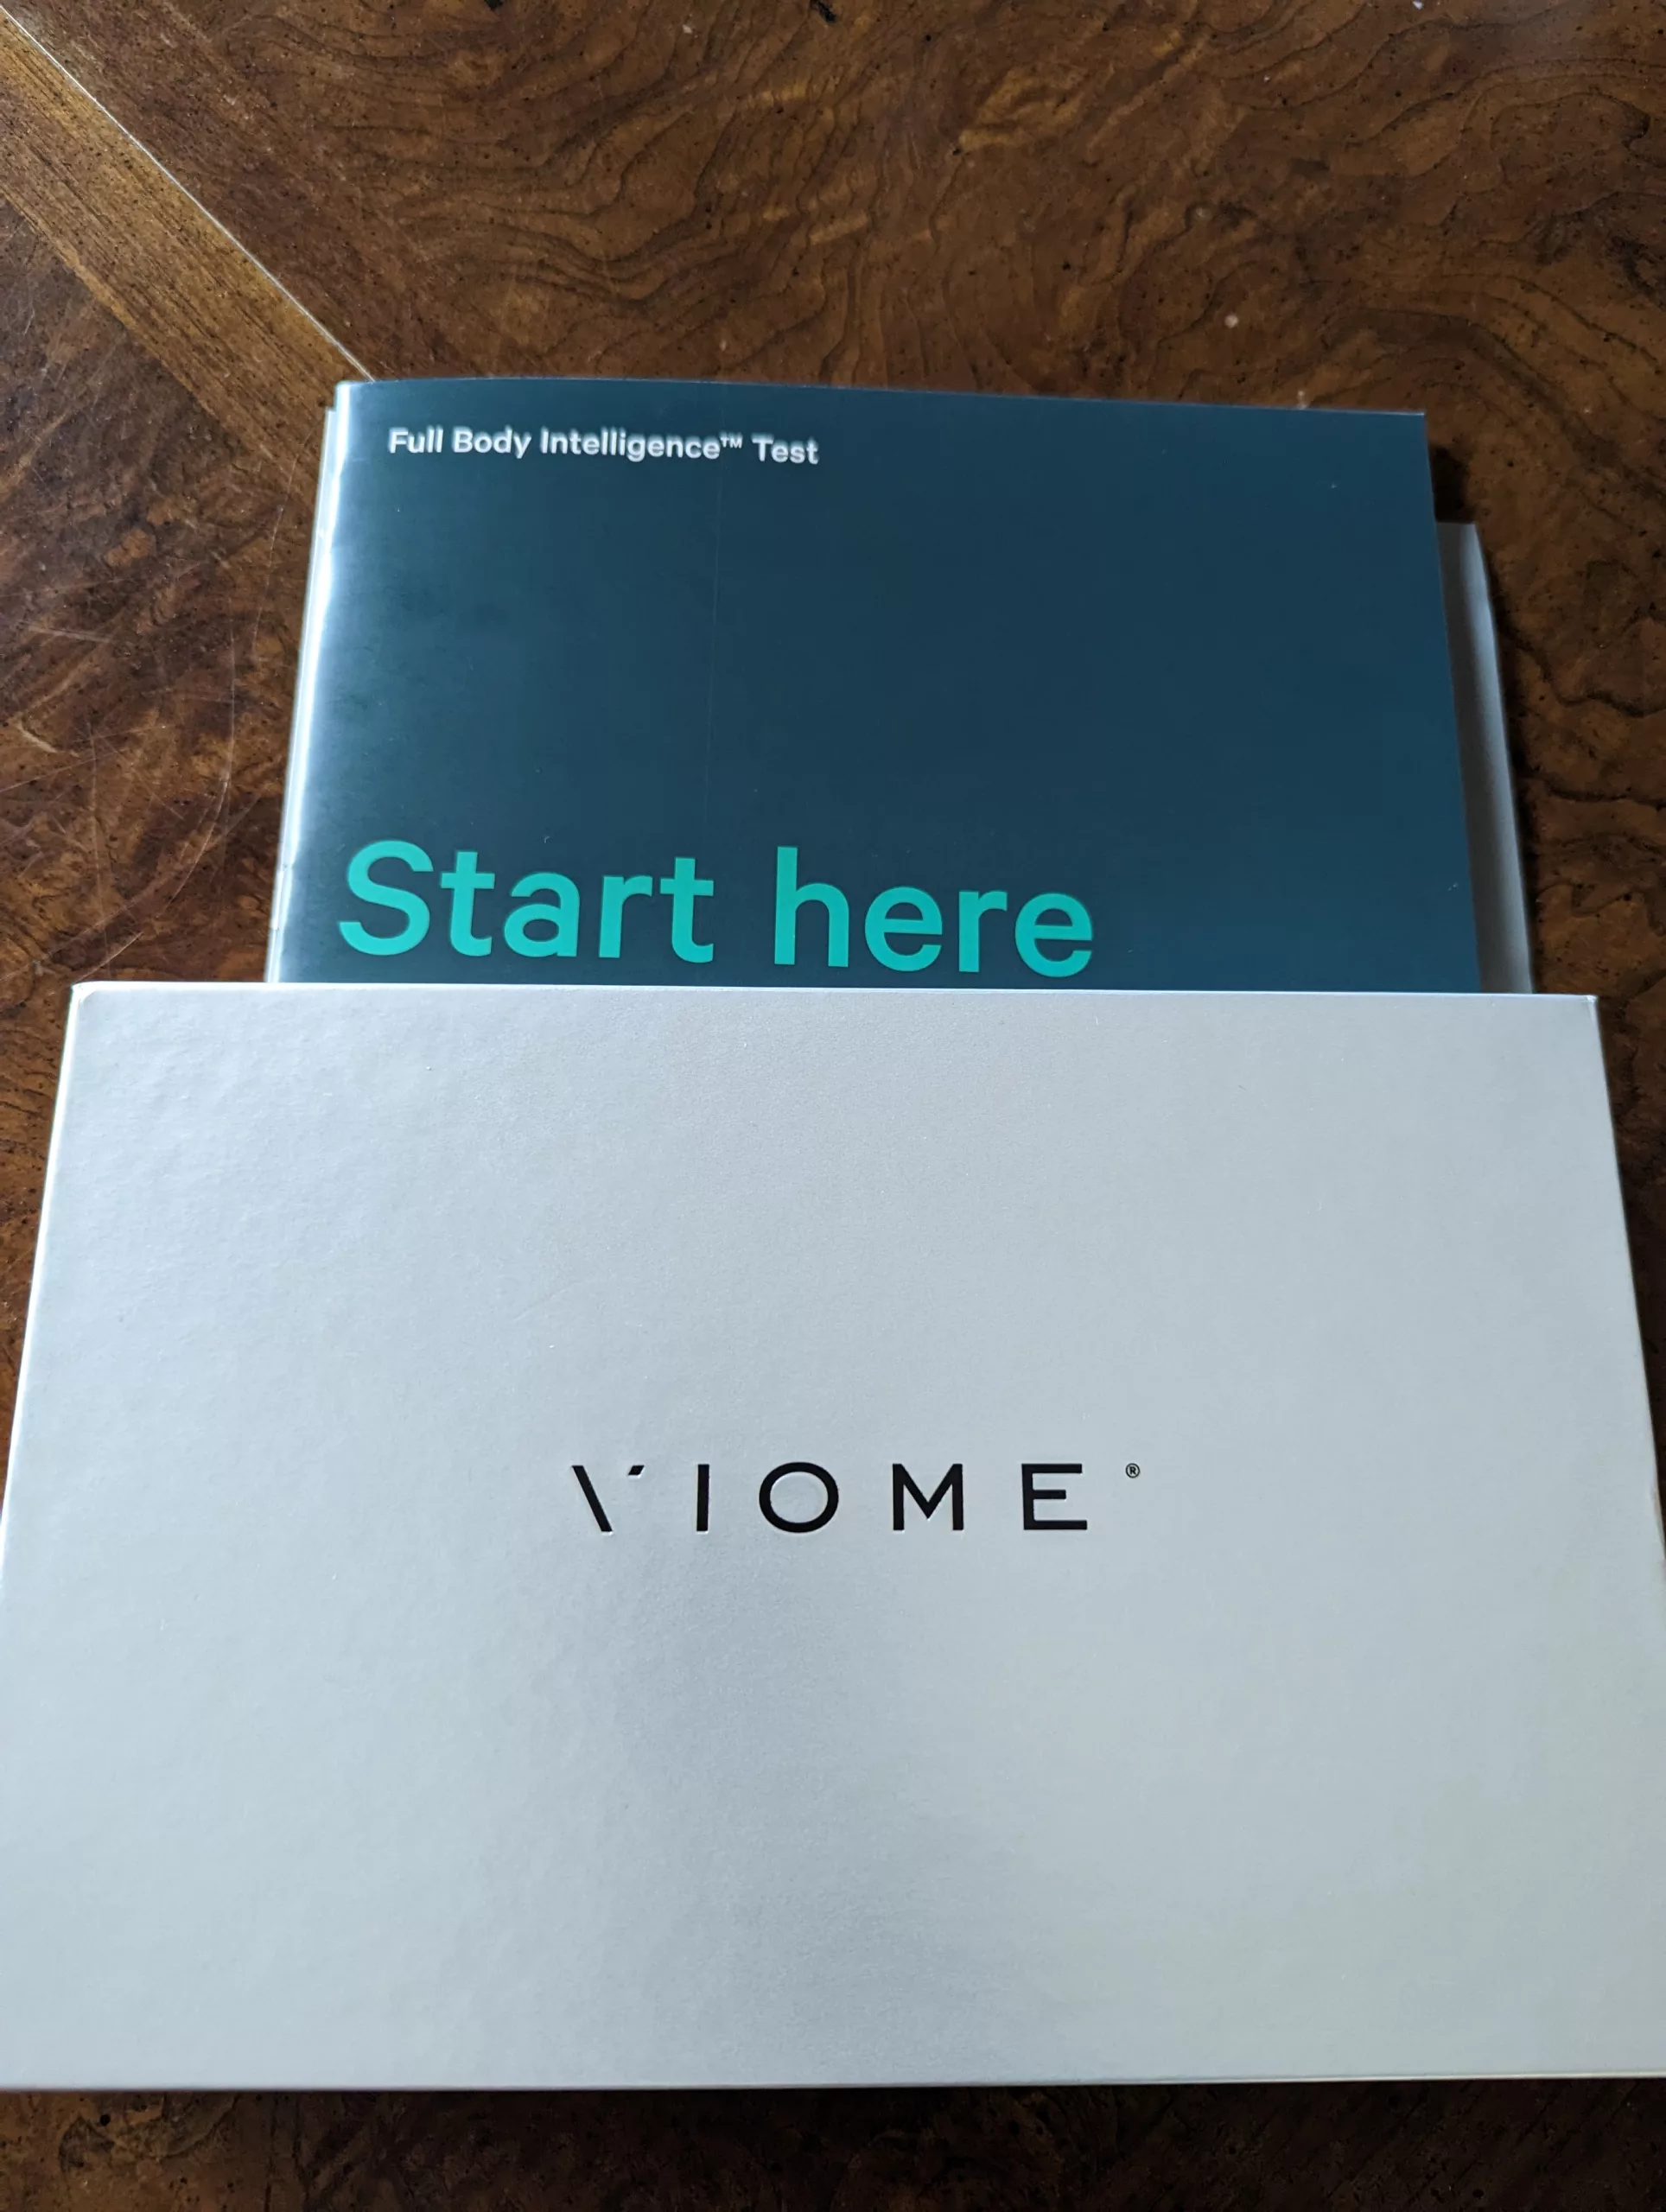
Viome Review
More and more research points to the importance of the gut microbiome on many areas of health. In my quest for improving my fitness, I was hitting plateaus that I suspected could have been related to a least than ideal gut microbiome. I didn’t want to blindly start trying to ‘improve’ something that I wasn’t…
-
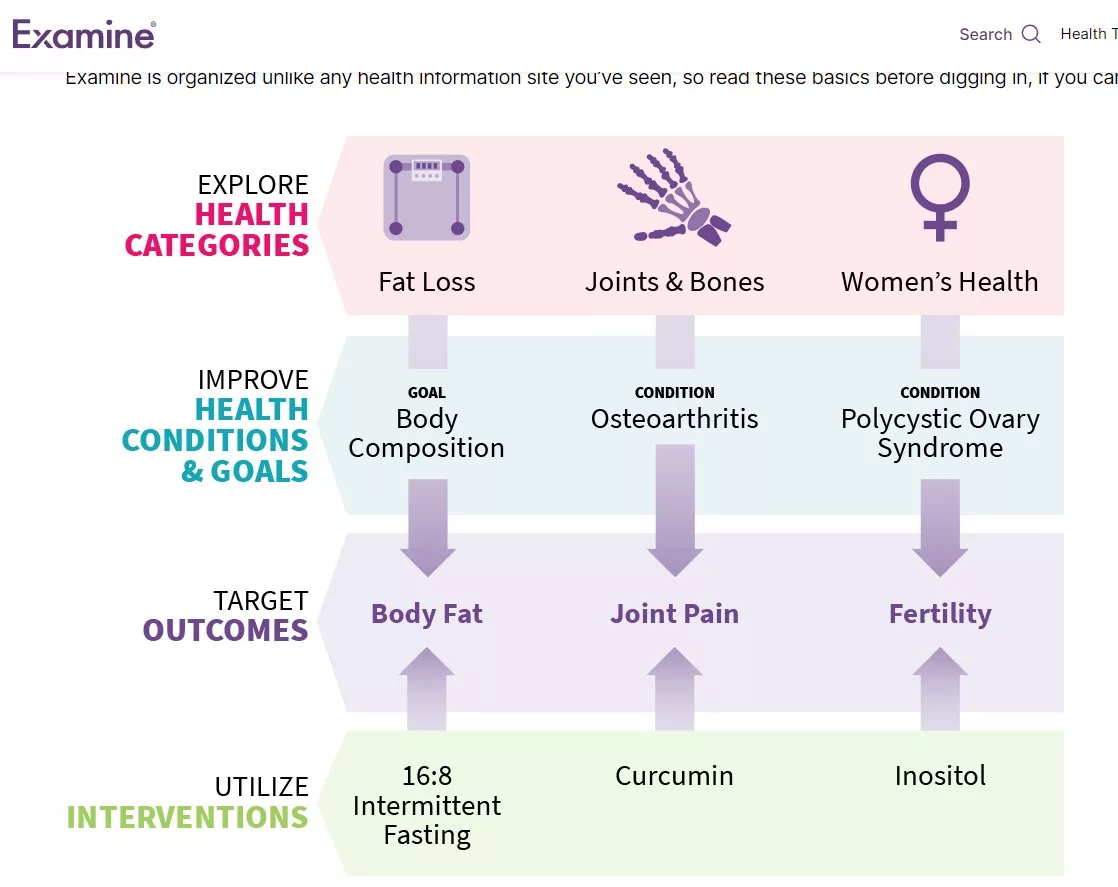
Examine.com/Examine+ Review
I often get a common set of questions after making new ‘Health’ posts or reviews. “How do you research publications related to what you’re writing about?” “How do you determine the experiments you conduct in order to reach your goals?” Part of the answer to both of these questions is: Examine.com/Examine+. Read on for my…
-
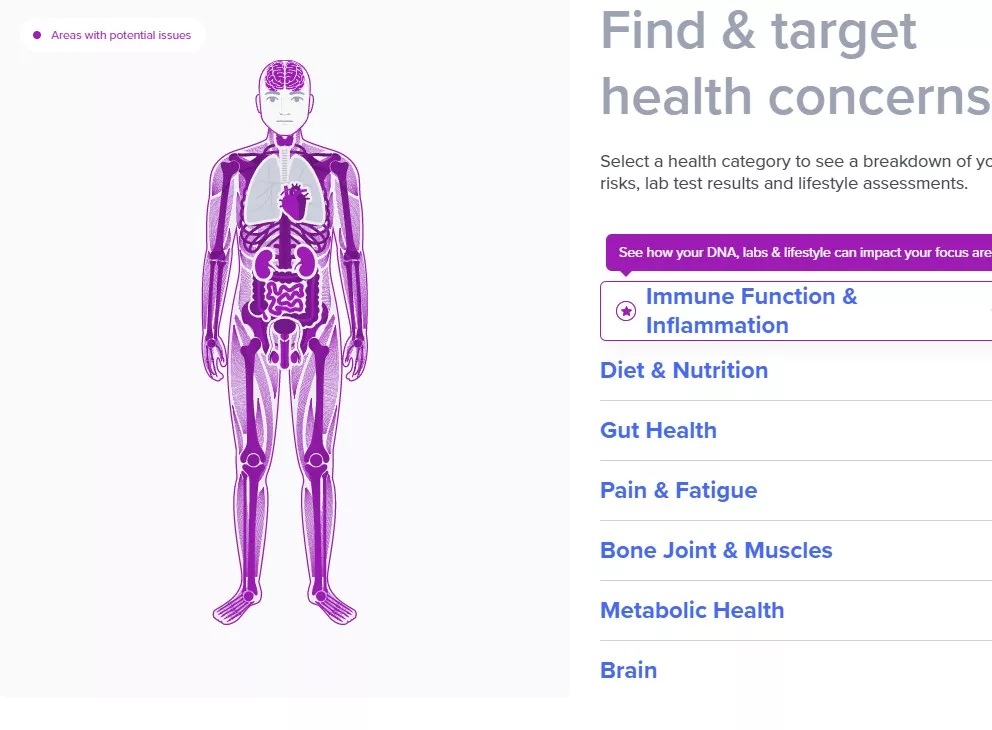
SelfDecode Review
In many of my ‘Health‘ related posts, I write about how just about everything I do is informed with data. This data comes in many forms, wearables, blood work, subjective feeling. The best experiments that I’ve done usually start with hypotheses that arise out of research that I’ve done related to DNA analysis. I’ve tried…
-
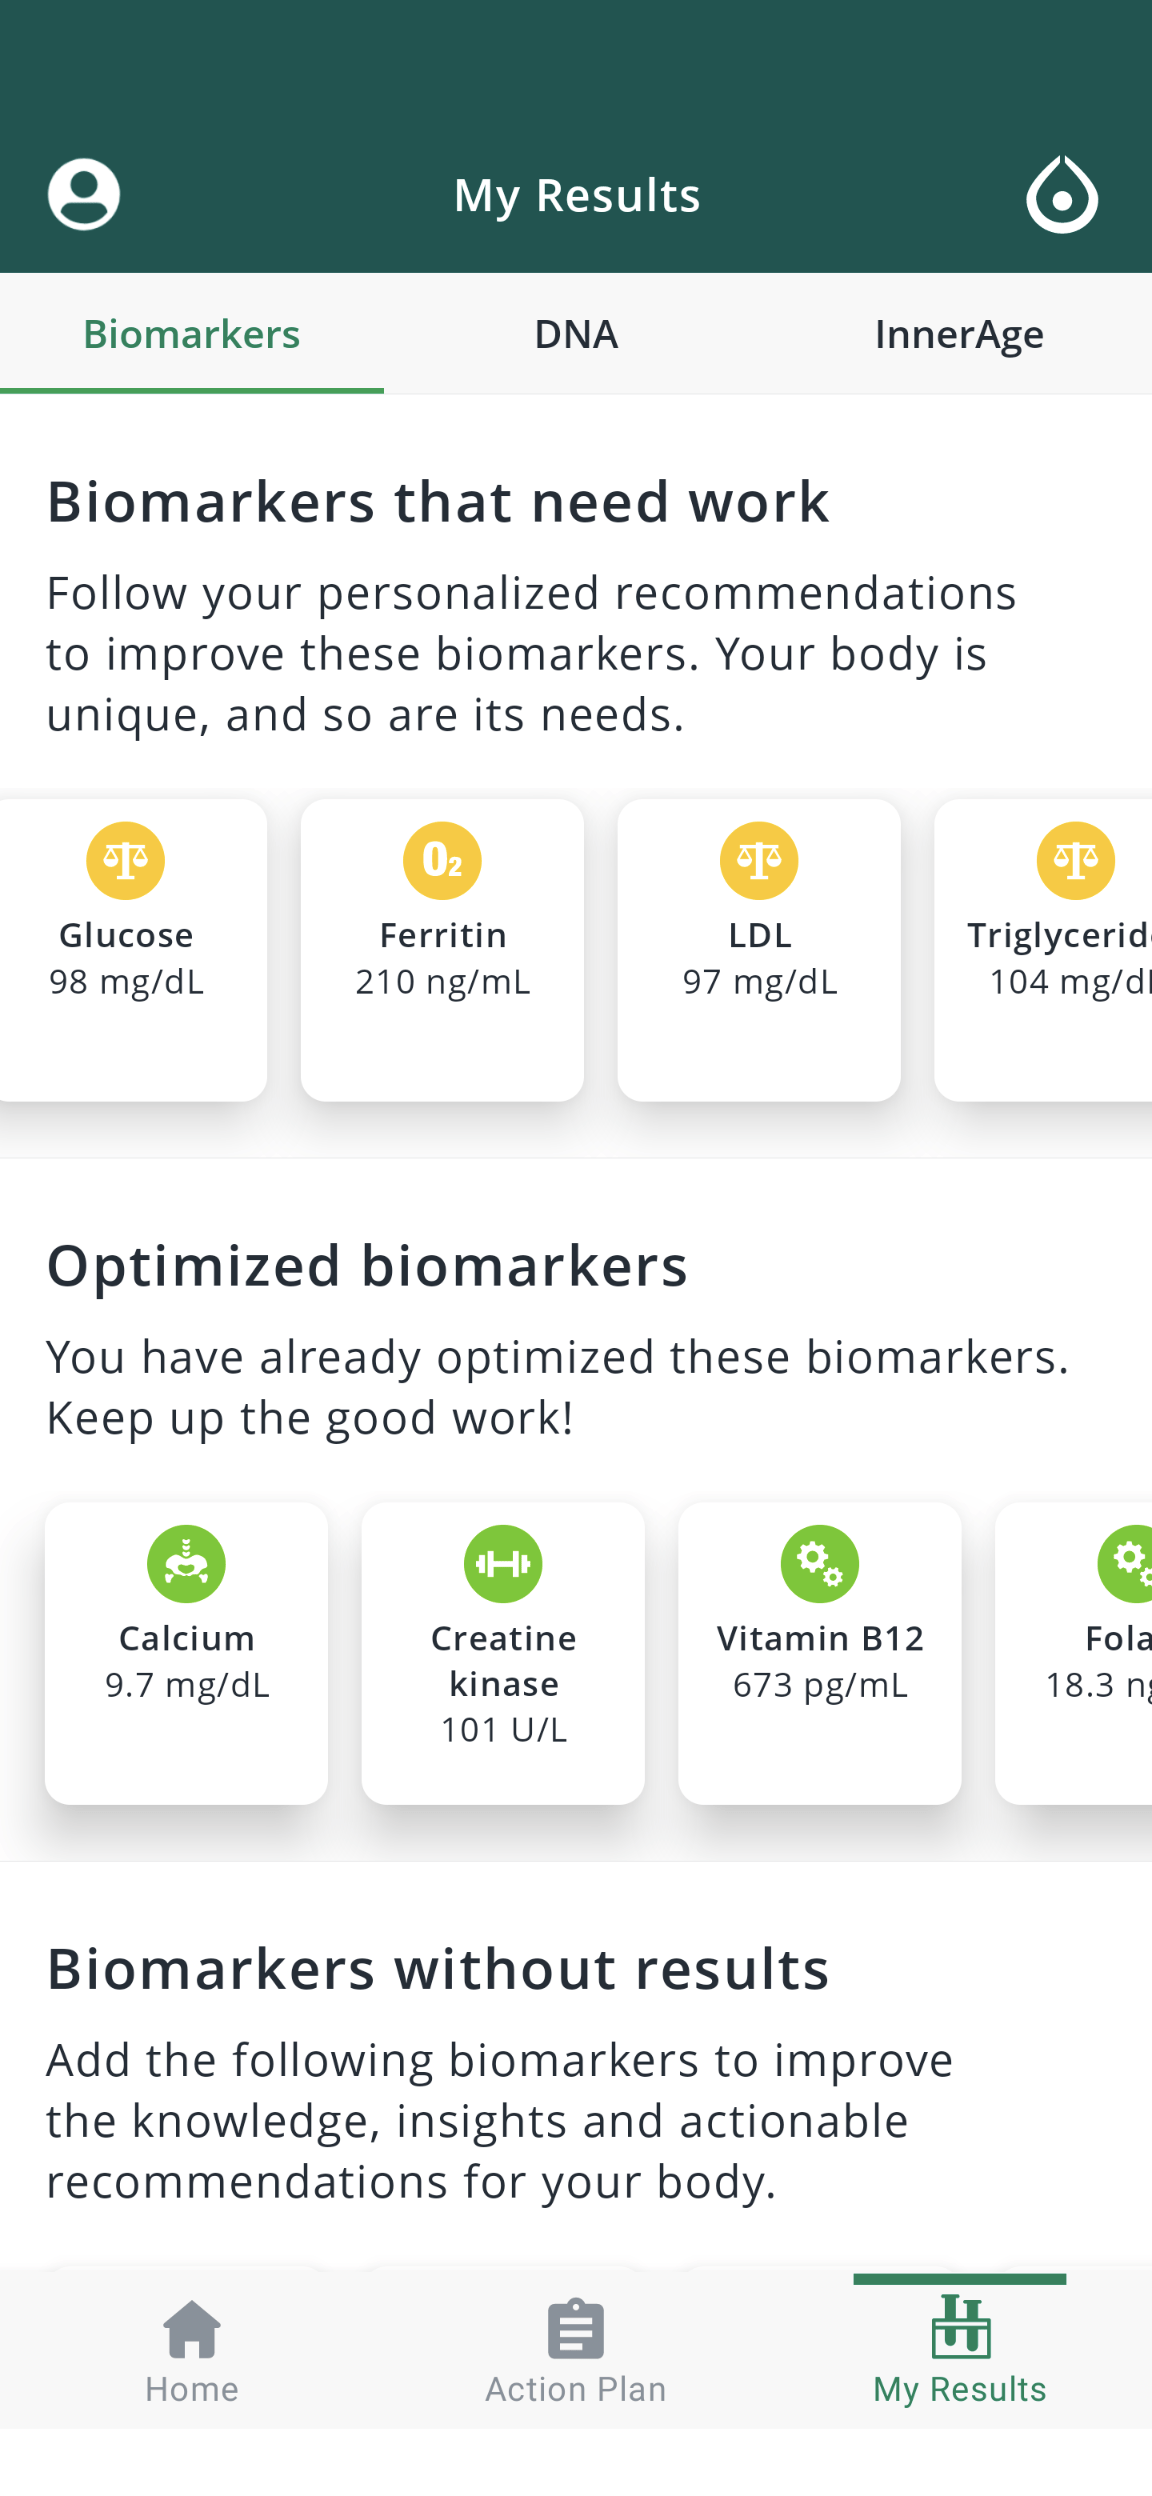
InsideTracker Review
I’m constantly experimenting with ways to improve my health. Experiments should always begin with a hypothesis. They should also be designed in a way to control as many variables as possible. If you don’t have a way to measure outcomes, you’re just guessing about the overall effectiveness of what you’re testing, no matter how well…