I was introduced to heart rate variability (HRV) when I got serious about getting in shape. Many people recommended monitoring HRV as a means of knowing when to push a workout further. My HRV has always been low relative to others. Despite this, it was clear that I always felt my best when it was at the higher end of my regular range. Pretty much since this realization, I’ve been experimenting with various ways of improving HRV.
What is HRV?
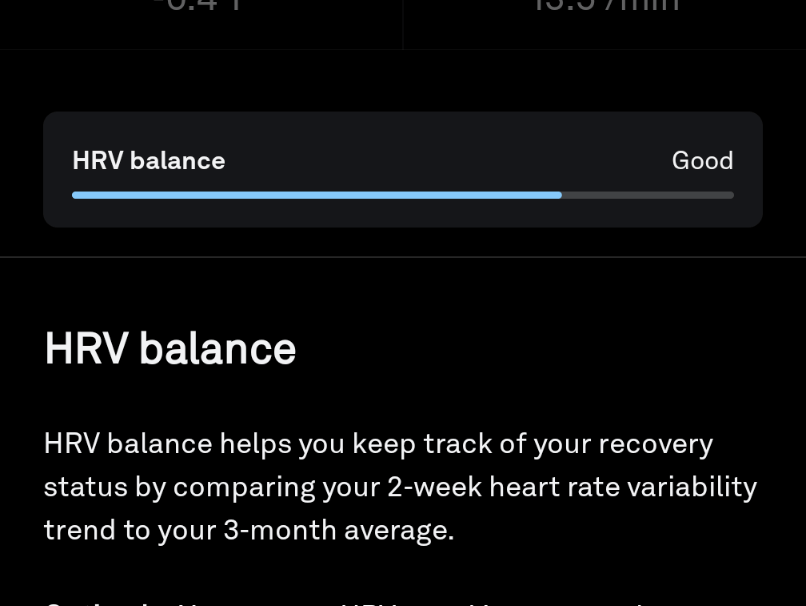
Heart Rate Variability is a measure of the changes in the amount of time between beats of your heart. It is often measured in milliseconds. This number is highly individual. It’s not something that can really be compared across individuals. Its only use is in comparing your current value to your historical range of HRV values.
How is HRV measured?
HRV changes as a natural function of the autonomic nervous system. The sympathetic nervous system decreases the amount of time between heartbeats due to a faster heartbeat. The parasympathetic, which typically slows the heart beat, increases that time. Many modern wearables are capable of measuring HRV. There are different techniques for doing this, so always compare values using the same form of measurement. HRV changes throughout the day and it’s best to measure while in a rested and relaxed state.
What Does HRV Indicate?
In general, a higher HRV is better than a lower value. HRV is a good indicator of how ‘recovered’ someone is. When you are in your higher range of values, you are likely to be in a state where you are more resilient to stressors. Lower range values are a good sign that something is actively stressing your body.
HRV provides an interesting way to evaluate lifestyle choices that can lead toward a healthier life. Things that increase HRV tend to lead to overall healthier outcomes. A downward trend in HRV over a few days is often a sign that it’s time to reevaluate what you are currently doing. We can use this metric to identify opportunities for us to continue pushing ourselves as well as an indication that we need to take a break.
How am I Improving HRV?
The feedback loop that HRV provides is a great quantitative way to measure the effectiveness of health oriented interventions. I’ve been using this as the basis for many experiments over the years on improving HRV. Many ways of raising HRV involve dedication to a regular practice. This is expected given that improving HRV is generally correlated with prioritizing good life choices. Things that I’ve found that have improved my HRV include:
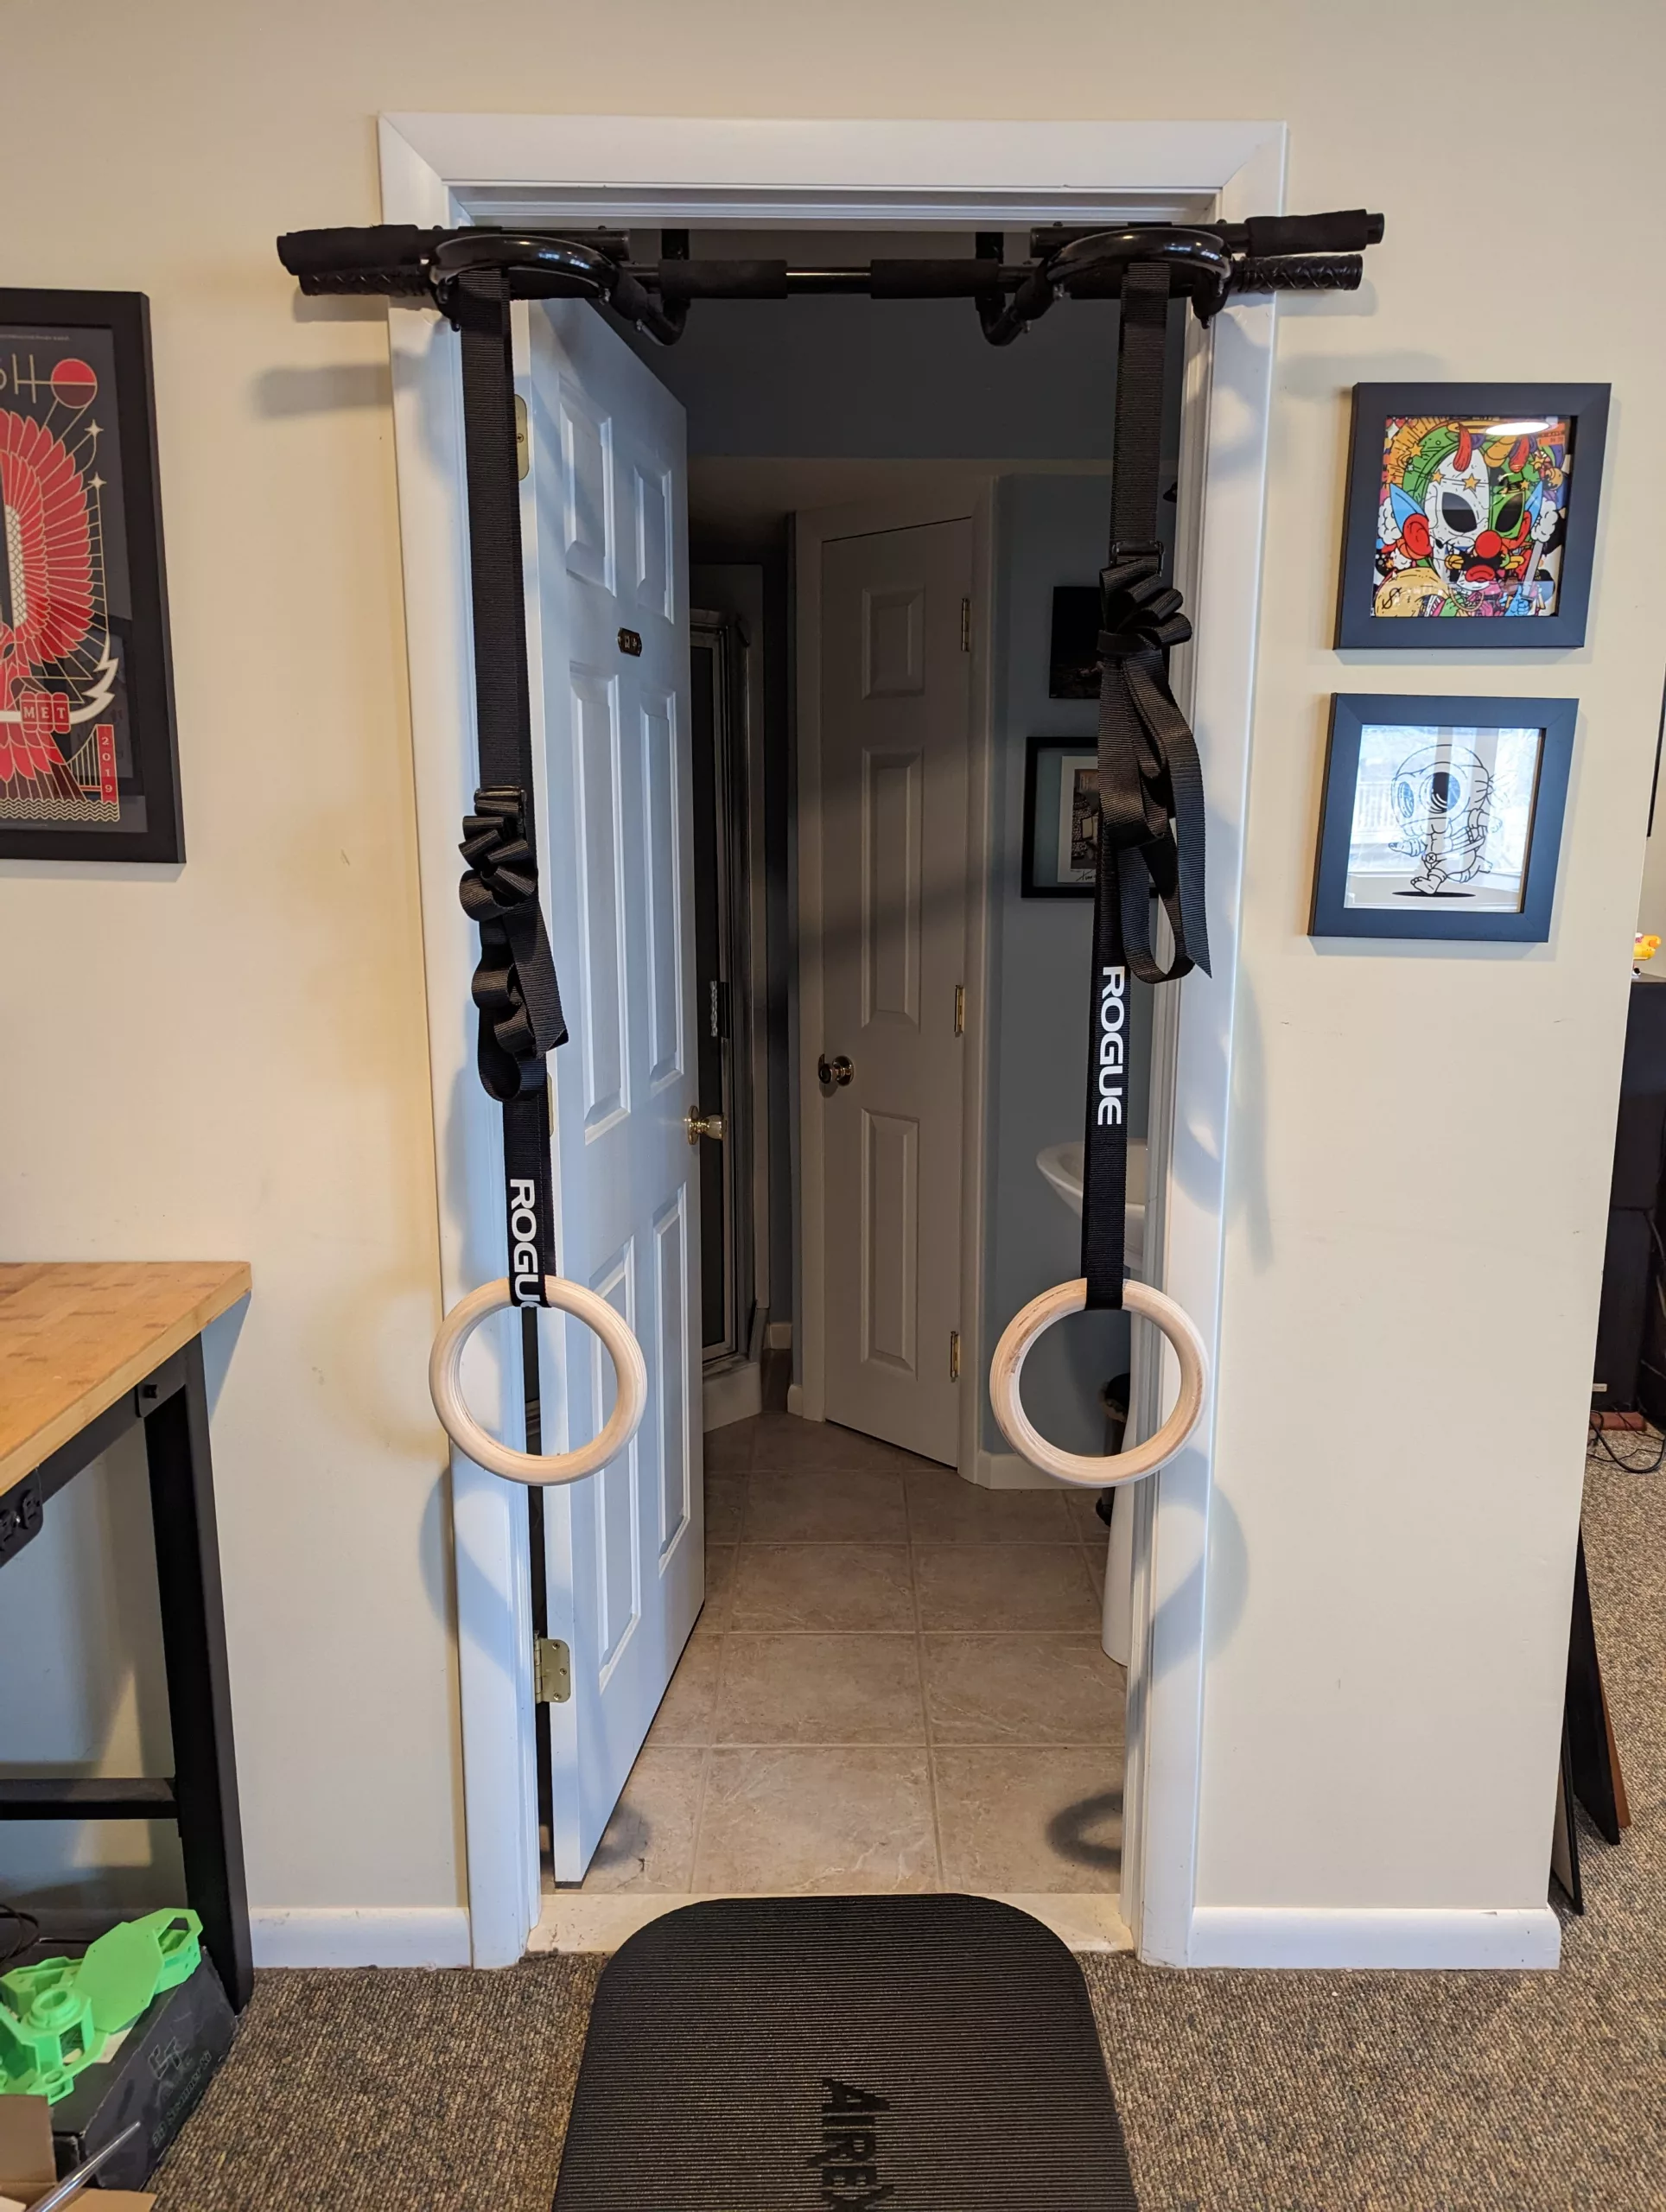
Regular Exercise
Obviously having a regular exercise routine is going to benefit your overall cardiovascular metrics. HRV may take a hit while you’re exercising, but overtime, exercise (especially HIIT) results in an overall higher HRV.
Circadian Rhythm Alignment
Waking up, going to sleep and eating that aligns with the daily rhythms of the sun does wonders for improving HRV.
Time in Nature
I discovered this by accident. I always noticed that my HRV was always higher for a few days after a backpacking trip. Initially, I attributed this to the fact that backpacking is great exercise. I’ve since done additional experiments that show that I have a positive HRV trend just from sleeping in nature without the actual exercise associated with backpacking.
Breathwork
A regular breathwork practice generally leads to less stress. Less stress tends to translate into a higher HRV. There are also certain forms of breathing that can directly raise HRV in the moment. I describe some of these techniques in my intro to breathwork.
Regular Mindfulness/Gratitude Practice
Once again, practicing mindfulness and/or gratitude tends to lower your overall stress. This also is noticeable at improving HRV. Not all forms of mindfulness that I practice involves active breathwork or time in nature, so this deserves a section on its own.
Photobiomodulation
It’s not clear what the mechanism of action is here, but I’ve tried several variants of photobiomodulation that all seem to be effective at improving HRV. It could be the fact that red light therapy is useful for combating Seasonal Affective Disorder, but maybe it’s something else?
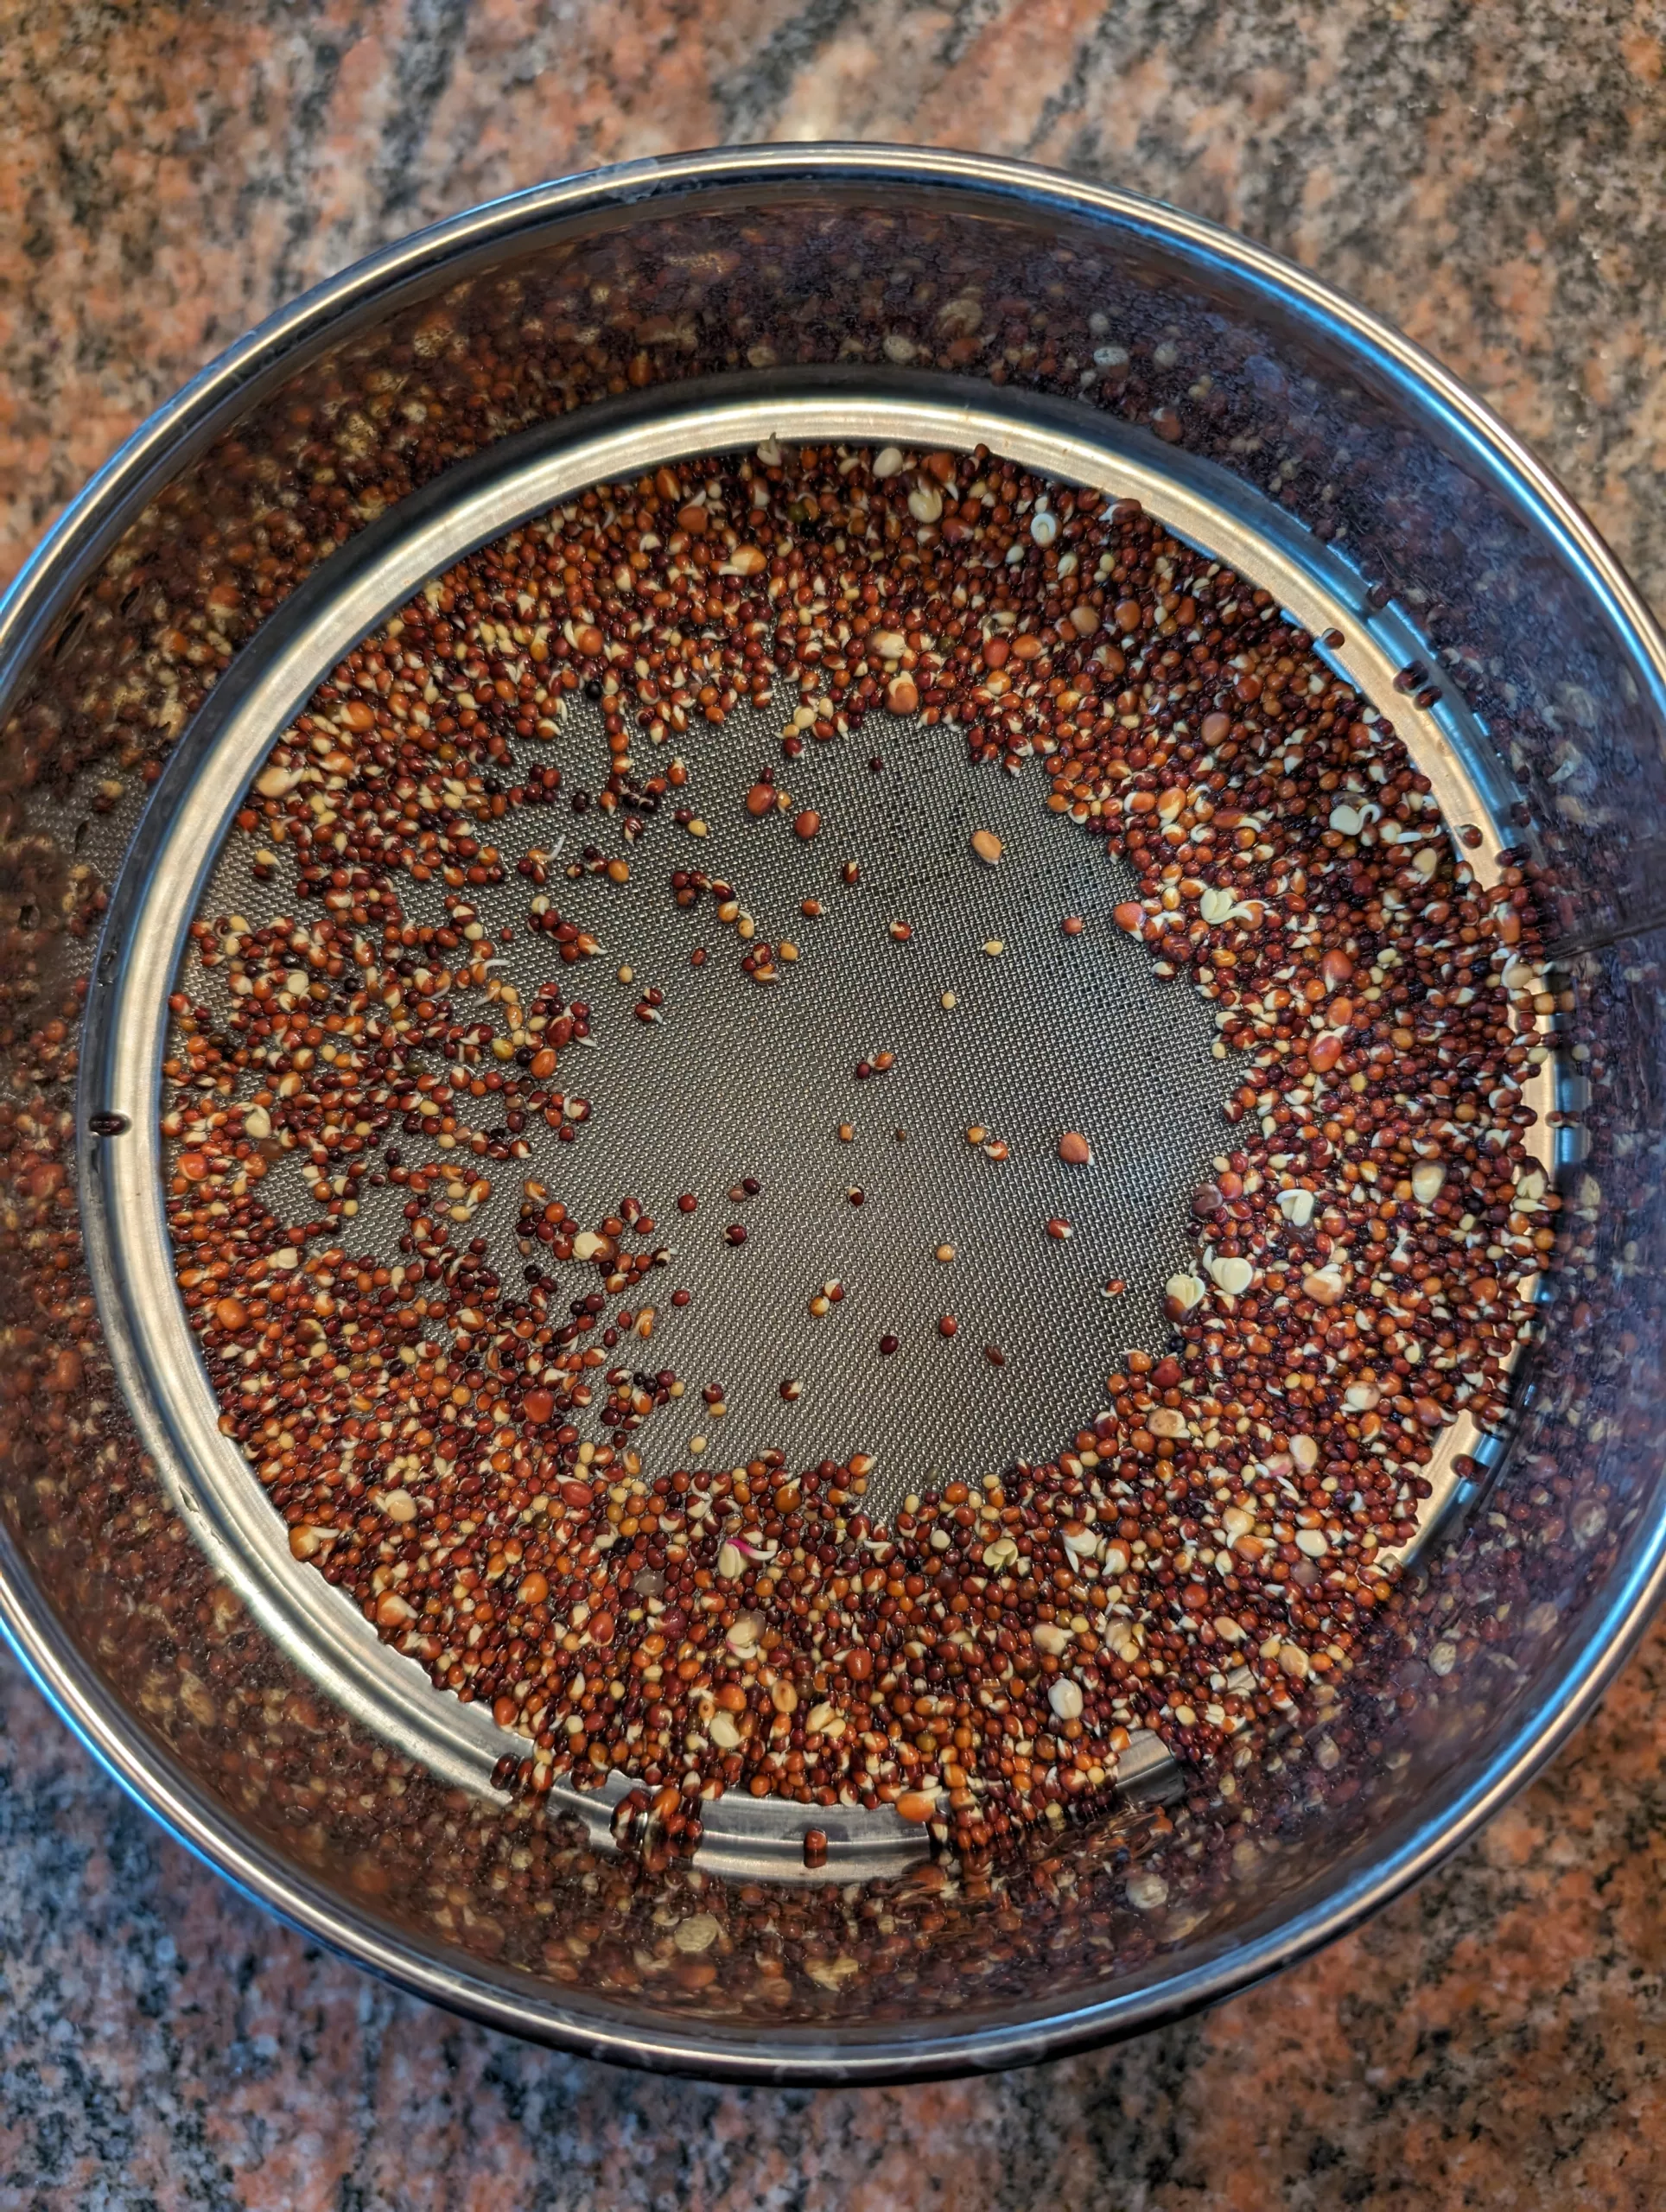
Gut Microbiome
I recently participated in an Akkermansia trial. During the trail, I tracked a consistent >10% increase in my HRV after the first few days of taking it. I’ve seen very few things that have such a profound positive effect. After the trial ended, my HRV went back to my previous baseline. I’m waiting for the product I was taking during the trial to be commercially available so I can purchase it. Given recent studies that are identifying links between the gut microbiome and things like anxiety/depression, the mechanism of action for this impact creates some interesting hypotheses. I look forward to trying additional experiments in this area.
Wearables
In addition to wearables for tracking HRV, I’ve tried one that was actually effective at improving HRV. Regularly using the Apollo Neuro consistently raised my HRV. This was most noticeable when I did something that would typically lower my HRV. If you want to know the good, the bad and the ugly, read my Apollo Neuro Review.
Things that Lower HRV
All of these health improving practices are great for improving HRV. It may be obvious that not adhering to these has the opposite effects, but there are even a few other things that negatively impact HRV.
Aging
In general, your HRV lowers with age. Many of the practices that I’ve adopted for improving HRV have allowed me to move my baseline HRV higher even though I’ve been meticulously tracking these values for more than 7 years.
Mental/Physical Stress
A hard workout will lower HRV in the moment even though regular exercise will eventually move it in the opposite direction. The same can be said for the hot temperatures of the sauna. Maybe the not so obvious HRV lowerer is mental stress. When I have a few days of anxiety inducing stress it is definitely reflected in a lower HRV score.
Ongoing or Impending Illness
An impending or ongoing illness will result in lower HRV scores. I’ve participated in two separate wearable trials working on identifying impending illness before noticeable symptoms develop. HRV fluctuation was one of the indicators used in both of these trials.
Poor Sleep
Circadian Rhythm misalignment and poor quality sleep in general immediately result in lower HRV the next day. I’ve noticed that ‘shift work’ has a negative impact even if I get good quality sleep.
Alcohol
By far, the habit that I have that has had the worst impact on HRV is alcohol. Even a drink or two close to bed will have a noticeable detrimental impact.
Conclusion
These are just a few of the things that I’ve noticed that have an impact on HRV for me. There are so many other things that I plan to investigate and I will update this post with my findings.
So what do you do to improve your HRV? What have you noticed that has a negative effect? What device do you use to measure HRV and how do you use it to drive the decisions that you make every day?