There are parts of the year when there is a beer fest every weekend. Whenever the weather is great, I want to hang out at a great outdoor beer garden. If I ever want to become a BJCP Master Beer Judge, I also need to take advantage of judging homebrew whenever I can. This lifestyle can also hinder your ability to get things done the next day. I’m not into that. Earlier this year, I got to try ZBiotics as a way to combat this. Read on for my ZBiotics review.
Alcohol Metabolism 101
There’s no longer any doubt that alcohol is a (sweet, delicious 😁) poison to the human body. When you drink alcohol, your body almost immediately begins a cascade of mechanisms to eliminate its harmful effects. Alcohol is absorbed into the bloodstream. It gets shuttled to the liver where enzymes start to break it down. Here it is converted into acetaldehyde which is then converted to acetate. Acetaldehyde is toxic and the process of breaking it down is gated by the quantity of the enzymes that you have available and how well they are suited to actually cause this breakdown. Acetaldehyde is theorized to be the main cause of both long term alcohol-caused damage and the dreaded ‘day after’ effects of drinking too much.
Home Remedy
Like everyone who drinks often, I have my own home remedy for making the next day be better than it could be. I pretty much follow the Jim Koch (from Samuel Adams) pre-drinking ritual. Make sure to do everything I can to stay hydrated during and after drinking. First thing upon waking, take some B-Vitamins and down some electrolytes. These things combined with never drinking on an empty stomach tend to do alright by me. When I’m eating low carb, I noticed that it’s also best to stop that before drinking. Something about having some carbs in my stomach seems to really help. After drinking, I’ve become a big fan of using DHM.
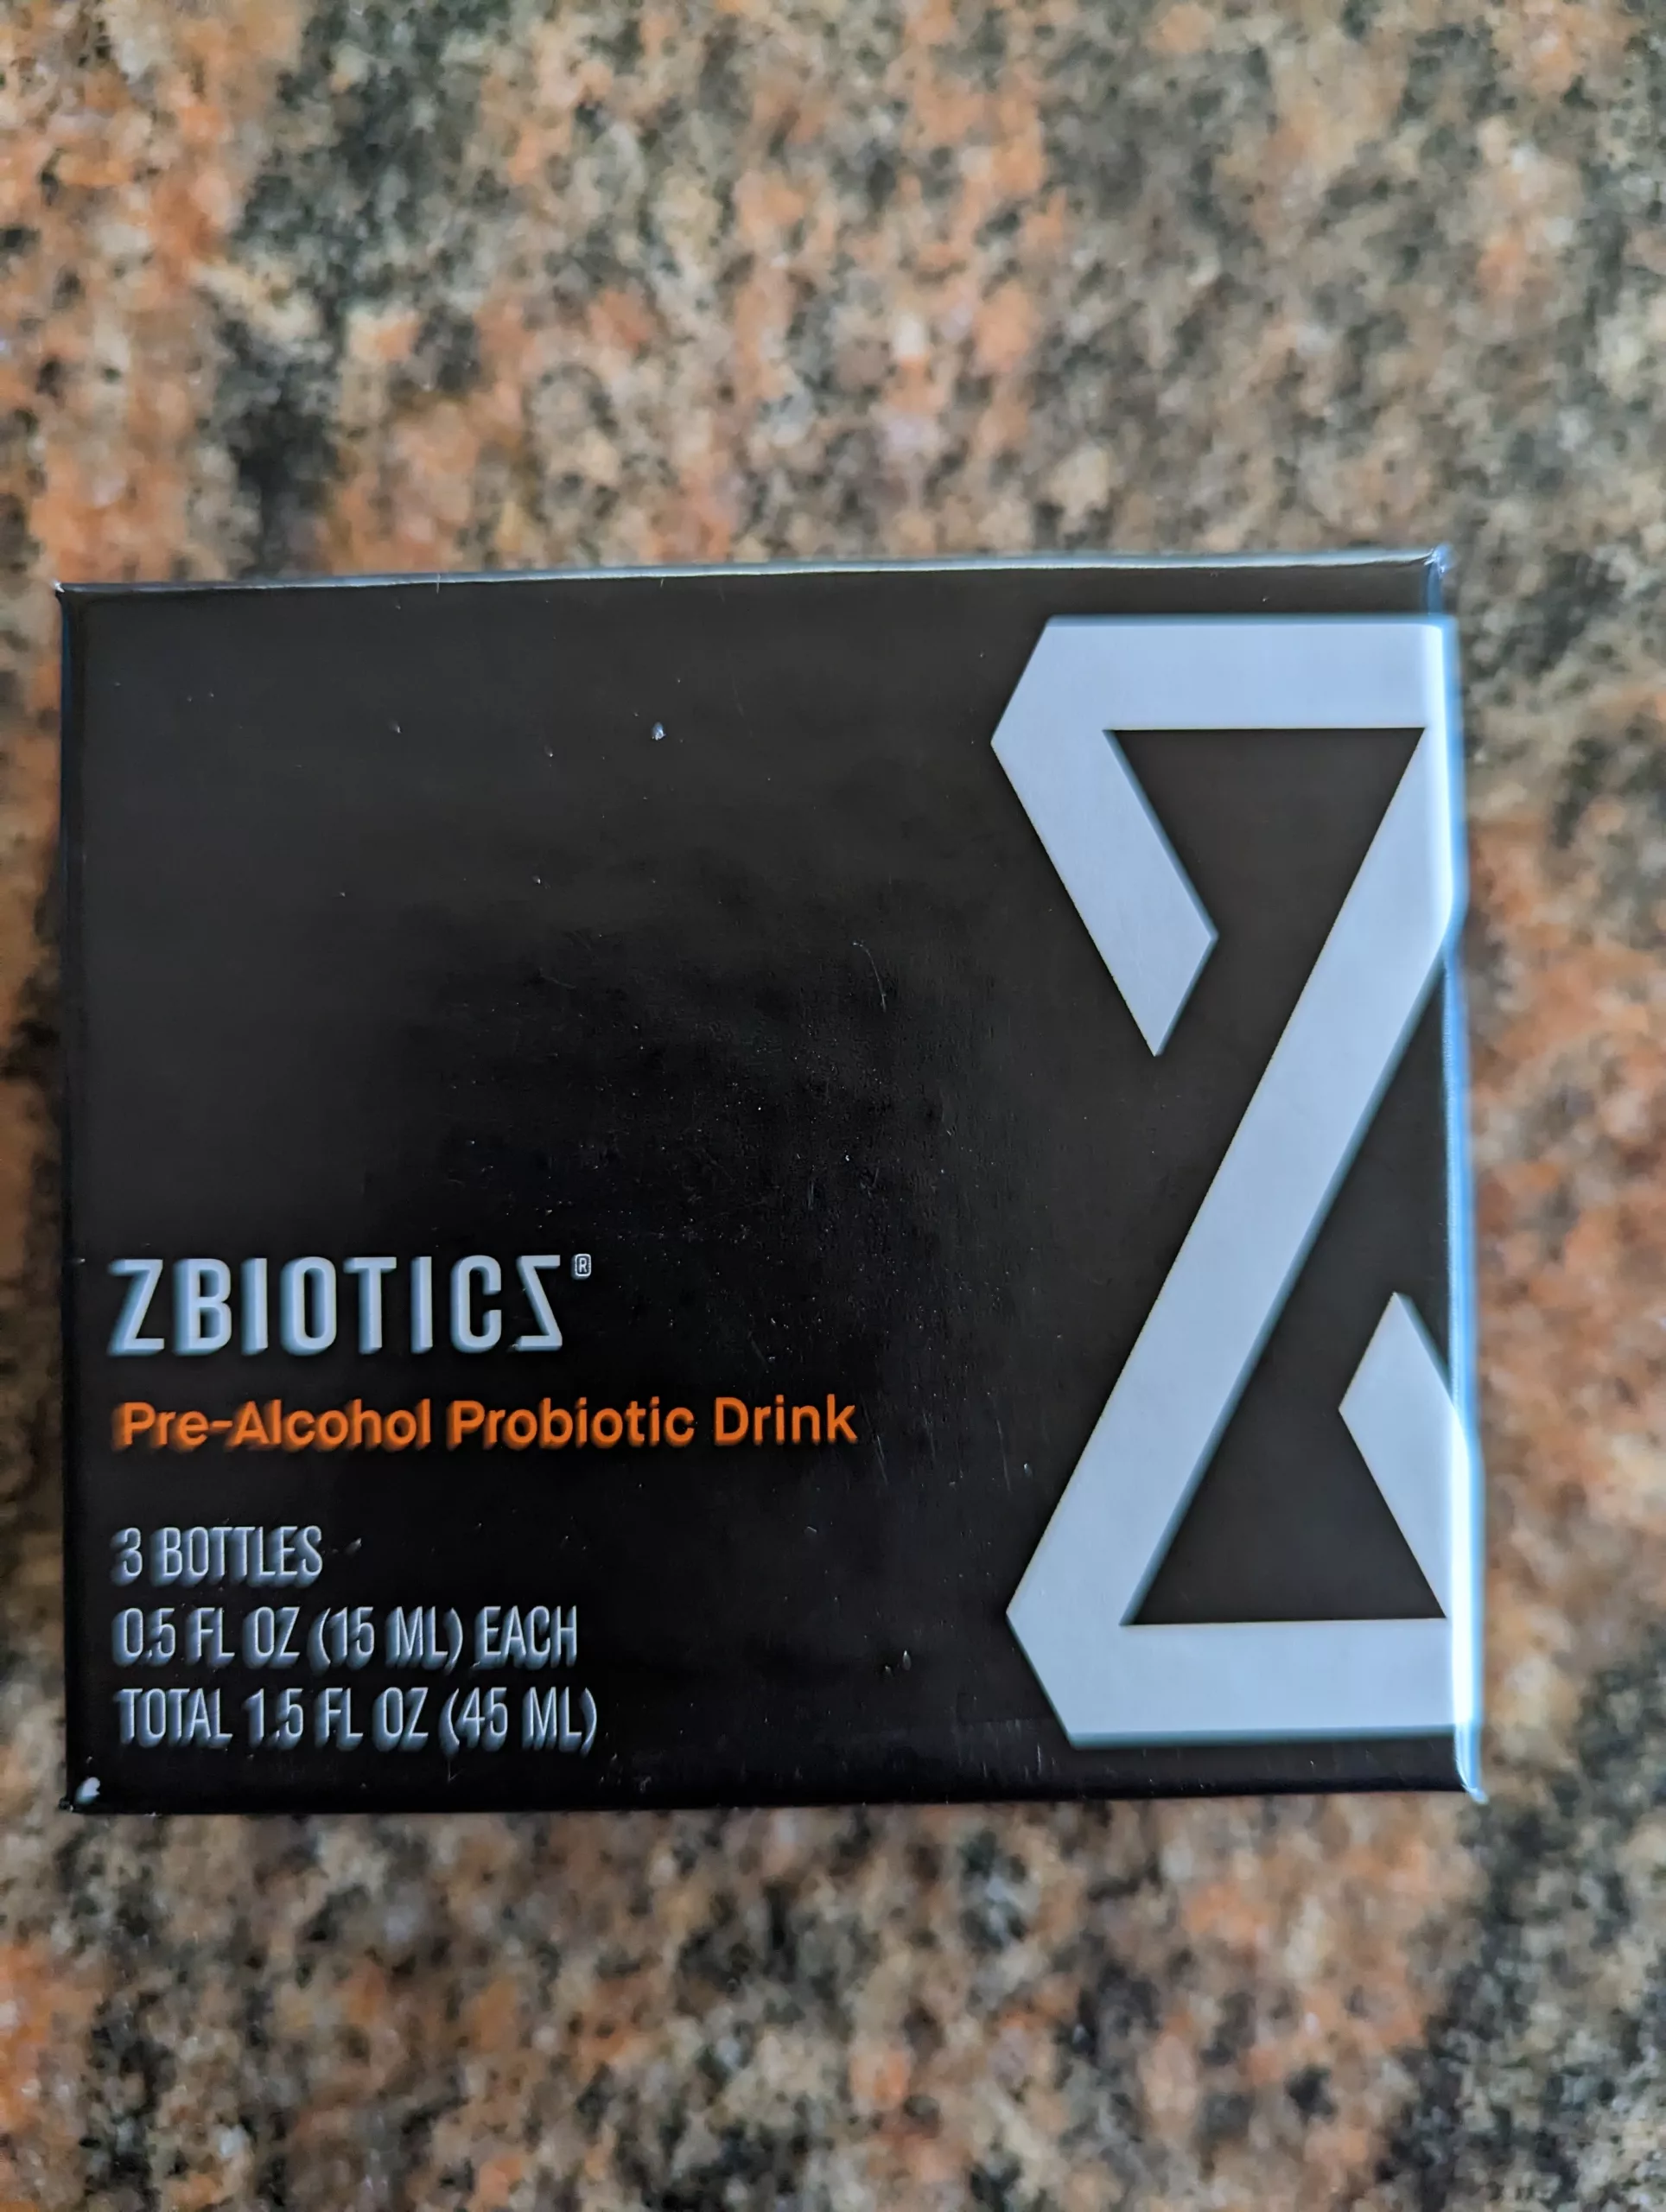
ZBiotics Review
I had heard about ZBiotics on several podcasts that I listen to regularly. The claims were strong and I was interested in trying it out. The current routine that I follow has a lot of moving parts, and avoiding any aspect of it could definitely throw off your morning. I reached out to the company, explained my interest and got a sample.
What is ZBiotics?
ZBiotics is the first probiotic that you drink before you drink. It specifically consists of a genetically engineered probiotic designed to breakdown acetaldehyde. You drink a bottle of this up to a few hours before you first drink. The bacteria then hang out in your gut for up to 18 hours decomposing acetaldehyde. The theory is that this helps your liver do it’s job of getting rid of the harmful byproduct of alcohol metabolism faster.
At first, I was skeptical… I tend to avoid “genetically engineered” anything. Would this really be as good or better than what I was already doing? Will there be any long term or strange side effects? Without a doubt, I was going to be paying very close attention when using this.
The ZBiotics Review ‘Test’
I decided to test out ZBiotics on a Thursday night. My plan was to take it an hour before I went out to visit some local breweries. I wasn’t going to use anything from my normal ‘drinking stack’. I was going to follow some general best practices: Go out fed (with carbs) and occasionally drink water throughout the night. Just following these practices alone would not necessarily guarantee a smooth morning the next day.
The ‘Results’
So I took the ZBiotics after I ate dinner. It had a light lime taste, but wasn’t offensive. I didn’t notice anything after consuming it and headed out for some drinks. Throughout the night, I didn’t really notice anything different either. If anything, I felt like I was drinking more. After alternating between ZBiotics and my normal stack a few times, I think the reasoning for this is that I don’t feel as bloated when only taking ZBiotics.
When I got home, I still felt fine. I stayed up for a bit, drank some more water and then went to sleep. I woke up the next day feeling fine. Subjectively, I feel that I had had enough alcohol to make me feel otherwise. I didn’t feel the need to resort to B vitamins and electrolytes upon waking. Over the course of a few weeks, I continued to test. I’d revert to my stack. Next I’d use ZBiotics and sometimes I’d combine both. ZBiotics seemed to always be additive.
Conclusion
So here we are months later with my ZBiotics review. I’d say that for me, ZBiotics works. I continue to use it (combined with my ‘drinking stack‘) when I know I plan on drinking a lot. For me, this has often been while judging homebrew. It would become an expensive habit if I used it every time I drank. I tried to do a much more scientific comparison over the course of 3 weeks. Every Friday I would drink the exact same beers in about the same amount of time. One week I would use ZBiotics, one week I would do nothing special and the next I would try my stack. Unfortunately, the brewery ran out of one of the beers I was using for testing on the third week. So I can’t definitively say if ZBiotics alone is better than what I was doing before. It is clear to me that it is better than doing ‘nothing’. Based on my subjective testing, I prefer to combine both approaches. There were a few times where I was feeling less than perfect the next day using just ZBiotics. Adding the B Vitamins and electrolytes usually takes care of that though, so I’ll continue following this approach. Have you used ZBiotics? What was your experience? If you’re interested, this link will provide a discount. Let me know!