People are often surprised when I tell them that I have pepper plants that are a decade old. This is because I’ve been overwintering pepper plants for several years. Following this overwintering procedure makes the most of your harvest and allows you to get a jump start in subsequent seasons.
Why Overwinter Pepper Plants?
So what does overwintering pepper plants buy you?
I enjoy peppers. When I say “pepper”, I’m mostly talking about those insanely hot and flavorful varieties. These are the types that you usually can’t just pick up at your local garden center. Even finding the seeds for them sometimes requires a lot of searching, expense, etc. Once you start growing them, these varieties of peppers grown from seed rarely have a chance to produce prolific fruit in my relatively short growing season. I tried this early on, and mostly just got frustrated when I went to all this trouble to get no or minimal fruit. My pepper plant overwintering process initially started as a way to prolong that harvest time. It eventually morphed into having the long lived pepper plants that I do now. These overwintered pepper plants don’t need to do all of the early growth that first season plants do and end up producing fruit earlier in the season due to this.
Starting Peppers From Seed
Starting the types of peppers that I enjoy from seed is often a tricky process. I won’t necessarily go into detail here as I’ve found that each variety seems to differ slightly in what works best. Almost all of them though require some form of warmth during the germination process. I’ve written before about my indoor seed starting and growing setup. When I’m starting peppers from seed, they go through the full lifecycle described in this post. This tends to be the most difficult part of the process. When this is successful, I want to make the most of it.
Growing in Containers
Many people who overwinter peppers will actually dig them up before bringing them inside. For the most part, I’ve opted to grow them in containers. Growing in containers makes it easy to eventually move them inside. There are other benefits as well. You can move the containers around your yard. I do this for several reasons. You can optimize their sun exposure and move them out of rain (peppers hate being overwatered). I’ve also been using it as a means to get them out of the way of pests.
The Pepper Plant Overwintering Process
The overwintering process is fairly easy. If you don’t already plant in containers, you’ll have an extra step. Get ready to dig up your plants and then transfer them into containers. Beginning this process usually signifies the end of my gardening season as it typically is one of the last things I do.
When to Start
I start to think about the overwintering process when night time temps start to consistently dip below 50 degrees Fahrenheit. Whatever you do, you want to make sure that your pepper plants are inside before there is any threat of freezing. Before bringing your plants inside, you want to blast them with a high powered stream of water. This removes any pests that might be hanging on. This is one of the biggest issues that you’re likely to encounter during this process. If I see evidence of pests, sometimes I’ll spray with an insecticidal soap solution and then follow that with another high powered water stream.
Bring Pepper Plants Indoors
At this point, you can bring the containers inside. Usually, many will still have fruit and flowers. Unless you have a serious indoor gardening setup, there’s little hope that those flowers will mature into fruit. It’s best to remove all of the flowers. If you have the space, you can put them in a warm, lighted spot until you harvest the remaining fruit. After this occurs, you can move on to the next step.
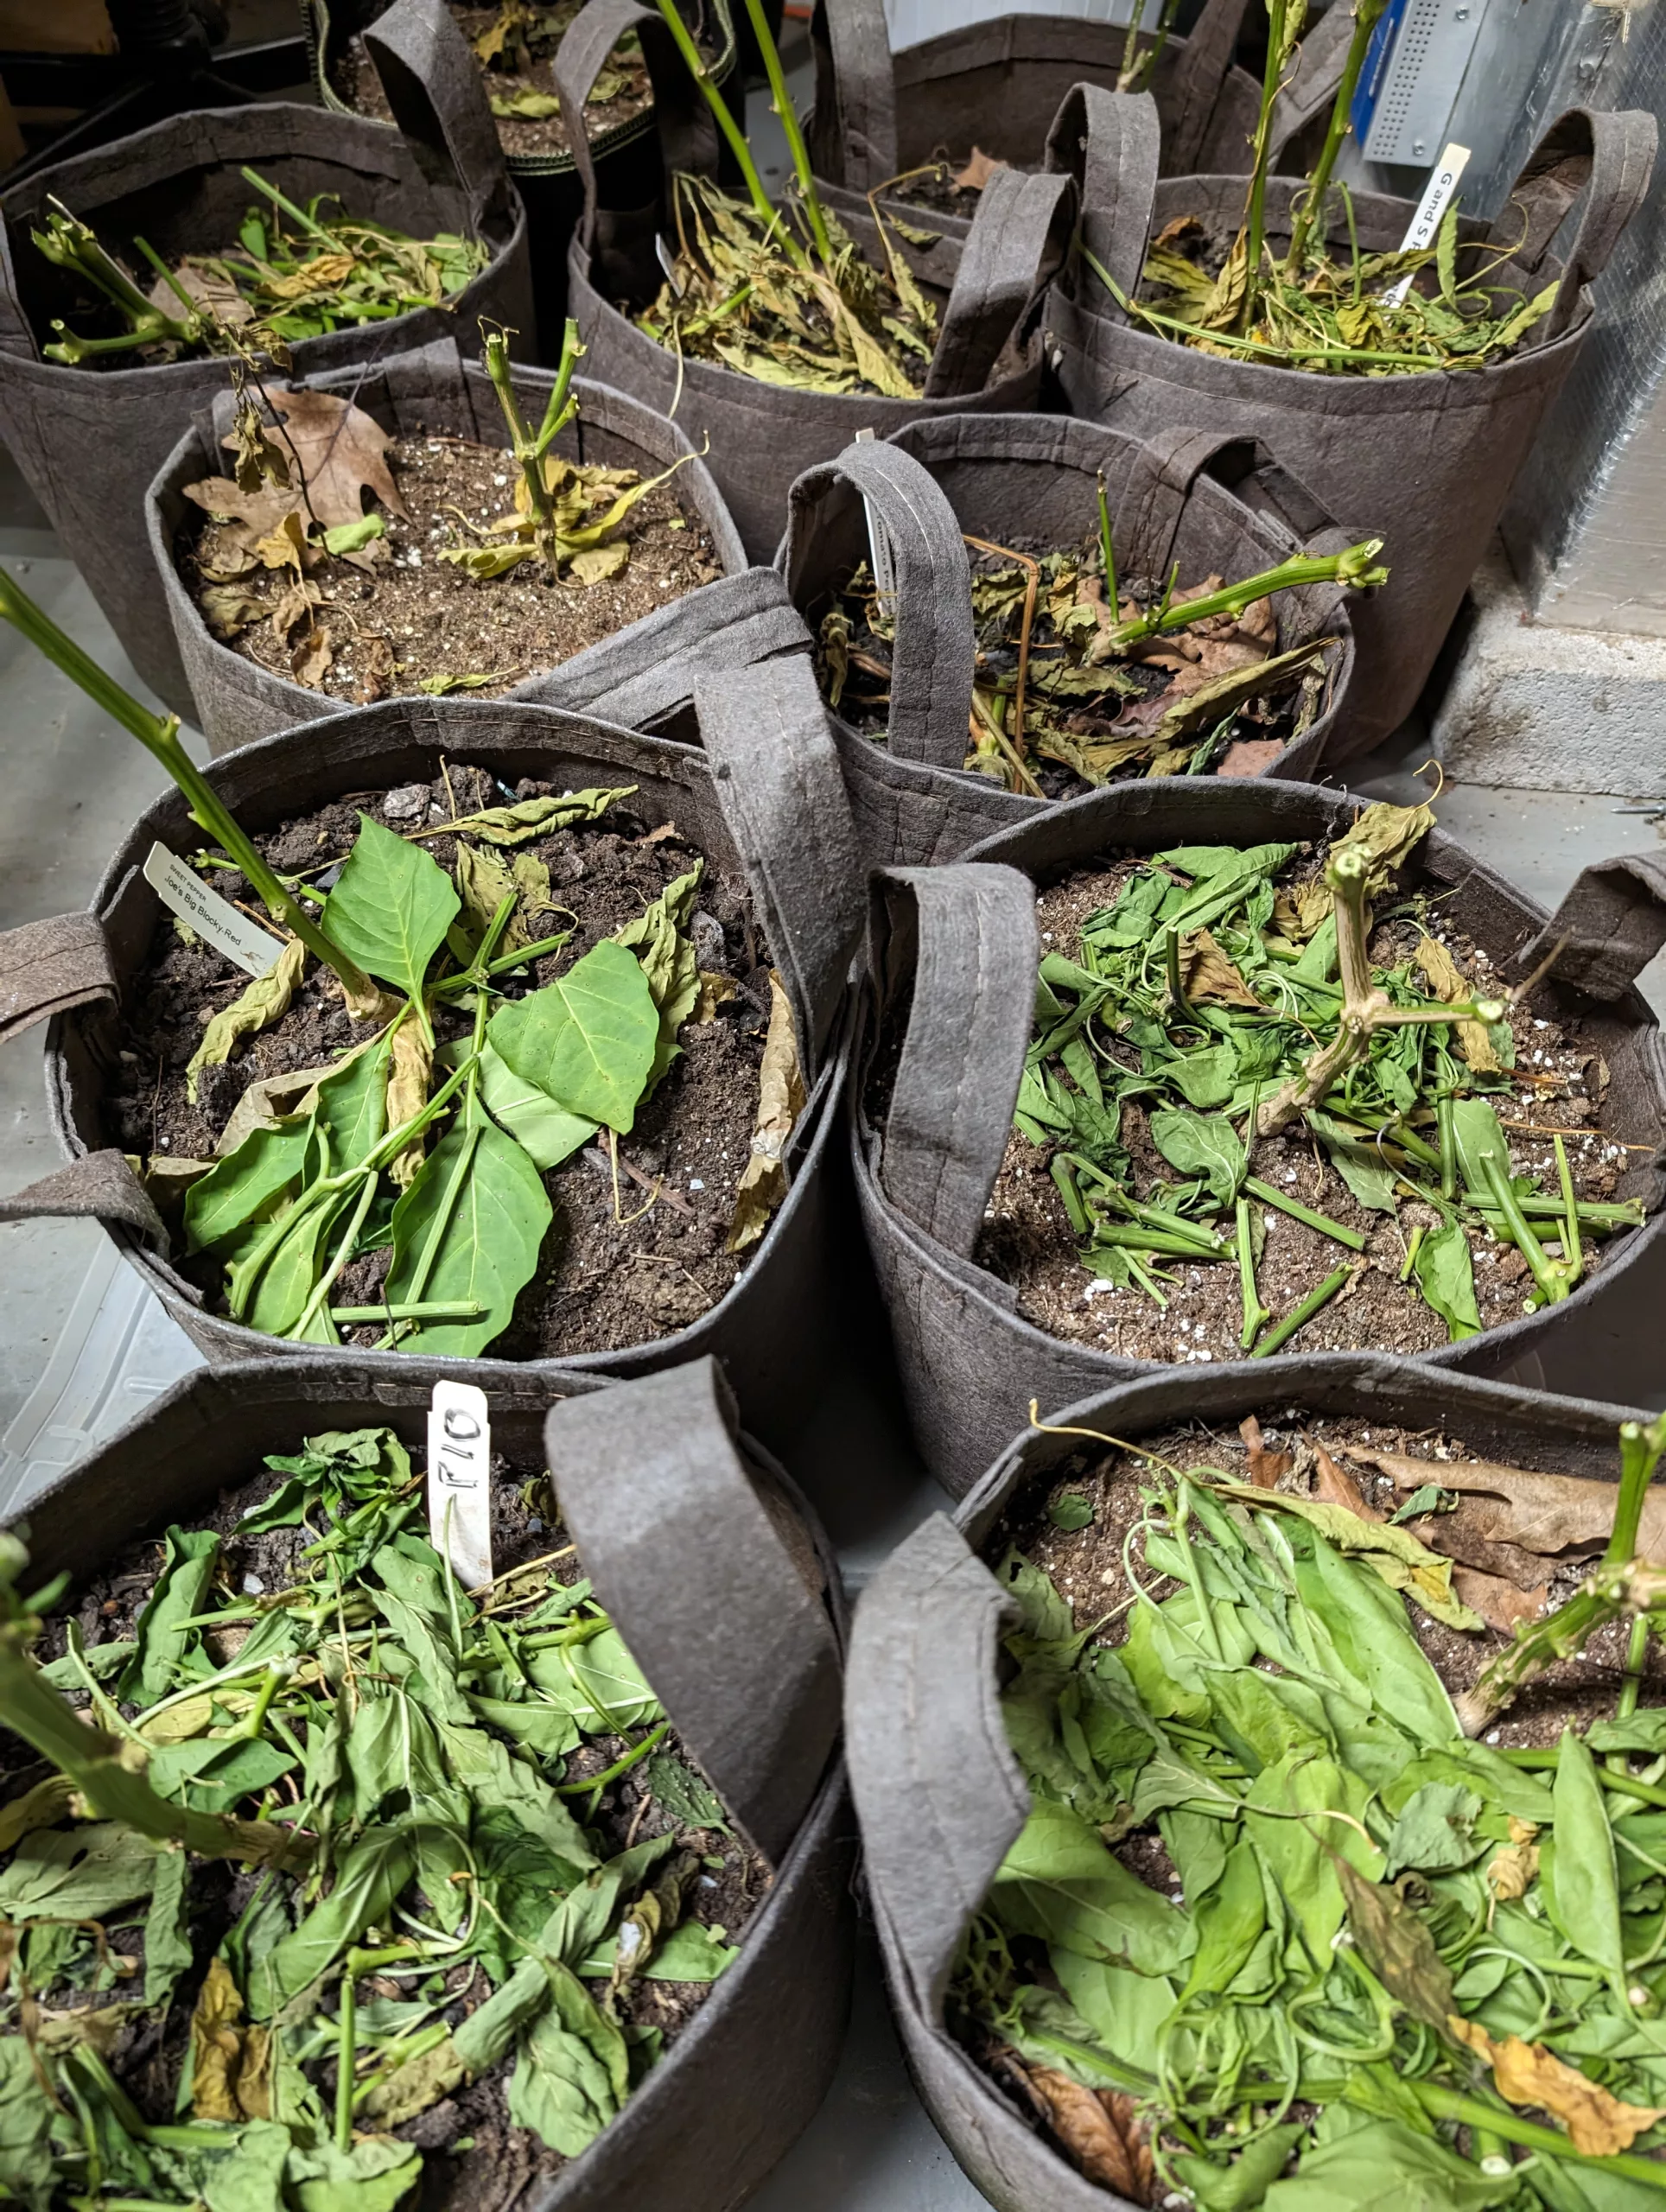
Induce Dormancy
At this point, we want to coax the pepper plants into going dormant. This makes it much easier to overwinter them. When this occurs, they won’t put any energy into growing or flowering. I do this by cutting all of the leaves and most of the stems off of the plants. These pruning shears are my favorite way to make clean cuts. I usually cut them down so that there are no more than 3 or 4 ‘stems’ above the first branch point. I cut all of these back just above the first branch node above the first branch point. Now you can do another check for any pests and deal with them if necessary.
The final step in inducing dormancy is to move the containers to an unheated garage or another spot that maintains a temperature around 50 degrees Fahrenheit. You don’t really need direct light here.
Overwinter
Congratulations! You’re successfully overwintering peppers. At this point, you can mostly forget about them until Spring. Check on them every week or two to make sure nothing weird is occurring. You should water them lightly once or twice a month.
Spring Revival
Shortly after your last frost, you need to bring the pepper plants out of dormancy. You initiate this by moving the containers some place warmer that gets more light. If you have a dedicated indoor gardening space, that’s great. If not, move them to a south facing window and keep them warm. At this point, you can also start watering them more frequently. It’s also a great idea to fertilize them using your method of choice. Once you start to see signs of new growth, you can begin to put them outside for a bit each day to harden them off. When night time temps are consistently above 50 degrees Fahrenheit and you’ve hardened them off, it’s time to move them outside permanently.
Conclusion
Are you overwintering pepper plants? If not, what’s holding you back? What tricks and tips do you have to make this process most effective? Drop me a line and let me know!
In the last issue of Fermenting Solutions, I mentioned that trying to keep my mycology grow room warm was becoming an issue. Each month, the arrival of my electric bills was starting to induce sticker shock. When I decided to have a year round mushroom growing setup it was only natural to put it in the warmest room in my house. My indoor gardening setup was already there. So why not add mushrooms? The increase in costs to maintain the temperature was making it obvious that this wasn’t going to work all year round. What could I do to make warming a mycology grow room easier?
Warming My Mycology Grow Room
This area of my house just happens to be the laundry room and I initially choose it because it is where my hot water heater and furnace were already located. Even so, during winter, this room tends to still be almost 10 degrees too cold for the most demanding varieties of mushrooms that I enjoy growing. Up until this point, I was basically just using an electric radiant heater to supplement the heat.
Mushrooms also demand a high humidity environment. Even though this was also the most humid room in the house, the climate conditions aren’t perfect in this regard either. I kept a humidifier running constantly in this room as well. Ultimately, this resulted in a lot of wasted electricity. I didn’t have fine grained control based on feedback in the room. The heater and humidifier often battled each other, requiring both devices to work harder. Having been down the path of automating my gardening setup already, every day that went by watching this battle just continued to annoy me. The increasing electric bills were just icing on the cake.
Making Space
The first major problem was that all of the closets/nooks and crannies in the rooms were already preoccupied by my indoor garden. I wanted the ability to have mushroom grows and plants going at the same time and not be forced to stop one hobby during a prime time for the other. Reusing the existing space was not an option. I also wanted to minimize the area that I need to heat and humidify. This would allow me to maintain several different ‘climates’ in this room while minimizing the energy that went into doing so. I had an inexpensive 5 shelf plastic green house lying around that I used to use for my gardening setup and decided to try using that as the foundation for creating my mycology microclimate.
Containing the Humidity
This green house had no bottom and I wanted to protect the floor of the laundry room. I found a hard plastic tray that is used for performing oil changes. This just so happened to be the perfect size to snugly fit the base of the green house. To add additional protection, I wrapped the entire bottom of the tray and greenhouse in a standard camping tarp. I wasn’t sure how effective all of this was going to be for holding in the humidity and temperature and not continuing to just control the climate of the entire room as before.
Raising the Temperature
The idea of putting an electric radiant heater inside of this humid greenhouse didn’t seem like the best idea, so I started investigating alternate ways of providing heat. After doing a ton of research online, I opted to build a contraption that used a ceramic infrared heating unit to heat a tray full of water and lava rocks. My thinking was, that if the greenhouse was effective at holding the heat, this should result in less electricity use without decreasing the humidity the way my prior heater did. I had a spare temperature controller so I used this to turn this contraption on/off based on the actual temperature in the middle of the green house.
Automating Humidity
At this point, I just put my existing humidifier inside the green house and put it on a timer. I hoped that it would more or less keep things around 90% humidity for most of the day. I started monitoring this with a hygrometer that displayed the current humidity and stored the past 24 hour high and low. Checking it frequently over the course of a few days, I determined that it was holding heat better than I expected and subjectively, it seemed that the heater was running less frequently than the whole room one had in the past. The room also didn’t feel like a sauna every time I walked in to check on my garden. Things were starting to look promising.
Fixing Some Obvious Annoyances
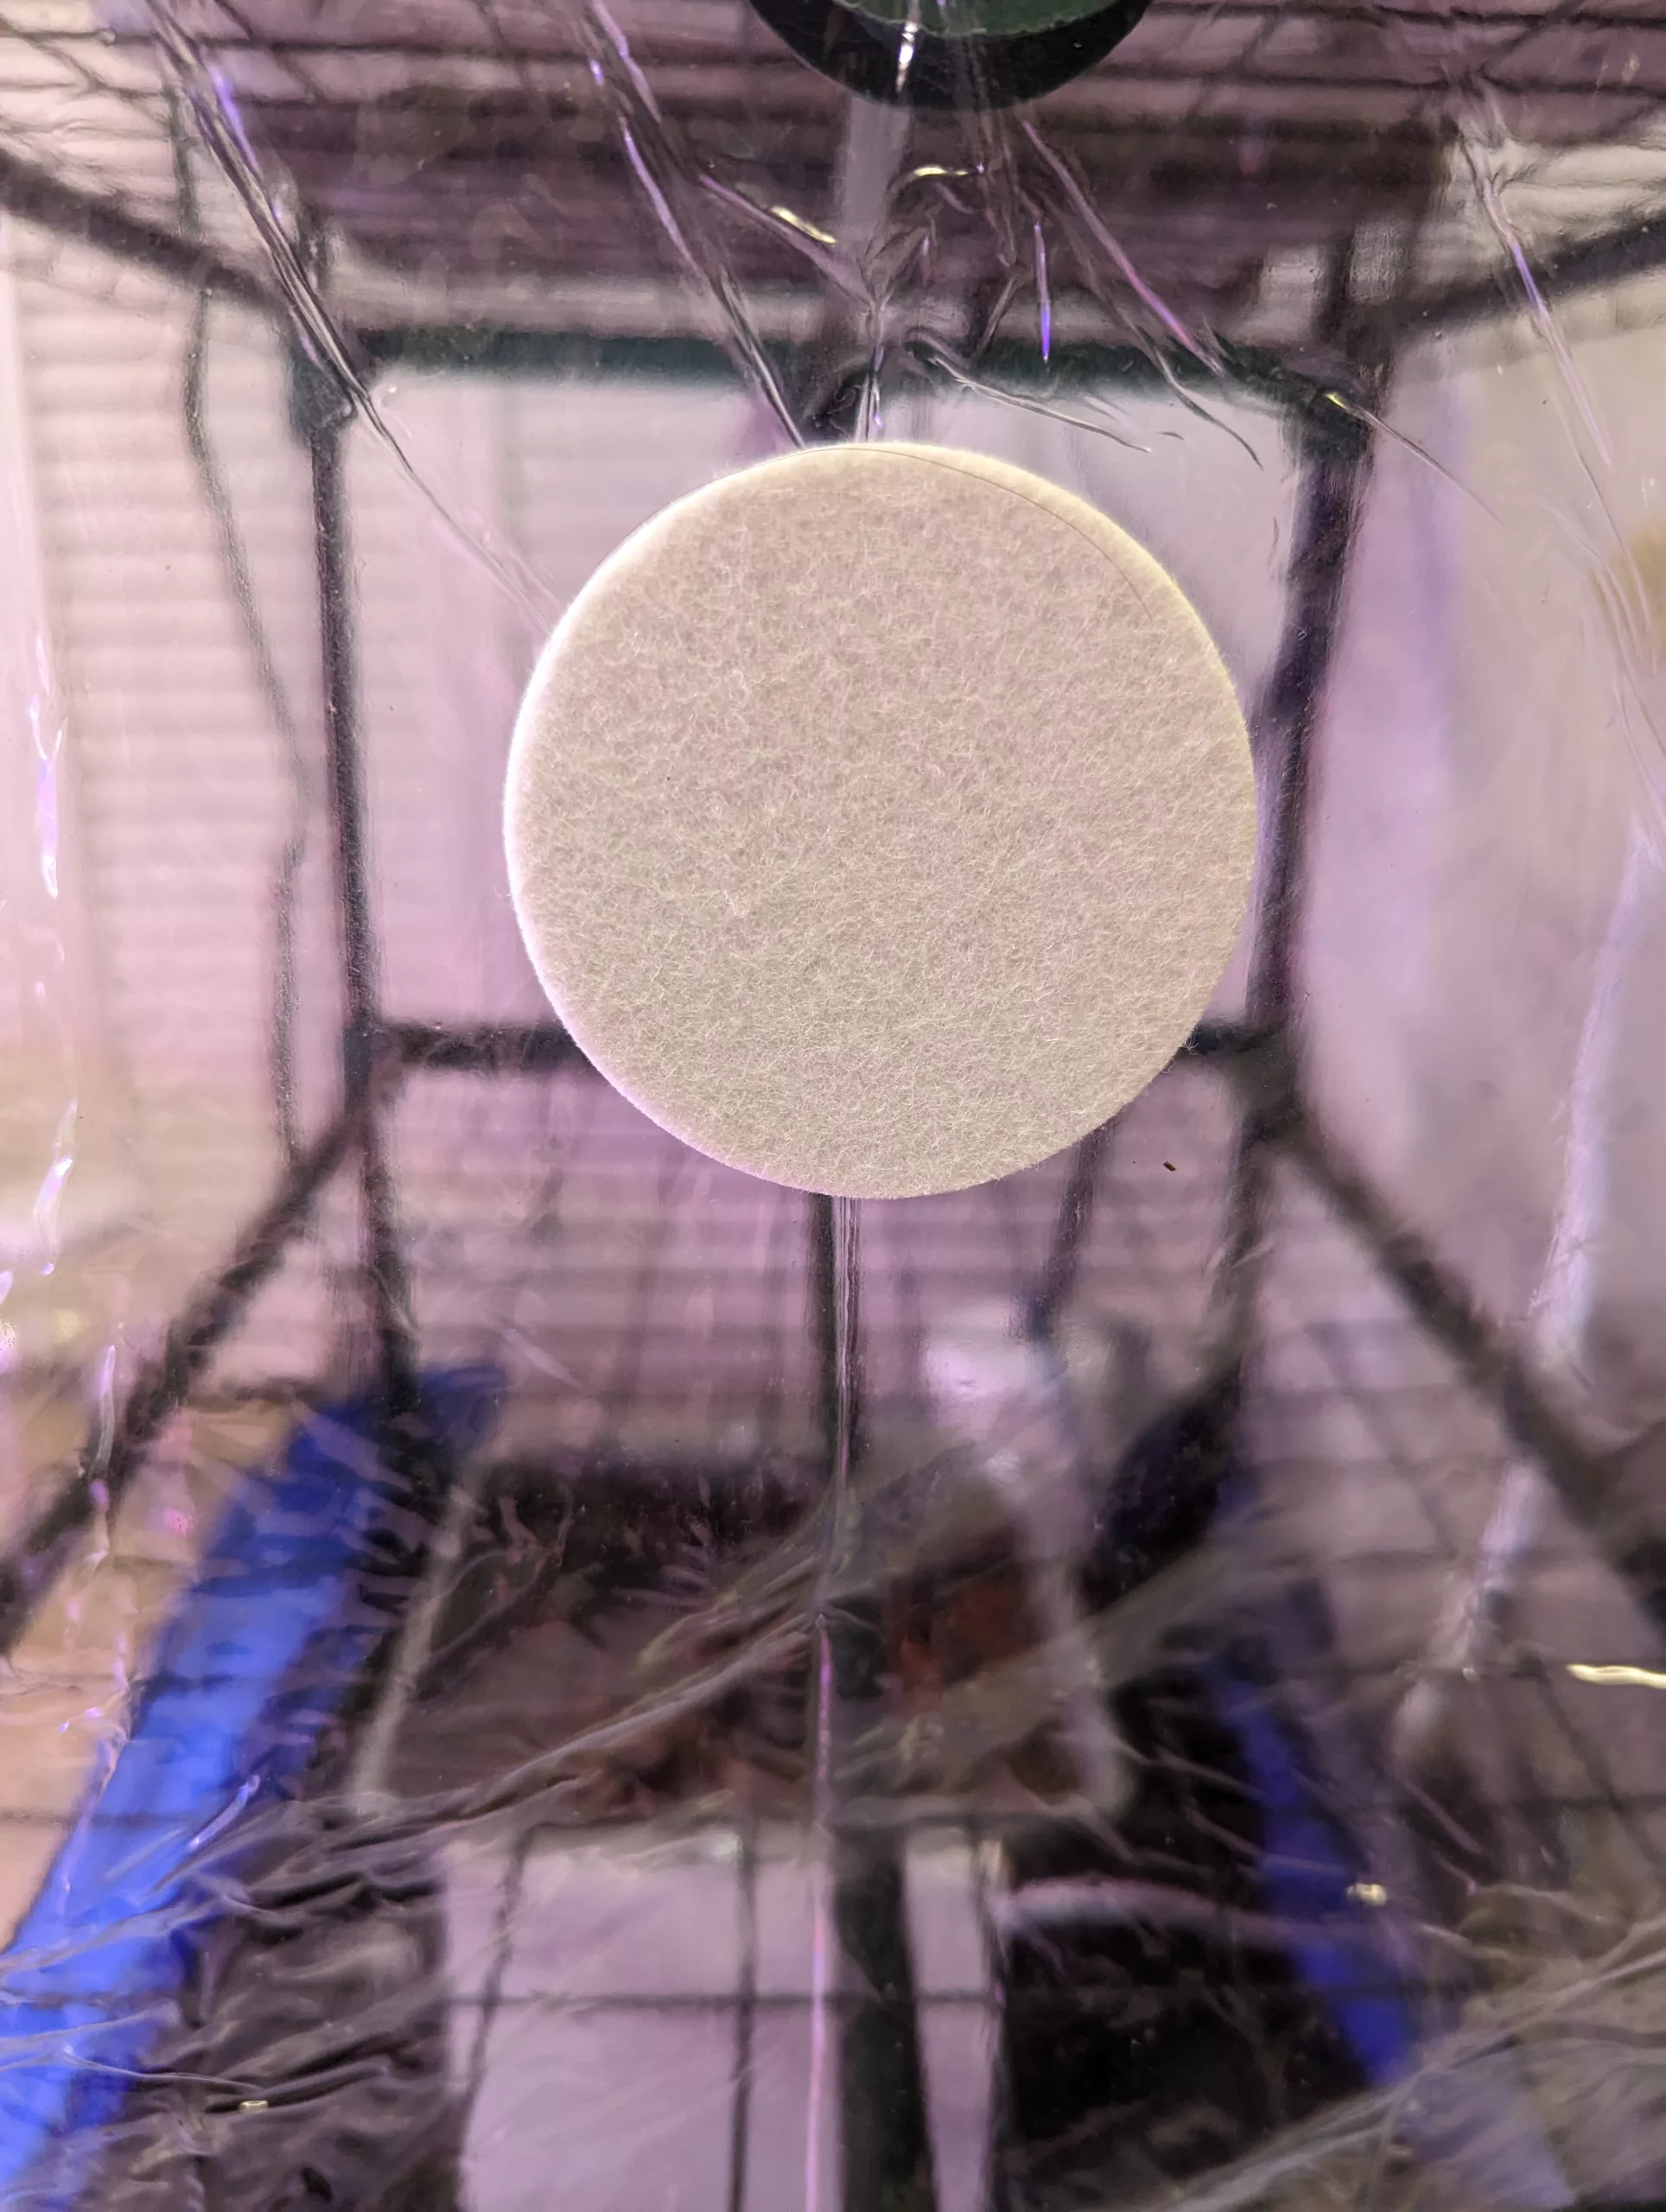
After a few days, refilling the humidifier inside the green house started to become a painful chore. It was also clear that having it on a timer would definitely lead to swings in humidity. Since I was investing so much time into this, I decided to find a different solution. I thought about putting the humidifier outside the green house, but the thought of creating a tubing solution to getting the humidity inside didn’t seem like a good investment of time. First I ordered a combined temperature/humidity controller to replace the timer I was using to control the humidifier and the original temperature controller. I also knew through my research that many others were using pond foggers instead of humidifiers. This had the added benefit that if I combined it with an aerator, I could also pump fresh air into the green house.
Not everyone is aware that mushrooms need to take in oxygen and produce Carbone Dioxide just like animals do. This was an eventual issue I was going to need to deal with any way. I put an aerator outside and ran tubing from it into a large honey jar filled with water. This jar also contained the pond fogger. The jar was still inside the green house, but I discovered that when I needed to refill it, I could just remove the aerator and pump water into the jar using the same tubing. Brilliant! I ran another tube out the top of the jar. The aerator/fogger combined pushes the fog through that tube to the top of the green house. Currently the aerator runs 24/7 and the fogger is controlled by the humidity controller.
Testing Everything Out
I tested fruiting some mushrooms at this point. Even though I didn’t have a means of measuring the CO2 levels directly. My gut felt that they were a bit high based on the outcome. I finally added a small USB fan in the bottom of the greenhouse to move air around more. Additionally, I punctured a few holes in the greenhouse that I covered with microfilters in order to allow a bit more free air exchange. I’m currently waiting for the results of the next fruiting (and for my next electric bill)!
Future Iterations
Anyone else gone down this path? I’m curious what solutions worked for you. I plan on iterating on this plan and over time will upgrade and swap out equipment based on future experiments. Some ideas: More precise control over temperature/humidity in different areas within the greenhouse. I’d like to have the ability to fruit and grow multiple species using optimal conditions at once. Same with being able to produce agar and liquid cultures. I’m also curious to see how all of this works out during the next winter. I have ideas for how I can better insulate and isolate this environment from the surrounding room. Time will tell if I need to alter my approach.
I’ve always been a fan of gardening. It probably has something to do with spending all that time out in the sun with my great grandmother digging in the dirt as a kid and enjoying the great things that came from it when it was ultimately time for harvest. I lost touch with this joy for a bit in my 20’s. There was nothing like the mind-numbing contrast of the cubicled office to make me want to get back outside and get my hands dirty. After buying my first home with some property, doing some real gardening was high on my list. It was inevitable that I would eventually create an indoor gardening setup.
One problem living in the part of Pennsylvania that I do is that the outdoor growing season doesn’t last all year long. Year after year, this was noted when I was planning for my upcoming gardening season. I eventually started focusing on container gardening just so I could bring things like peppers and herbs inside over the winter. This was mainly in order to get a jump on the next season. Assuming of course that they got enough sunlight… I didn’t forget to water them or it didn’t get too cold where I was keeping them. Some of my failures here made having a dedicated indoor space for gardening a high priority when looking for my current home.
My Indoor Gardening Setup
My indoor “gardening space” started out as just a small shelf in a closet in my laundry room. The early intention was to set it up as a staging area for starting seeds and growing transplants indoors. This would allow me to plant them outside as soon as conditions allowed. My laundry room was perfect for this. It was by far the most humid room in the house and also the warmest due to its placement right next to my furnace. Both conditions being ideal for starting most seeds.
Seed Starting Setup
I started with a pretty simple germination station and a supplemental heating mat. Many of the things I wanted to get a head start on require warm germination temperatures and high humidity. Most do not require being started in ‘dirt’.
I mostly use peat pellets as my seed starting medium. There are cheaper ways to do this, but these are very effective in my experience. Peat pellets are not that messy and help with adding some much needed organic material on a regular basis to my shale and clay rich soil. They also help with transplanting the plants which I’ll get to later. You soak the peat pellets in water until they expand a bit. At this point, you can add your seeds and continue to mist them as needed. Make sure that you don’t make conditions so wet that mold starts growing on the pellets. In a few days, you should have some sprouts which you can then transplant from your indoor gardening setup.
Let there be Light
Most seeds don’t require light to germinate, so this basic indoor gardening setup works great as long as you are on the ball about getting germinated seeds out of the station before the sprouts start to require light. Since this requires transplanting, which can take some time, I eventually added a small LED setup. This helps in three distinct ways. It buys me more time before I NEED to transplant. It gives me the ability to work with seeds that do require light to germinate and it also allows the sprouts to become much hardier before transplanting since they can use the light to continue growing. I don’t have the best finesse when transplanting sprouts, so any help I can get in having seedlings that can take some abuse during transplanting is always helpful.
My current seed germination setup towards the end of germination round with only the ‘stragglers’ remaining.
Switches and Outlets
Some of you might be wondering about the tech involved at this point. There’s already one light and a heating pad involved, neither of which you’d really want to run 24/7. Suffice it to say that like everything, I started out small just using power strips and manually turning things on and off. Eventually, I moved to using timers and then automated, programmable outlets/switches since the manual management became annoying and unreliable. It’s really amazing how much you can do with these COTS products and things like IFTTT and the Google Assistant.
I still use much of this basic hardware, but have supplemented with some custom hardware based on the raspberry pi and software that I wrote using Android Things and Actions on Google. If people are interested, I can document this in another post. It’s another thing that I hope to make available to others at some point after working out most of the kinks and documenting it more thoroughly, so let me know if you’re interested!
Transplants
No matter how you start your seeds, eventually you’re going to need to transplant them. You could attempt to take them right from the seed starting area to the outdoors, but if you’re not doing this under the utmost growing conditions, you’re likely not going to have the best of luck. This means you need some capability to handle this phase indoors as well. Assuming your intention is to ultimately put these plants outside in a garden, this phase differs from the germination stage in a few notable areas:
You will need a space for growing plants.
You will need light; ideally adjustable to accommodate your growing plants.
You will need an effective strategy for watering around all of these electrical systems that prevents over/under watering.
You will need actual soil for the plants to put down a root system.
You need ways of strengthening your plants so that they don’t become too weak to survive outside.
Some recent transplants on an elevated platform getting them closer to the light
Space is the Place
Even when I carved out that initial shelf in my laundry room closet to start my seeds, I knew that eventually I wanted to take over the entire closet. The first shelf started about 4 feet above the ground which gave me some serious growing space underneath. This height was also perfect for installing an adjustable grow light system. In order to maximize the effect of the lights, I first covered all of the surfaces below this shelf with aluminum foil to reflect all light back at the plants. I chose a fluorescent system since I wanted it to be reasonably economical and didn’t need the added heat from the more energy consuming lights.
At the time that I installed this, LEDs weren’t really viable due to their cost and questions regarding their effectiveness for growing plants. This latter concern has been addressed with newer models and I’ve since supplemented the base install with programmable LED arrays that allow me to tune the light wavelengths in order to optimize it for my plants and goals. Blue wavelengths encourage growth while reds encourage flowering/fruit production. You can see in many of the photos that the light is either skewed to red or blue or a mix depending on what I’m trying to accomplish.
Electricity and Water don’t mix
Obviously, after adding a few lights, heating elements and other controls, thinking about how to route power to everything becomes a concern… Especially when you factor in the need to water everything on a regular basis and deal with the inevitable situation where the water spills or goes someplace unintentional.
It didn’t take me long to build catch basins beneath every spot where I place my plants in containers. There are a lot of benefits to this and I just found the largest plastic containers with lids available and use the lids. This depth is effective enough at keeping any over watering inside the lids. This has the added benefit of allowing you to water your plants ‘from the roots’ if you use containers that have holes in the bottom (which I would definitely recommend to prevent both under and over watering). These lids also allow you to route the power along the outskirts.
No matter what, you definitely want to use GFCI outlets EVERYWHERE. I still do most of my watering by hand, mostly because I spend a bunch of time inspecting anything I’m growing on a regular basis anyway, but I’ve been experimenting with automating the watering in various ways.
Put Roots Down
The main goal of the ‘indoor transplant’ stage is to create plants that are hardy enough to put outside. One of the most fundamental things at this point is to provide everything the transplants need to create a healthy root system. This starts with using the peat pots mentioned earlier. They allow you to easily move the sprouts into a secondary container without disturbing any of the roots that have started at this point.
Choice of container is the next step. I already mentioned that having a container with holes in the bottom and watering from the bottom of the container encourages healthy root growth but forcing roots to grow deeper in order to find water, but the size of the container also matters. Think about your timeline for moving the plants outdoors and the growth rate of your plants and adjust accordingly. If you’re moving them outdoors within a few days or a week, you can get by with a small container, but if it’s a plant that’s destined to stay in a container, or spend weeks inside first, you’ll want something much bigger. You can do multiple rounds of transplanting, but I like to think ahead about this and reduce the number of times I need to move the plants.
No matter what container you decide on, you’ll need to fill it with good soil. Fill the container about 3/4 of the way. Then take your sprout in its peat pod, tear the webbing on one side to make it easier for the roots to push through and place it in the center of the container. Add more soil around the plant and then water it deeply. Transplant complete!
Strong Plants
At this point, you’ve almost replicated a safe environment to reasonably approximate the conditions for preparing your plants for the outdoors. One thing you’re missing is stressors on the plant caused by weather conditions and inquisitive insects and animals. You can prep your plants for this by adding an adjustable, oscillating fan to the mix. I like to avoid directly blowing air on my plants. Instead, have the fan face a wall so that the breeze ricochets back onto the plants.
Get Gardening Outside
What I’ve described here is a pretty effective way to get the jump on your growing season. Before putting your plants outside permanently, you’ll want to put them out during the day for a few days to ‘harden’ them. This is another area where having a system of trays makes things easier! I’ve been able to harvest weeks ahead of my neighbors when I get cooperative weather using this method for seed starting. I’ve been able to improve even more using techniques to create micro-climates outdoors (definitely another post).
Continue Gardening Inside
Pruned multi year pepper plants that are fruiting/flowering indoors!
If you have enough space, it’s easy to tweak this indoor gardening setup to create an all year round indoor growing environment. I do this mainly with peppers, greens and herbs. I’ll plant in permanent containers. When the weather is right for the plants, I’ll move them outside. Then, when it starts to get cold, prune the plants back and bring them indoors. I can create an environment to make the plants mostly dormant until the next growing season. If needed, I can adjust things to continue flowering and fruiting while inside. I have some pepper plants that are several years old at this point!
Interested in your own indoor gardening setup? Have you built something similar? What’s holding you back? I’d like to hear more from you!
My email newsletter is entitled Fermenting Solutions. It started years ago as an effort to ‘dog food’ AWeber’s Curate mobile app. It’s a semi regular chronicle of a current project that I’m spending time on… the trials, tribulations and the interesting beverages I’ve had to drink while trying to work through them. You can read past issues here. If you’re interested in getting all new issues in your inbox, you can sign up using the form below.