Category: Sustainability

  • Building a Backyard Food Forest

    Building a Backyard Food Forest

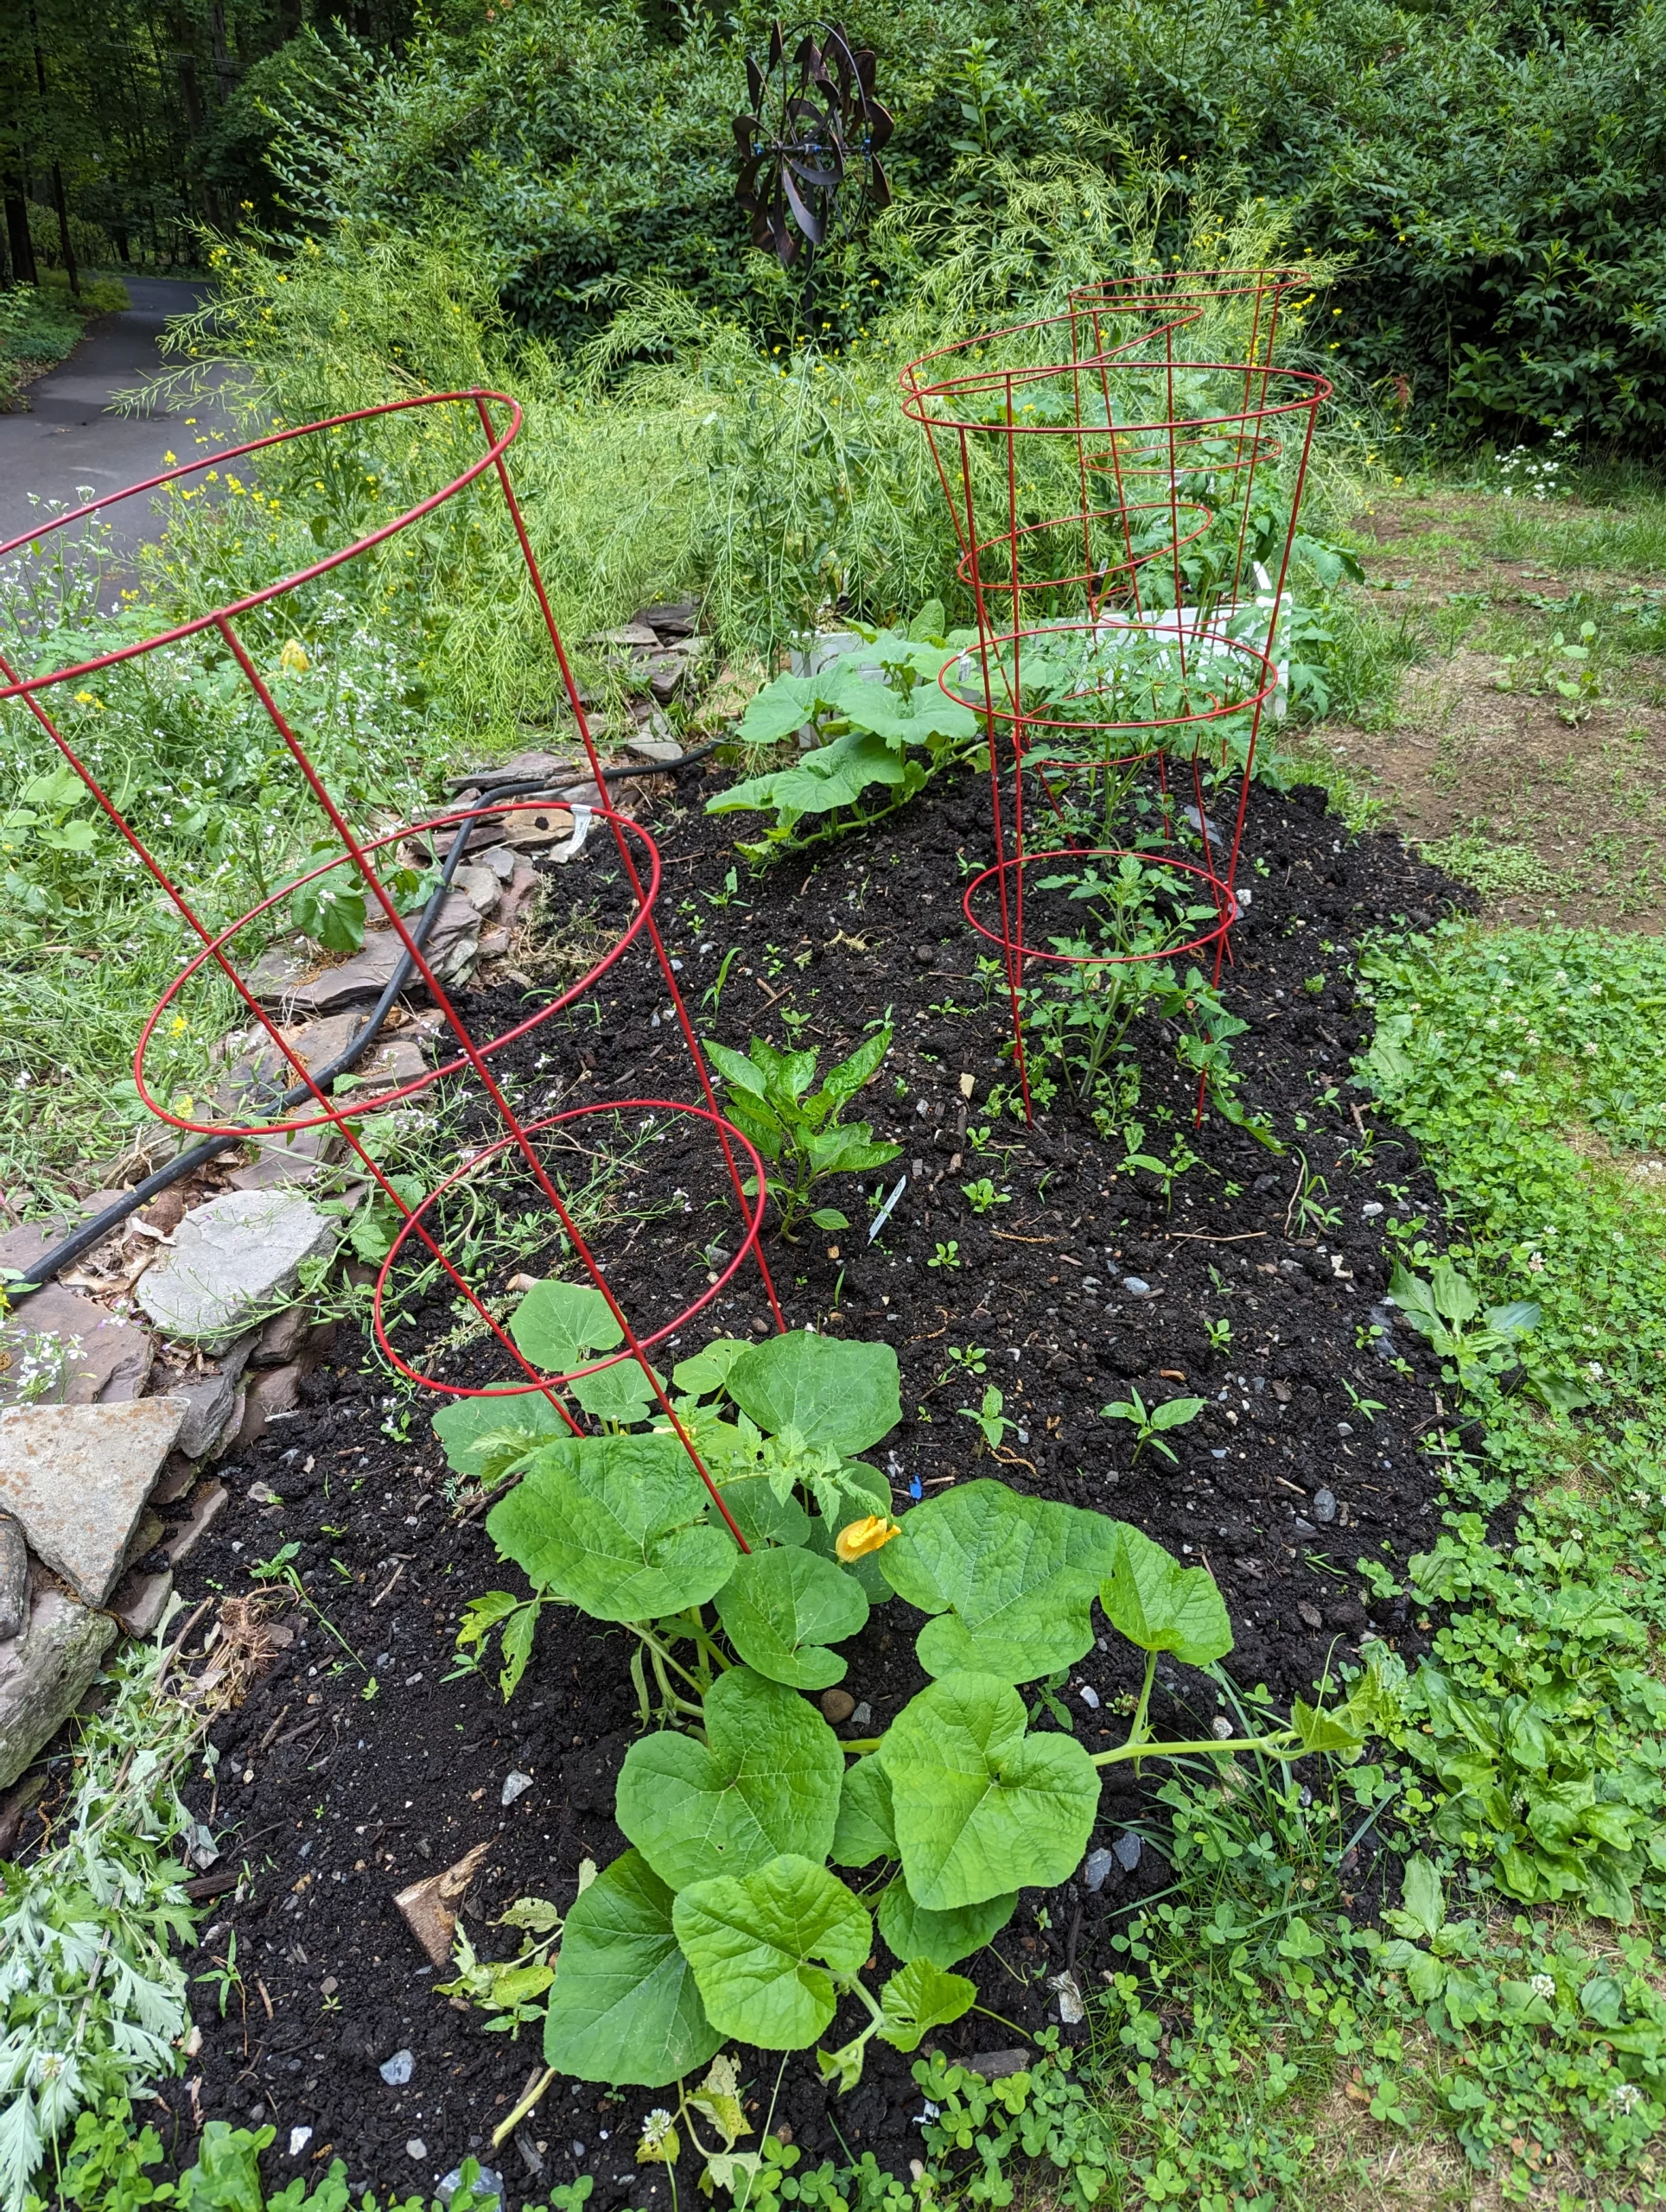
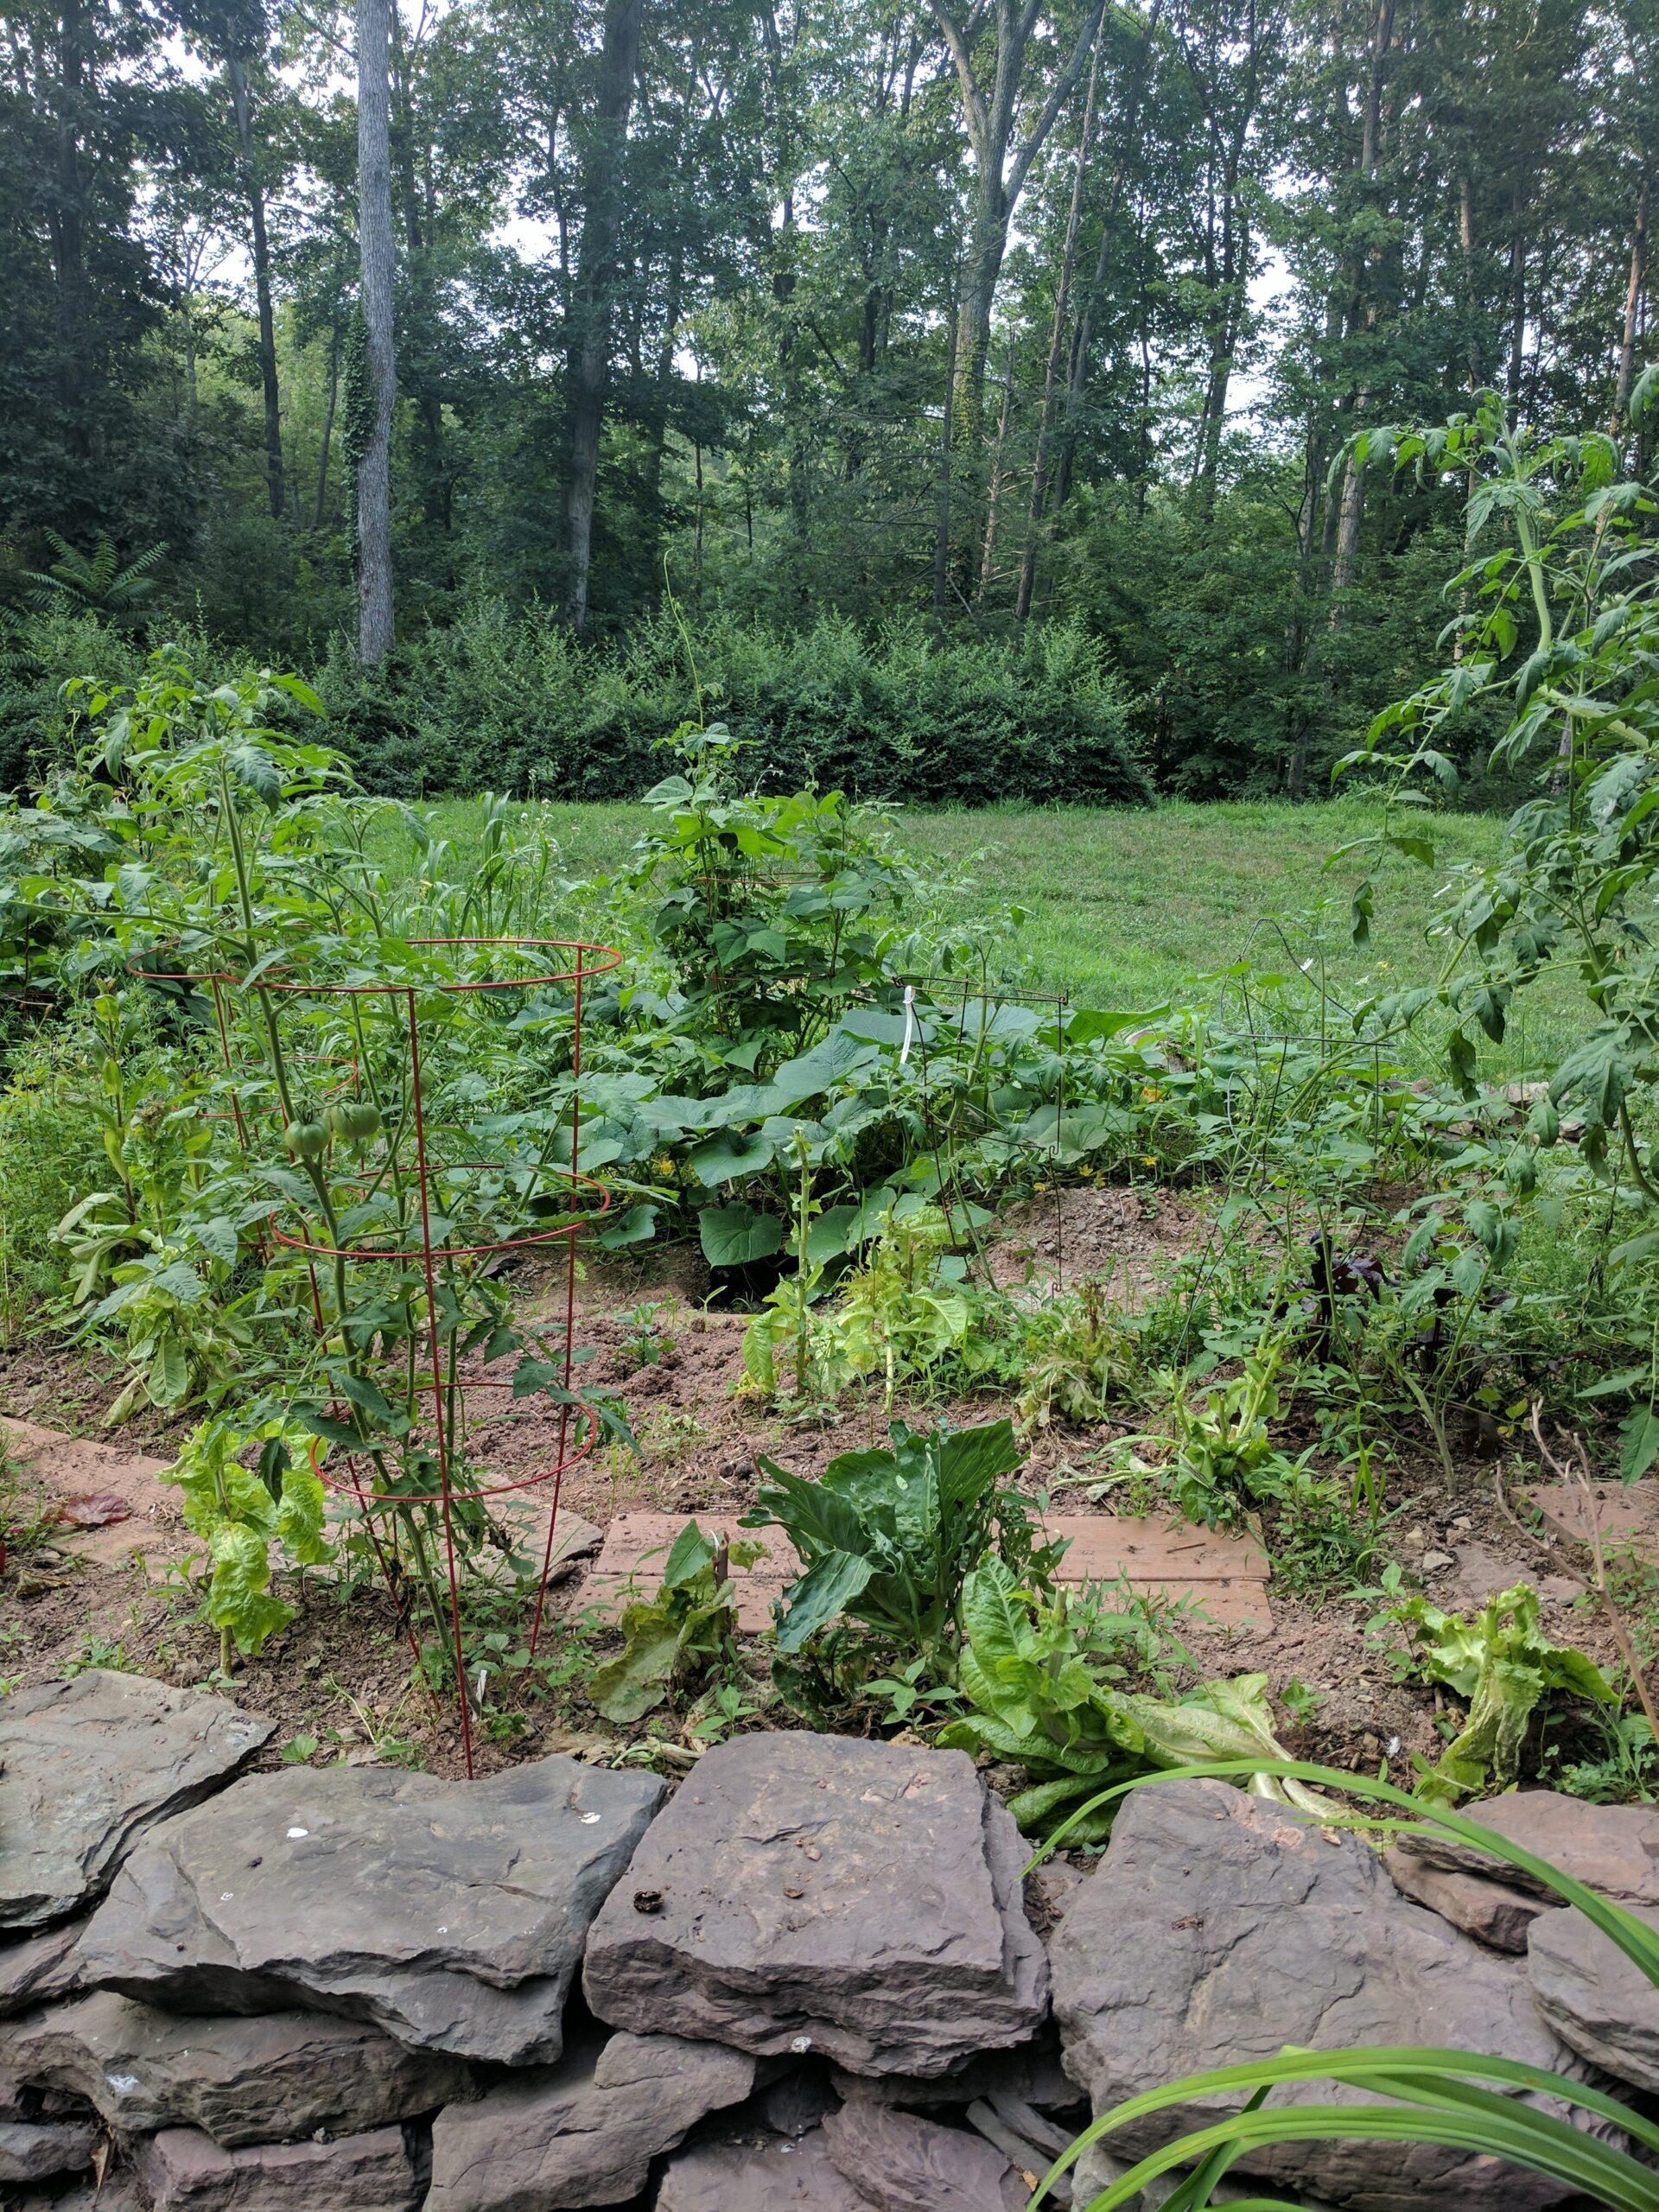
    I’ve written before about my desire to turn my backyard into a food forest using edible landscaping. I’ve always imagined a lush, thriving garden that requires minimal effort yet provides a bounty of products—all while resembling a natural forest ecosystem. My process of building a backyard food forest started after encountering the concept of permaculture. Rooted in ecological principles, permaculture is a holistic approach to creating sustainable systems that mimic nature’s patterns. Unlike traditional gardens, it’s designed to work with nature, reducing labor and water needs over time.


    What Is Permaculture?

    Coined in the 1970s by Bill Mollison and David Holmgren, permaculture combines the words permanent and agriculture (or culture). It’s a design philosophy focused on creating resilient, self-sustaining ecosystems that benefit both humans and the planet. Unlike conventional gardening or farming, permaculture emphasizes:

    • Working with nature, not against it.
    • Creating no waste—everything has a purpose.
    • Building soil health as the foundation of all life.
    • Ethical stewardship of resources for future generations.

    In the Mid-Atlantic region, where seasons shift from humid summers to crisp winters, permaculture offers practical solutions to thrive in harmony with local climate, soil, and wildlife.


    Core Principles of Permaculture

    Before diving into how I’ve put things into practice, let’s explore three foundational principles:

    1. Observe and Interact: Study your land’s microclimates, water flow, and sunlight patterns. Factor this information into your design plans for making the most of your unique situation.
    2. Catch and Store Energy: Harvest rainwater, sunlight, and organic matter to reduce reliance on external resources.
    3. Produce No Waste: Compost scraps, recycle materials, and design systems where one element’s “waste” becomes another’s resource.

    Key Permaculture Practices

    There are some key practices that you must ultimately master in order to make the most of permaculture. The specifics of these will vary wildly based on the region of the world you are in. This is why observation is the first step to build your backyard food forest.

    Companion Planting

    Pair plants that support each other’s growth. Practices like three sisters gardening (corn, beans, and squash) thrive for a reason, as beans fix nitrogen, corn provides structure, and squash shades the soil. One of my favorite books on companion planting is Carrots Love Tomatoes

    Integrate Native Plants

    Start with plants that are native to your area. These are already adapted to the specifics of your climate and will support local pollinators. This can help minimize the need to heavily amend your soil and manually water everything.

    Rainwater Harvesting

    Take advantage of any water that falls on your property. Install barrels, swales, or ponds to store water for dry spells. Use this as the basis for any watering system you develop.

    Leverage Perennials

    Replace annual crops that you need to plant every year with perennial plants that yield food for years. Blueberries, asparagus, garlic, hazelnuts, and fruit trees like pawpaws are Mid-Atlantic favorites.

    Master Mulching

    Rebuild soil health by layering cardboard, compost, and mulch. This mimics natural leaf litter, suppressing weeds and enriching soil. Perfect for reclaiming lawns or garden beds.

    Natural Pest Management

    Encourage biodiversity to control pests. Ladybugs, birds, and even chickens can keep aphids and slugs in check. Avoid synthetic pesticides that harm beneficial insects.


    Starting Your Mid-Atlantic Permaculture Journey

    Start Small

    Many newcomers to permaculture are immediately overwhelmed. Building a backyard food forest is a marathon, not a sprint. Do small things to help learn your land while still giving you some ‘rewards’. Begin with a balcony herb garden or a rain barrel. You’re experimenting with ideas at this point.

    Learn Local

    Read about the core principles, specifically things that are targeted at the region that you live. Befriend a long time gardener. Attend workshops or join groups. A good resource for the Mid-Atlantic is the Shenandoah Permaculture Institute.

    Assess Your Site

    Now that you’re armed with some basic knowledge and have some skin in the game with a small garden plot, start in earnest by observing your space:

    • Sunlight: Note how sunlight moves across your yard throughout the day. Most fruit trees and shrubs need 6–8 hours of sun, while shade-tolerant plants (e.g., leafy greens) can thrive in partial shade.
    • Soil: Test soil pH and fertility. Identify areas with poor soil that you may need to amend with compost or mulch.
    • Water: Identify natural water flow and areas prone to pooling.
    • Space: Sketch your yard’s dimensions and existing features (trees, structures) to assist in planning layers effectively.

    Identify Plants

    A forest has distinct layers—replicate them with edible or useful species that are of interest to you. Avoid invasive species for your area and instead, prioritize native or climate-adapted species—they require less water and resist local pests.

    1. Canopy Layer: Tall fruit or nut trees (e.g., apple, pear, chestnut, or persimmon). Space them to allow sunlight to reach lower layers.
    2. Understory Layer: Dwarf fruit trees or berry bushes (e.g., blueberries, currants, or hazelnuts).
    3. Shrub Layer: Edible flowers, herbs, or smaller shrubs (e.g., rosemary, elderberry, or serviceberry).
    4. Herbaceous Layer: Perennial vegetables and herbs (e.g., rhubarb, sorrel, chamomile, or comfrey).
    5. Ground Cover: Low-growing plants that suppress weeds and retain moisture (e.g., clover, strawberries, or thyme).
    6. Root Layer: Tubers or bulbs (e.g., Jerusalem artichokes, garlic, or onions) to maximize vertical space.

    Design the Layout

    • Sunlight Flow: Place taller plants (canopy) on the north or east side to avoid shading smaller species.
    • Companion Planting: Pair plants that benefit each other. For example, nitrogen-fixing legumes (clover) enrich soil for fruit trees, while marigolds deter pests.
    • Biodiversity: Mix species to prevent monoculture and attract pollinators (bees, butterflies) and pest predators (ladybugs, birds).

    Prepare the Soil

    • Mulch Heavily: Use wood chips, straw, or leaf litter to retain moisture, suppress weeds, and feed soil as they decompose. If you have access to lots of tree litter, consider creating Hügelkultur beds.
    • Add Compost: Layer compost over the soil to improve fertility and structure.
    • Avoid Tillage: Tilling disrupts soil ecosystems. Let fallen leaves and mulch act as natural mulch.

    Plant Strategically

    • Spacing: Allow room for mature plant sizes. Overcrowding leads to competition for light and nutrients.
    • Layer Planting: Start with canopy trees, then fill in understory and ground covers. Plant root crops first to avoid disturbing them later.
    • Seasonal Timing: Plant perennials in early spring or fall when they establish roots easily.

    Minimize Maintenance Practices

    • Mulch Annually: Replenish mulch to maintain soil health and reduce weeding.
    • Weed Sparingly: Pull weeds when young, but embrace some diversity—many “weeds” (like dandelions) are edible or otherwise beneficial.
    • Prune Selectively: Remove dead branches from trees but avoid over-pruning. Let fallen leaves and debris stay as natural mulch.
    • Water Sparingly: Once established, most perennials need little irrigation. Focus on young plants during dry spells.

    Integrate Wildlife

    • Pollinators: Plant flowers like lavender or echinacea to attract bees and butterflies.
    • Birds: Add a birdbath or nesting boxes to control pests like aphids. Many fans of permaculture will create mobile chicken coops to assist with this.
    • Compost: Compost kitchen scraps and any other woodland debris to recycle nutrients back into the soil.

    Harvest and Reevaluate

    • Pick Regularly: Harvest fruits and herbs to encourage growth and prevent waste.
    • Replace Slowly: If a plant dies or struggles, analyze potential reasons for this and replace it with another species suited to the space.

    Why Permaculture Matters

    Almost every region faces challenges like soil erosion, invasive species, and erratic weather. Permaculture helps address these by:

    • Building drought-resistant landscapes with deep-rooted plants.
    • Reducing stormwater runoff through swales and rain gardens.
    • Supporting pollinators critical to local agriculture.

    A food forest is a long-term investment that grows more resilient and productive with time. Permaculture isn’t about perfection—it’s about making steady progress. Every step brings you closer to a sustainable future. The Mid-Atlantic’s rich biodiversity and distinct seasons make it an ideal place to experiment with these timeless practices. By mimicking nature’s design, you’ll eventually create a low-effort, abundant ecosystem that nourishes both you and the planet.

  • Hügelkultur in Pennsylvania

    Hügelkultur in Pennsylvania

    Hügelkultur in Pennsylvania: Nature’s Raised Bed

    Years ago, hurricane Sandy turned my forested property into an open meadow with massive rotting tree stumps everywhere.  The trees on my property that used to provide shade and beauty, now produced a steady supply of fallen branches, logs, and leaves.  Since I had already been slowly ‘rewilding’ my lawn area, it seemed only natural to consider a gardening technique that turned this “debris” into a gold mine of fertility: Hügelkultur.

    What is Hügelkultur?

    Hügelkultur, pronounced “hoo-gul-kultur,” translates to “mound culture” or “hill culture.” It’s a centuries-old gardening method that involves creating raised garden beds by mounding logs, branches, leaves, compost, and soil. Think of it as a lasagna garden, but with a woody base layer. This base layer is the key to Hügelkultur’s many benefits.

    Why Hügelkultur is a Win-Win for Your Garden

    Hügelkultur provides many benefits.  As long as you have the ingredients on hand, the only real drawback I can think of is that many people don’t like the way the mounds look.  I’ll assume that this isn’t an issue for you and just dive right into why Hügelkultur is a win-win for your garden.

    1. Waste Reduction and Recycling: Hügelkultur is an excellent way to repurpose organic materials that would otherwise end up in a landfill or burn pile. You’re essentially recycling your yard waste into rich, fertile soil.  This is also way to reuse the spent substrate from my mycology hobby.

    2. Improved Soil Structure: The decomposing wood acts like a sponge, absorbing water and releasing it slowly to plants. This makes Hügelkultur beds incredibly drought-resistant and perfect for our sometimes unpredictable Pennsylvania weather.

    3. Increased Fertility: As the wood breaks down, it creates a nutrient-rich environment for plants. This slow-release fertilizer eliminates the need for synthetic inputs, leading to healthier and more productive gardens.

    4. Warm Beds: The decomposition process generates heat, creating a microclimate that can extend your growing season. This is especially beneficial in Southeastern PA, where our spring and fall seasons can be fickle.

    5. Habitat for Beneficial Organisms: The complex environment of a Hügelkultur bed provides shelter and food for a wide range of beneficial organisms, from earthworms to microbes. These creatures contribute to the overall health of your soil and garden.

    Hügelkultur in Pennsylvania

    Southeastern Pennsylvania is uniquely suited to Hügelkultur for several reasons:

    • Abundance of Woody Material: The deciduous forests of southeastern PA provide ample materials for building Hügelkultur beds. Oak, maple, hickory, and other hardwood species are excellent choices for the base layer.

    • Climate: Our moderate temperatures and ample rainfall provide ideal conditions for the decomposition process within the bed.

    • Soil Types: While our soils vary, Hügelkultur can be adapted to most conditions. In heavier clay soils, the mounded structure improves drainage. In sandier soils, the woody material helps retain moisture.

    Building Your Hügelkultur Bed

    Here’s a simplified guide to getting started:

    1. Choose a Location: Select a sunny or partially shaded spot with good drainage.

    2. Create a Base: Lay down logs and branches, the larger the better. Cover with smaller branches, twigs, and leaves.

    3. Add Layers: Layer on compost, manure, and topsoil, building a mound.

    4. Plant: Hügelkultur beds are ideal for a wide variety of plants, from vegetables and herbs to perennials and shrubs. Experiment to see what thrives in your mound.

    Important Considerations:

    • Wood Choice: Avoid using black walnut, as it contains juglone, a chemical that can inhibit the growth of some plants. Treated lumber should also be avoided due to potential chemical leaching. Stick to untreated hardwood like oak, maple, or hickory for the best results.

    • Patience: The decomposition process in a Hügelkultur bed takes time. The full benefits, like improved soil structure and nutrient release, may not be realized for a few years. Be patient, and enjoy the journey as your mound matures.

    • Maintenance: While Hügelkultur beds are relatively low-maintenance, they do require some attention. Monitor moisture levels, especially in the first few years, as the woody material absorbs water. Top dress with compost or mulch annually to replenish nutrients.  This is a great place to dump the soil from your container garden when the season is over.

    • Plant Selection: Choose plants that thrive in well-drained soil and can tolerate the heat generated by the decomposing wood. Some good options for southeastern PA include tomatoes, peppers, squash, beans, herbs, and perennials like lavender and coneflower.

    • Scale: Start small if you’re new to Hügelkultur. A smaller bed is easier to manage and allows you to experiment with different materials and techniques. As you gain experience, you can expand or create additional beds.

    Your Journey to Hügelkultur in Pennsylvania (and everywhere!)

    Hügelkultur is an exciting way to transform your landscape and gardening practices. It is more than just a gardening technique; it’s a philosophy of working with nature to create a sustainable and abundant garden.  By embracing this ancient technique, you’re not only creating a fertile oasis for plants but also contributing to leading a more eco-conscious way of life.

    If you’re ready to embark on your Hügelkultur journey, I encourage you to take the first step. Experiment, learn, and adapt this method to your specific needs and environment. And remember, you’re not alone!

    I’d love to hear about your Hügelkultur experiences, successes, and challenges. Feel free to share your questions, photos, or insights in the comments below. Together, we can create a thriving community of Hügelkultur enthusiasts in Southeastern Pennsylvania!

  • Sprouts Vs. Microgreens

    Sprouts Vs. Microgreens

    Are these sprouts?  Are these microgreens?  Is their a difference between the two?  The answer is: Yes there is a difference.  I grow both and if you keep reading, I’ll describe how they differ and which one in my opinion is the overall winner in the Sprouts vs. Microgreens battle.

    Growing Sprouts vs. Microgreens

    So why would anyone want to grow sprouts or microgreens, especially instead of a full grown plant of the same variety?  There are some easy answers here and some others that are more nuanced.

    Lack of Space

    Probably the most obvious reason for growing either of these is a lack of gardening space.   Many of the varieties used for both sprouts and microgreens would require feet of space just for a few plants.  You could grow hundreds or thousands of sprouts or microgreens in this same amount of space.

    Lack of Time

    Another reason for growing sprouts or microgreens is a lack of time.  For full grown plants, you will need a month or more from seeding time before you can actually harvest.  Harvest times for sprouts and microgreens are on the order of days/weeks.

    Lack of Cooperative Weather

    Due to the space and time saving benefits of growing sprouts and microgreens, you can make due with less than ideal weather conditions.  This is mostly because you can easily grow them in your kitchen.  Unlike growing full grown plants the need for bright light and always warm conditions is not necessary.

    Differences in Sprouts vs. Microgreens

    Before growing sprouts and microgreens,  you need to decide which product you ultimately want to harvest.  The following factors should be considered:

    Taste

    Different varieties of sprouts often taste very similar.  Microgreens have more flavor, often this is a more pronounced flavor from the fully grown plant.

    Intended Use

    Sprouts are often served as a garnish.  Microgreens can be combined to form a salad on their own, or used in much the same way as the greens from their fully grown counterparts.  Both can be used in smoothies.  It is recommended that you don’t cook microgreens as this will often degrade the nutrients that are present.

    Nutrition

    Sprouts will only provide the nutritional aspects of what is included in the raw seed.  This differs greatly based on the variety of seed used.  Many sources state that the sprouting process makes these vitamins and minerals more concentrated and available.  Microgreens typically provide more minerals and often a different nutritional profile than their sprouted counterparts.  I’ll discuss why this is when discussing differences in the growing process.

    How to Grow Sprouts and Microgreens?

    Growing either sprouts or microgreens is a fairly similar process.  In both cases, you start with the same seeds that you would plant in your garden.  Commonly used seeds include brassicas, radishes, grasses, beets, herbs and other greens.  In both cases you provide a wet growing environment, but this is where the process starts to differ.

    Growing Medium

    For sprouts, you just need a container that allows you to store your seeds in a way that you can rinse them a few times a day and then let the water drain from the seeds.  Microgreens require a ‘medium’ to grow in.  This medium can be soil, but I like to use hemp or felt pads in a hydroponic environment.  The purpose of this medium is to supply additional nutrients to the plants so that they can grow beyond the ‘sprout’ stage.

    Light Requirements

    Sprouts don’t really require any light.  I tend to finish mine for a few days with indirect light just to make them look nicer.  This can be as simple as leaving them uncovered on a kitchen counter.  Because microgreens are grown into small versions of their typical plant size, a bit more light is required.  This is one of the reasons for the difference in nutritional aspects between sprouts and microgreens of the same plant variety.  Microgreens are undergoing more photosynthesis.  This combined with the added nutrients in the growing medium changes the nutritional profile of the microgreen.

    Time to Harvest

    Sprouts are ready to harvest in a few days.  Once the seed is broken open and a stem and root system are beginning, you can harvest at any time.  Microgreens take a week or more.  With microgreens you want to wait to harvest until the first ‘real’ sets of leaves appear.  When harvesting, you want to eat the entire sprout, stem, root, etc.  You want to discard everything in the growing medium with microgreens and only eat the actual stem/greens.

    The Sprouts vs. Microgreens Winner

    So who is the winner of Sprouts Vs. Microgreens?  For me, it’s sprouts.  I like the quick turn around time and the overall simplicity.  I also like the versatility of being able to add them to almost anything.  Many others are scared away from sprouts because of the chance that the growing environment can be a breeding ground for bacteria and mold.  If this is you, I have a few recommendations:

    1. Always rinse with cold water.  Not using warm/hot water helps keep the environment good for sprouts and bad for the nasties.
    2. Make sure your seeds are adequately spaced and drain properly in between waterings.
    3. Buy seeds from a reputable place.  Starting with high quality seeds that aren’t already contaminated is a great idea.
    4. Visually inspect the environment before each watering.  A quick check for mold or bacterial growth before each watering will allow you to abandon your sprouts the moment you know something is wrong.  Just don’t confuse some ‘fuzziness’ of the early roots for mold 😁
    5. If you don’t feel confident doing these things… Grow Microgreens instead!
  • ScaleBlaster Review

    ScaleBlaster Review

    Every home that I’ve ever lived in has had hard water.  There are pros to having hard water, but there are also many cons.  The cons have led me to investigate ways of mitigating hard water, but this also has additional drawbacks.  I recently purchased and installed a ScaleBlaster.  Read on for my ScaleBlaster review.

    Why Care About Hard Water?

    Hard water tends to be high in calcium and magnesium.  Even though these usually make water taste better, they pose many problems when used in a home water system.  Most noticeable are limescale deposits on water fixtures.  This is visibly unsightly, but also leads to damage and a decrease in efficiency to the overall water system.  Hard water makes dissolving soaps more difficult.  This can make showers unpleasant and over time, can lead to damage to the fibers in the clothes that you are laundering using this water.  The lingering, unsightly residues are really the thing that I hate most about hard water.

    Mitigating Hard Water

    The most common way of mitigating hard water is through the use of a water softener.  A water softener is an appliance that uses ion exchange to replace calcium/magnesium ions with sodium ions.  Sounds great, right?  Well, this exchange of ions results in water that doesn’t taste as good.  Also, if you’re trying to avoid added sodium in your diet, you’ve now created a whole new mechanism for it to get into your body.  Many of the places where I’ve experienced hard water, I never really did anything to mitigate it and just dealt with the associated problems.

    The first home that I purchased had a water softener.  I liked not having the visible telltale signs of hard water, but I quickly got annoyed by having to replenish the ‘salt’ in this water softener on a regular basis.  I also noticed that the quality of my homebrew was drastically decreased.  Hops and malts were muted and the mouthfeel of my frequently brewed recipes was ‘off’.  Before this, I hadn’t really given much thought to water chemistry during my brew days.  After a bit of research and getting my ‘post-softener’ water tested, it was clear that this was likely the cause of my brewing woes.  I had one water tap that was pre-softener and I started using that for all of my brewing.

    My current home also came with a water softener.  One of the first things I did was setup the ability to completely bypass it so that with the flip of a few valves, I could have unadulterated water at any tap in the house.  This information will come in handy later.  When brewing, or filling my hot tub, I’d make sure to completely bypass the softener as well.  I still had that annoying problem of having to constantly load the softener with salt and thought that there had to be a better way.

    My ScaleBlaster Review

    Searching around for alternatives, I eventually discovered the ScaleBlaster.  I had my doubts, but finally pulled the trigger when there was a sale on one at Costco.

    What is the ScaleBlaster?

    The ScaleBlaster is a Made in the USA ‘electronic descaling device’.  You install it early on the incoming water line.  This install involves wire wrapping your water pipes in a very specific manner, hooking this wire up to the ScaleBlaster and then plugging the ScaleBlaster into a regular electrical outlet.  The device than produces an oscillating electronic field that changes the calcium molecules.  This causes the ions to precipitate or collide with each other, to the point that they no longer deposit and just come out the other end of your pipes.

    This sounded very interesting.  Technically, it wasn’t softening the water.  My water would still taste great.  I could brew with it.  Best of all, no need to reload with salt!  The ScaleBlaster promised to eliminate the visible problems of hard water.  Even better, it claimed that the alteration of the calcium ions would also allow the water to remove pre-existing scale deposits from my pipes and equipment.

    How did I test?

    Since the ScaleBlaster isn’t actually softening the water, I couldn’t test my water before and after to see how well it works.  Instead, I turned off the water softener for a few weeks before install.  I then took note of how the scale built up on my water fixtures.  Another great visual indicator came from my sprout growing process.  For growing sprouts, you need to run cold water over the top of the tray several times a day.  With the softener off, the top of the tray had noticeable scale development in between waterings.  Now that I had a few objective measurements in addition to the subjective ones, I was ready to begin.

    The Plan

    My plan was to install the ScaleBlaster, bypass the water softener and let it operate for two weeks in this state.  After this time, I was going to do a deep clean of all the fixtures and surfaces to remove the scale.  Then, I would run things for another two weeks and see how things compared to running without the water softener.

    Installation

    Installing the ScaleBlaster was straightforward, but fairly involved in order to make sure everything was perfect.  The biggest issue was the wire wrapping.  It took the better part of an afternoon to properly do the wire wrapping.  This was mostly because I was working in a tight space and had a difficult time perfecting a method to easily manipulate the several feet of wire that needed to be wrapped.  I placed the ScaleBlaster downstream of my existing water filter as recommended in the instructions.  This also allowed me to plug the ScaleBlaster into the same electrical outlet

    Conclusion

    It took a few days, but subjectively, I felt that the ScaleBlaster was working.  Long before doing the ‘deep clean’, I noticed that I was no longer seeing evidence of scale on my sprout trays.  After doing the deep clean, things actually stayed clean.  One annoying issue did develop though… a few toilets in my house started emitting a high frequency whine.  This usually occurred while water was running in other parts of the house.  We discovered that a slight jiggle of the bits inside the tank usually stopped this, but it would regularly come back.  Eventually, I did a deep clean of all components in the tank and this seems to have resolved the issue.

    So is the ScaleBlaster worth it?  It’s been over a month and I haven’t put the original water softener back into rotation.  I’ve read reviews online and some people with very hard water did not seem to have the same experience as me and either returned the ScaleBlaster or used a water softener in conjunction.  Personally, I’m happy with the current setup and knowing that I can easily add the water softener back into the mix if I need to do so.  Have you used the ScaleBlaster?  I’d love to hear about your experience and how you deal with hard water issues.

  • Warming My Mycology Grow Room

    Warming My Mycology Grow Room

    In the last issue of Fermenting Solutions, I mentioned that trying to keep my mycology grow room warm was becoming an issue.  Each month, the arrival of my electric bills was starting to induce sticker shock.  When I decided to have a year round mushroom growing setup it was only natural to put it in the warmest room in my house.  My indoor gardening setup was already there.  So why not add mushrooms? The increase in costs to maintain the temperature was making it obvious that this wasn’t going to work all year round.  What could I do to make warming a mycology grow room easier?

    Warming My Mycology Grow Room

    This area of my house just happens to be the laundry room and I initially choose it because it is where my hot water heater and furnace were already located.  Even so, during winter, this room tends to still be almost 10 degrees too cold for the most demanding varieties of mushrooms that I enjoy growing.  Up until this point, I was basically just using an electric radiant heater to supplement the heat.

    Mushrooms also demand a high humidity environment.  Even though this was also the most humid room in the house, the climate conditions aren’t perfect in this regard either.  I kept a humidifier running constantly in this room as well.  Ultimately, this resulted in a lot of wasted electricity.  I didn’t have fine grained control based on feedback in the room.  The heater and humidifier often battled each other, requiring both devices to work harder.  Having been down the path of automating my gardening setup already, every day that went by watching this battle just continued to annoy me.  The increasing electric bills were just icing on the cake.

    Making Space

    The first major problem was that all of the closets/nooks and crannies in the rooms were already preoccupied by my indoor garden.  I wanted the ability to have mushroom grows and plants going at the same time and not be forced to stop one hobby during a prime time for the other.  Reusing the existing space was not an option.  I also wanted to minimize the area that I need to heat and humidify.  This would allow me to maintain several different ‘climates’ in this room while minimizing the energy that went into doing so.  I had an inexpensive 5 shelf plastic green house lying around that I used to use for my gardening setup and decided to try using that as the foundation for creating my mycology microclimate.

    Containing the Humidity

    This green house had no bottom and I wanted to protect the floor of the laundry room.  I found a hard plastic tray that is used for performing oil changes.  This just so happened to be the perfect size to snugly fit the base of the green house.  To add additional protection, I wrapped the entire bottom of the tray and greenhouse in a standard camping tarp.  I wasn’t sure how effective all of this was going to be for holding in the humidity and temperature and not continuing to just control the climate of the entire room as before.

    Raising the Temperature

    The idea of putting an electric radiant heater inside of this humid greenhouse didn’t seem like the best idea, so I started investigating alternate ways of providing heat.  After doing a ton of research online, I opted to build a contraption that used a ceramic infrared heating unit to heat a tray full of water and lava rocks.  My thinking was, that if the greenhouse was effective at holding the heat, this should result in less electricity use without decreasing the humidity the way my prior heater did.  I had a spare temperature controller so I used this to turn this contraption on/off based on the actual temperature in the middle of the green house.

    Automating Humidity

    At this point, I just put my existing humidifier inside the green house and put it on a timer.  I hoped that it would more or less keep things around 90% humidity for most of the day.  I started monitoring this with a hygrometer that displayed the current humidity and stored the past 24 hour high and low.  Checking it frequently over the course of a few days, I determined that it was holding heat better than I expected and subjectively, it seemed that the heater was running less frequently than the whole room one had in the past.  The room also didn’t feel like a sauna every time I walked in to check on my garden.  Things were starting to look promising.

    Fixing Some Obvious Annoyances

    After a few days, refilling the humidifier inside the green house started to become a painful chore.  It was also clear that having it on a timer would definitely lead to swings in humidity.  Since I was investing so much time into this, I decided to find a different solution.  I thought about putting the humidifier outside the green house, but the thought of creating a tubing solution to getting the humidity inside didn’t seem like a good investment of time.  First I ordered a combined temperature/humidity controller to replace the timer I was using to control the humidifier and the original temperature controller.  I also knew through my research that many others were using pond foggers instead of humidifiers.  This had the added benefit that if I combined it with an aerator, I could also pump fresh air into the green house.

    Not everyone is aware that mushrooms need to take in oxygen and produce Carbone Dioxide just like animals do.  This was an eventual issue I was going to need to deal with any way.  I put an aerator outside and ran tubing from it into a large honey jar filled with water.  This jar also contained the pond fogger.  The jar was still inside the green house, but I discovered that when I needed to refill it, I could just remove the aerator and pump water into the jar using the same tubing.  Brilliant!  I ran another tube out the top of the jar.  The aerator/fogger combined pushes the fog through that tube to the top of the green house.  Currently the aerator runs 24/7 and the fogger is controlled by the humidity controller.

    Testing Everything Out

    I tested fruiting some mushrooms at this point.  Even though I didn’t have a means of measuring the CO2 levels directly.  My gut felt that they were a bit high based on the outcome.  I finally added a small USB fan in the bottom of the greenhouse to move air around more.  Additionally, I punctured a few holes in the greenhouse that I covered with microfilters in order to allow a bit more free air exchange.  I’m currently waiting for the results of the next fruiting (and for my next electric bill)!

    Future Iterations

    Anyone else gone down this path?  I’m curious what solutions worked for you.  I plan on iterating on this plan and over time will upgrade and swap out equipment based on future experiments.  Some ideas:  More precise control over temperature/humidity in different areas within the greenhouse.  I’d like to have the ability to fruit and grow multiple species using optimal conditions at once.  Same with being able to produce agar and liquid cultures.  I’m also curious to see how all of this works out during the next winter.  I have ideas for how I can better insulate and isolate this environment from the surrounding room.  Time will tell if I need to alter my approach.