Most people who grow oyster mushrooms do so on a straw based substrate. This always seemed odd to me. Oyster mushrooms naturally grow on hard woods. In addition to this, making straw reasonably sterile for growing purposes is really annoying. I was surprised that there weren’t more instructionals on using hardwood fuel pellets for growing oyster mushrooms. With the advent of pellet stoves and pellet grills, the availability of a wide variety of hardwoods in this format has grown exponentially. Sure, this would add a considerable expense to a commercial operation, but I decided to give it a shot for my small scale needs.
The method that I describe is not only fun but also a great way to ensure a sustainable and delicious harvest of oyster mushrooms right in your own backyard. You’ll need a few things to get started.
What You’ll Need:
- 2 5-gallon buckets with lids
- Hardwood fuel pellets
- oyster mushroom spawn
- Non-chlorinated Water
- A drill and 1/4-inch and 1/2-inch bits
- A spray bottle
- A clean, well-ventilated space
Step 1: Prepare Your Bucket
First, you’ll need to create some holes in your bucket. This ensures proper free air exchange and will ultimately be where your mushrooms fruit from. Your bucket and lid should be food-safe. I buy mine from my local homebrew store.
Use your drill to make holes around the sides of the bucket. Start about 1-2 inches from the top. I space them a few inches apart and create a diamond pattern, alternating using the 1/2 inch and 1/4 inch bits.
Step 2: Hydrate the Pellets
I use a ratio of 4.5:1 pellets to spawn. For my buckets, this usually results in 2 quarts of mushroom spawn to 9 quarts of hardwood fuel pellets. I use a 1:1 ration of pellets to water.
In your bucket that does not have the drilled holes, dump your hardwood pellets and then boil an equal amount of water. After the water is boiling, dump it into the bucket with the pellets. Put on the lid and let it sit for a few hours. This step not only kills off most things on the pellets that can compete with your mushrooms, but it also rehydrates the pellets, making them suitable for mushroom growth.
Step 3: Introduce the Mushroom Spawn
I wrote before about a locally foraged white oyster mushroom culture that I was propagating. I started doing this on agar and when I was convinced it was clean, innoculated some feed oats. This served as the starter for innoculating my bucket. You can forage your own, or buy oyster mushroom spawn at any reputable online mycology shop.
If you’ve followed my ratios, you’re likely ready to introduce your white oyster mushroom spawn. Otherwise, you want to make sure that your hydrated pellets are at field capacity and not much above room temperature. You can combat the pellets being too hydrated by drilling some 1/8-inch holes in the bottom of your bucket. You can then put this in a container that will hold any water that drains out.
Open the lid of your pellets bucket and transfer a few handfuls into the bucket that you drilled holes into. Ideally put in a layer 2 -3 inches deep and then alternate with a thin layer of mushroom spawn. Repeat this process until your bucket is full, ideally ending with a layer of pellets.
Step 4: Incubate and Wait
Place the lid on your bucket and store it in a cool, dark place. The ideal temperature for white oyster mushrooms is between 55-65°F (13-18°C). This temperature range is usually perfect for growing in a garage any time of year and unlock some species does not require warming a space.
Check your bucket every few days, and if you notice through the holes that the pellets are drying out, spray them lightly with water. It can take anywhere from 2-4 weeks for the mycelium to fully colonize the pellets.
Step 5: Harvest Time!
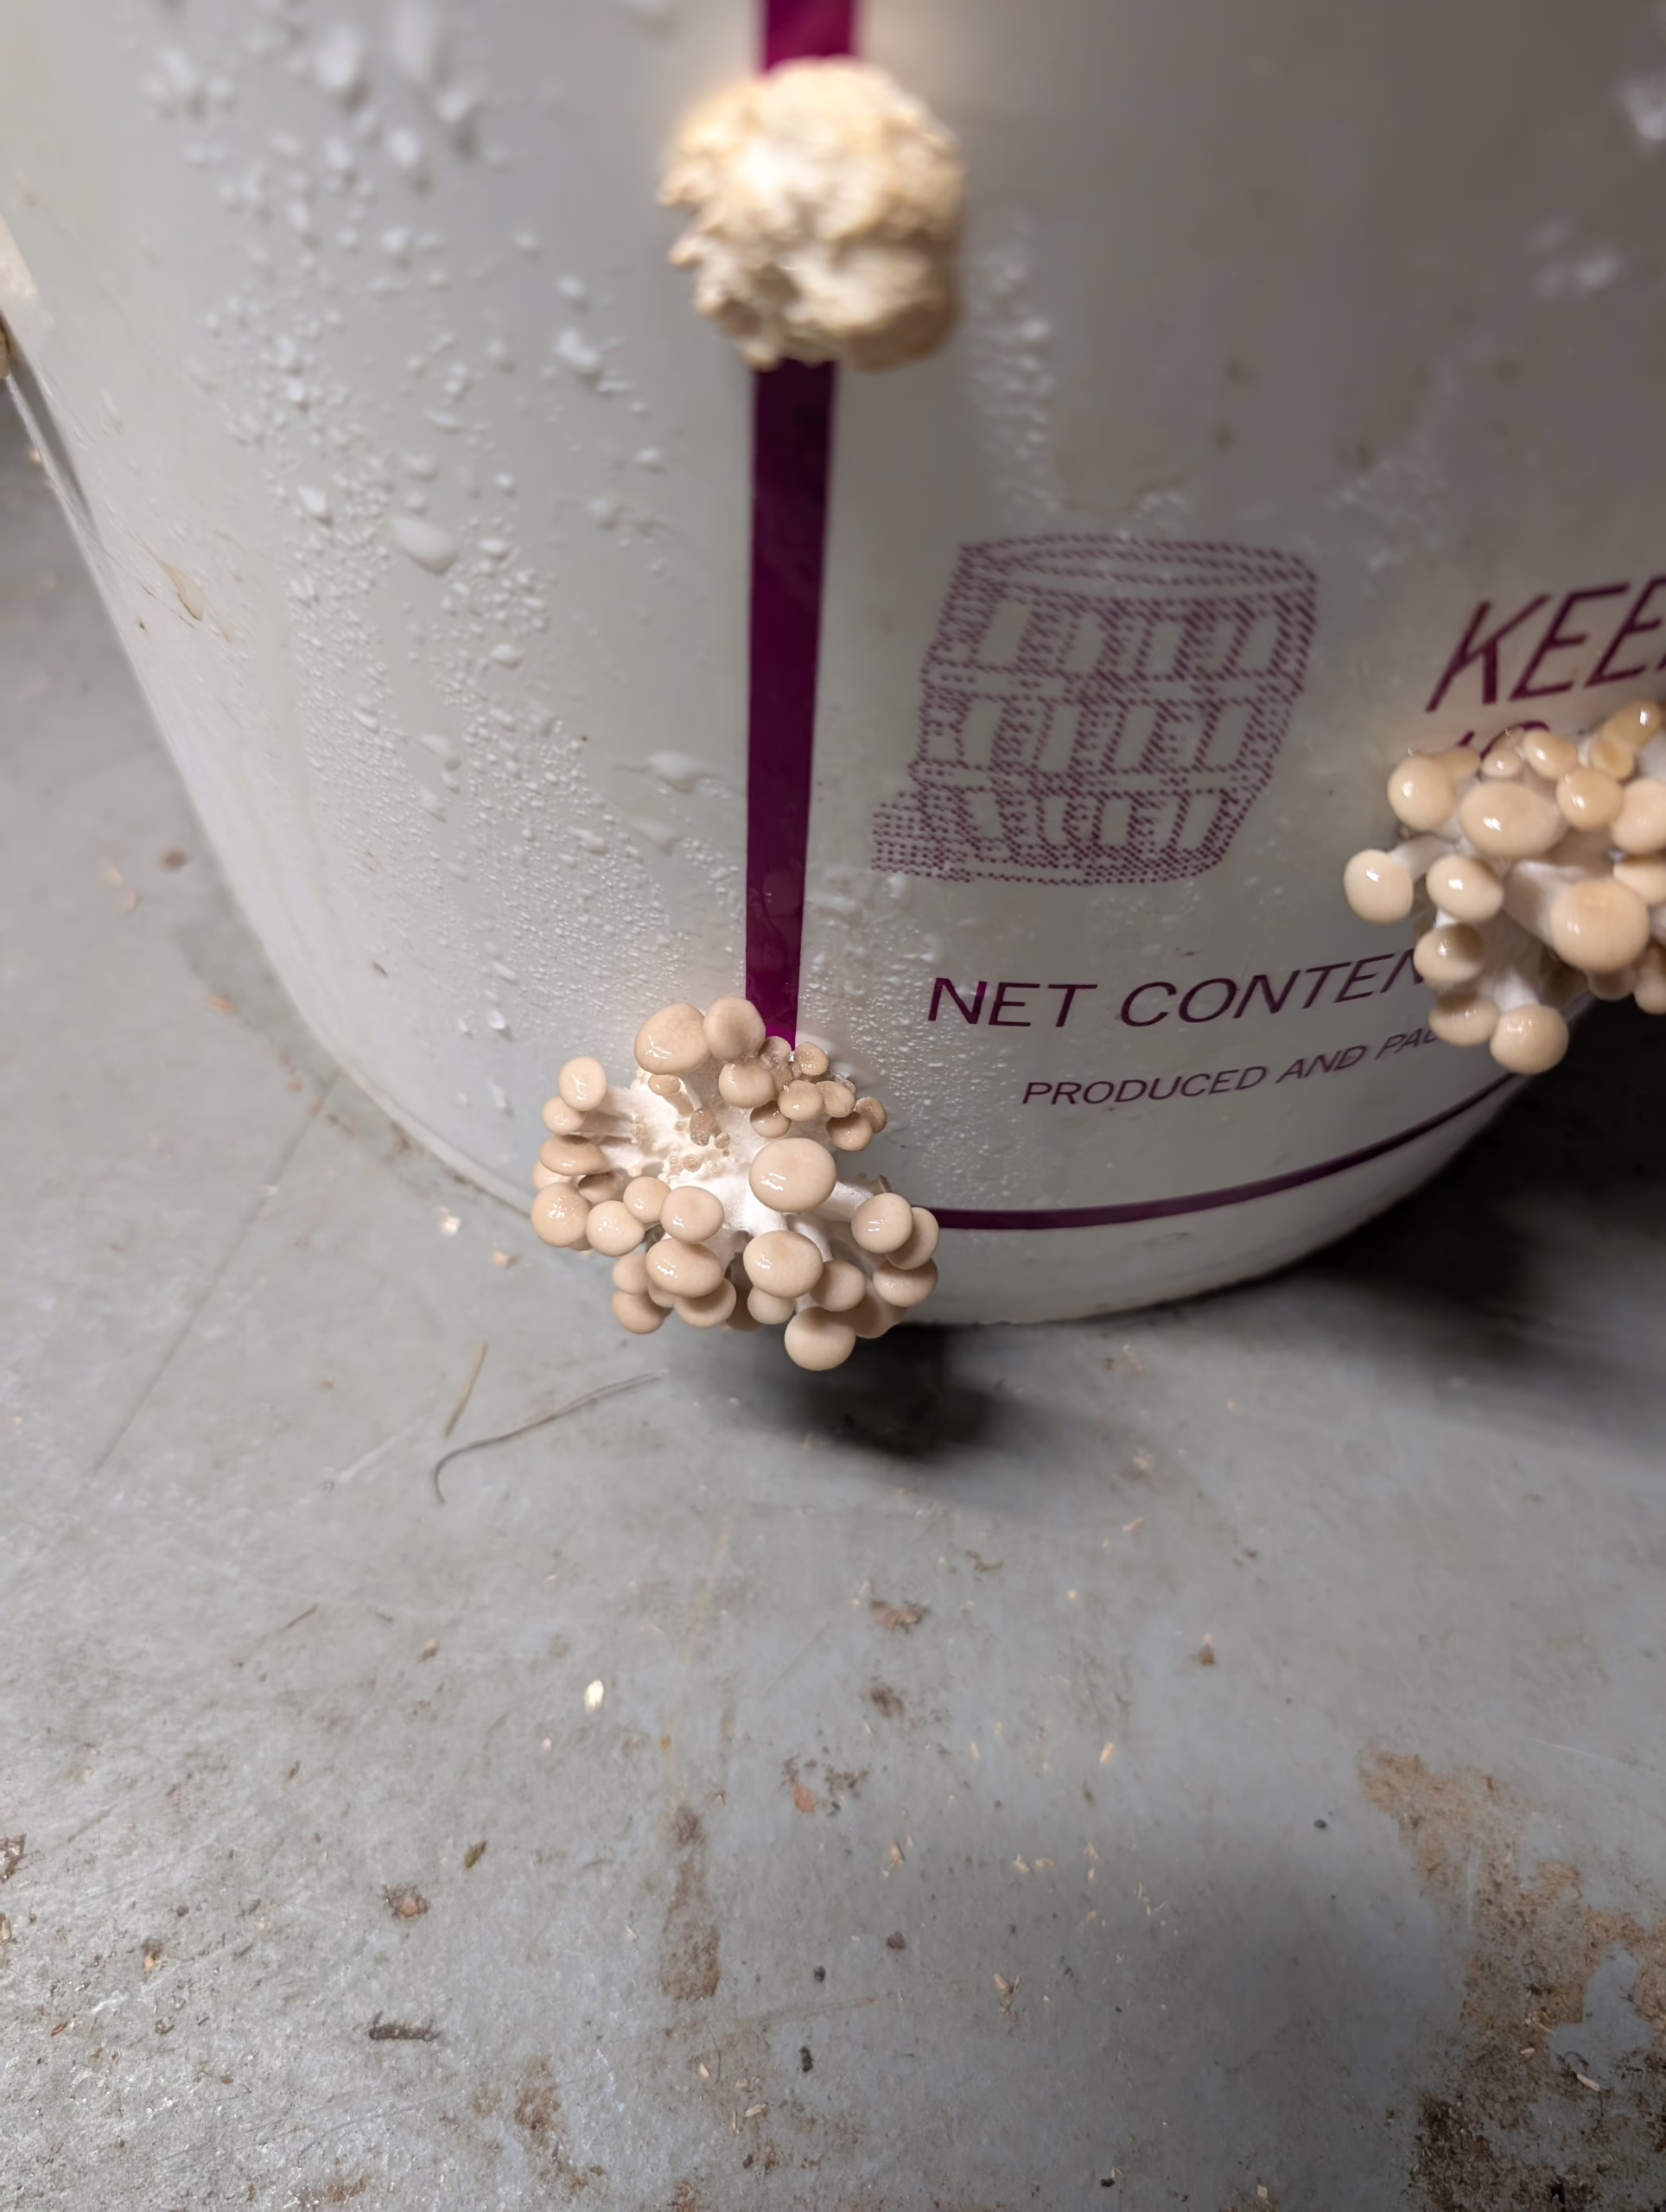
Once the pellets are entirely covered in white mycelium, it’s time to introduce some light and humidity. Move your bucket to a location with indirect sunlight and keep the environment humid by misting the bucket daily. Don’t spray water directly on any mushrooms that are beginning to show through the holes. Within 1-2 weeks, you should see your first flush of mushrooms!
You should harvest your oyster mushrooms right before the caps go fully flat. If you wait too long, you’ll experience the mushrooms dropping spores which can really make a mess!
You can harvest by grabbing the base of a cluster right where it goes through the hole in the bucket and just twisting the entire cluster. Dig out any matted mycelium in the hole, spray it with water, and you’ll likely have more mushrooms from that same spot in a few days.
Eventually, your bucket will stop producing mushrooms or you’ll notice discoloration in the holes that indicates that some other microorganism is taking hold. At this point, you can take the bucket outside and dump the entire contents. I will often dump mine on hardwood stumps or use it as garden compost. This often results in another crop of oyster mushrooms outside!
Tips for Growing Oyster Mushrooms:
- Sterility is Key: Always work in a clean environment to prevent contamination. You can wear nitrile gloves and wipe everything down with 70% isopropyl alcohol.
- Humidity is Your Friend: White oyster mushrooms love humidity, so keep that spray bottle handy.
- Patience Pays Off: Mushroom growing is a waiting game, so be patient and enjoy the process.
- Experiment: Try different blends of pellets and additions to your growing medium. I’ve started adding the morning’s coffee grounds to my pellets for a source of extra nitrogen.
Growing oyster mushrooms in a bucket with hardwood fuel pellets is a fun and rewarding experience. Once you have your first harvest, you can clone (or collect spores) and turn it into a never ending supply of mushrooms. At this point, you’ll need to figure out new and different ways to use them in recipes!
Leave a Reply