Category: Productivity

  • Bodyweight Workout Routine

    Bodyweight Workout Routine

    I’ve tried many workouts over the years.  Cardio, weightlifting, calisthenics, only playing sports, it’s always been something that kind of annoyed me.  Some would work… others, only for a time and then a plateau would reach and no more gains could be made.  Eventually, I settled on a bodyweight workout routine that I’ve been able to progress that continues to work for me.  Read on if you’re interested in learning more about why I choose and how I perform my bodyweight workout routine.

    Why a Bodyweight Workout Routine?

    So why a “bodyweight workout routine”?  After trying just about everything, I’ve concluded that the best workout for me must include the following:

    • require minimal equipment; I travel a good bit and don’t want lack of access to specialized equipment to make it easy for me to skip a workout.
    • a way to do a full body workout in a minimal amount of time
    • maximize a full range of natural motion to minimize injuries
    • prioritize building muscle without a complicated means of altering the routine when hitting plateaus.
    • emphasize Functional Strength training

    The Exercises

    The Bodyweight Workout Routine that I follow focuses on a few core exercises.  These are arranged in such a way as to hit most of the major muscle groups with the fewest number of exercises.

    Push

    The push exercises I use are mostly pushup variants.  I alternate with dips especially when my pushups have not been progressing in order to change things up.

    Pull

    My pull exercises include pull ups, chin ups and inverted rows.  I also incorporate my ‘pull’ muscles in some of my core exercises.

    Legs

    I exercise my legs with air squats and walking lunges.  Even though I do these with a weighted vest, I’ve been working on being able to do proper single leg squats to progress further.  I do these assisted or alternate with shrimp squats at this point in time.

    Core

    I try to incorporate core exercises in everything I do.  This occurs by always being mindful of the ‘Hollow Body Hold‘.  In addition to this, I incorporate planks, V-Ups and hanging knee raises.  Hanging Knee raises also hit my pull muscles at the same time.

    Cardio

    My cardio is mostly walking and hiking/rucking.  I do sprints one day a week.  On my active recovery days, I do at least one High Intensity Interval Training (HIIT) session focused on the ‘Nitric Oxide Dump‘.  When I refer to ‘light cardio’, it’s either unweighted walking or rebounding.

    Mobility

    For mobility, I use both Yoga and the 5 Tibetan Rites.  If I’m stuck on a progression and I think it’s due to a mobility issue, I’ll often factor in something that I’ve learned from more in depth calisthenics programs.  This is the area where my routine changes the most frequently.

    Useful Equipment

    My core routine consists of bodyweight exercises that I can do anywhere.  This being said, there are certain pieces of equipment that make things easier when I am home.  Most of this equipment is focused on making the movements safer or allow me to increase the difficulty.  The equipment that I find useful (and alternatives if you don’t have them) include:
    • A Multi-Grip Pull-Up Bar – This is probably the most important piece of equipment.  Without it, you’ll need to find a branch or other outcropping to do your ‘pull’ exercises on.  Most of these alternatives won’t give you the variance in how you can pull yourself up (and you’ll probably want a pair of gloves to protect your hands🤣).
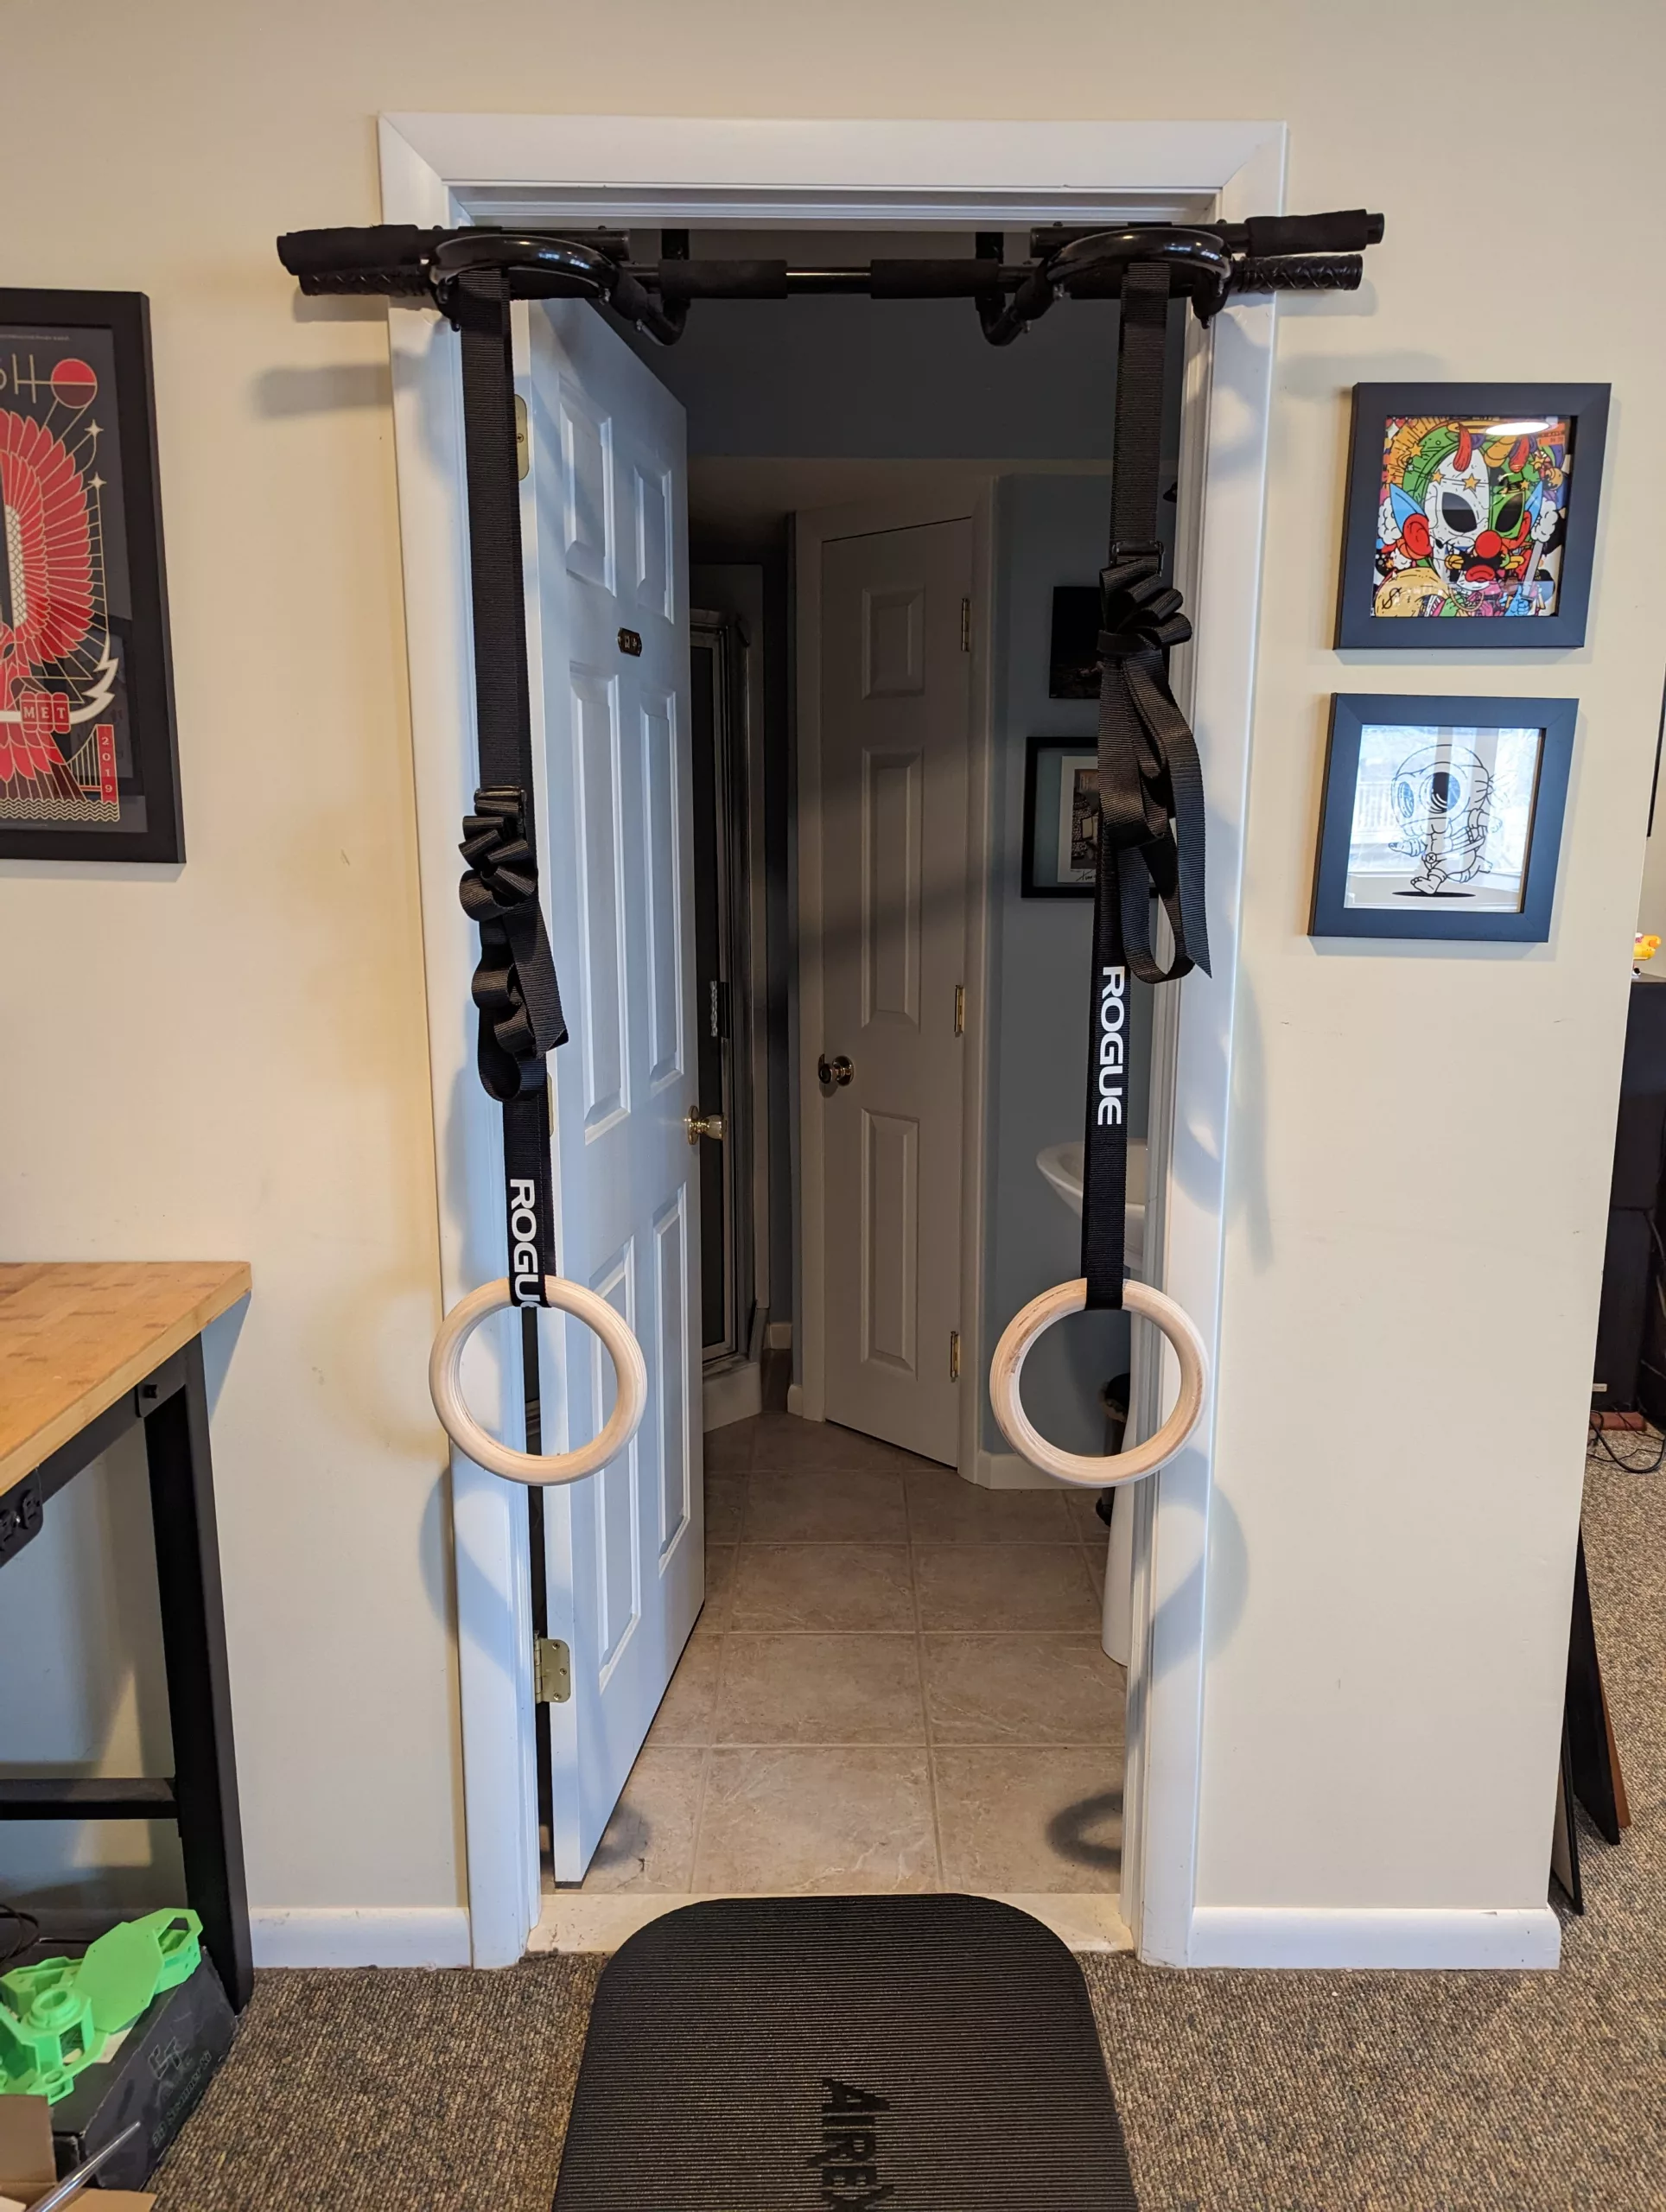
    • Wooden Gymnastic Rings – I prefer to use gymnastic Rings for my ‘rowing’ exercises.  You can also use them for progressing and varying your ‘push’ exercises.  Without rings, a Dip Station also works.  Without either of these options you can use a properly weighted table or two chairs.
    • An Extra Thick Yoga/Pilates Mat – This is especially useful for ‘core’ exercises but it’s pretty much required if you’re going to also incorporate Yoga.  It also helps with progressing single leg exercises like shrimp squats.
    • A means of making exercises more difficult with resistance and/or added weight – My favorite things in this area is to start out with a weighted vest and adjustable ankle weights.  To really build muscle, you’ll want to add an Adjustable Dumbbell and Barbell Set.  To make the most out of loading your full range of motion, nothing beats a Stackable Resistance Bands Set.
    • A High Density Foam Roller – Eventually, you’re going to go a bit too hard and need some help with recovery.  A foam roller is a good first place to start for this.

    Progressing Your Bodyweight Workout Routine

    Since I want to avoid injury and being constantly fatigued, I target rep ranges for each of these exercises in the high hypertrophy/endurance range.  My last strength day of the week is meant for attempting to break personal records.  More about all this below when I discuss my day to day routine.  Before deciding your own structure, you need to set a baseline for each of the main exercises.  If you can do 15 – 20 reps max for each one, that’s a great place to start.  If not, you’ll need to find an easier version of the exercise where you can do 15 – 20 clean reps and progress from there.  I use this basic guide to push progressions and have helped people do pull ups with this pull progression guide.  There’s no shame in doing these easier versions, it’s the only way that you’ll progress to the more difficult ones.  If you find yourself plateauing with one progression but still unable to move to the next one with the proper rep range there are a few additional things you can do.
    • Add more reps to the progression that you can do cleanly
    • Add some more weight to your current progression
    • Add resistance bands to the progression you’re trying to move to in an ‘assistive’ fashion
    • Sometimes, bouncing down to a lower progression with far more reps is necessary in order to correct form issues that you have that are preventing you from using the muscles necessary to progress
    I recently started using blood flow restriction (BFR) training with lighter weights to get more from my workouts.

    My Bodyweight Workout Routine Structure

    Now I’ll describe what I do each day of the week.  If something comes up, I’ll shuffle days if necessary, but I avoid having three of the same ‘types’ of days in a row.

    Every Day

    There are a few things that I strive to do every day.
    • Start every morning with the 5 Tibetan Rites.  This really gives me a burst of energy to start my day.  I’ve also been incorporating Pigeon Pose into this routine recently.
    • Walk a minimum of 11000 steps.  I do the bulk of this during three periods.  The first is after I’m done consuming my caffeine for the day.  The other two times is right after my meals for a bare minimum of 15 minutes.  I try to walk outside whenever possible.
    • Incorporate Non-exercise activity thermogenesis (NEAT);  I try to get as much ‘exercise’ that doesn’t look like exercise into my day as possible.  I’ll walk when I can drive, park at a distance, climb stairs, etc.
    • Bring glucose transporter type 4 to the surface of muscle cells before eating.  This is a ‘trick’ that I picked up from Tim Ferriss’ book The 4 Hour Body.  I mostly use air or isometric squats for this, but have played around with all the techniques that he mentions.

    Day 1

    • Warm up with 5 min of light cardio
    • 3 sets of straight pushups 70% of your maximum number of reps
    • 3 sets of rows 70% of your maximum number of reps
    • 2 sets of walking lunges 50 reps
    • 2 sets of hanging knee raises 15 reps (each side)
    • 2 sets of V-Ups 15 reps

    Day 2

    This is an endurance/recovery focused day. I do one HIIT session (often with BFR) for about 10 minutes I do an additional workout after recovered that consists of: I’ll do a short Yoga session on this day as well.

    Day 3

    • Warm up with 5 min of light cardio
    • 3 sets of most advanced pushup progression 75% of your maximum number of reps
    • 3 sets of most advanced rowing progression 75% of your maximum number of reps
    • 2 sets of chin-ups 75% of your maximum number of reps
    • 2 sets of walking lunges 50 reps
    • 2 sets of hanging knee raises 15 reps (each side)
    • plank for maximum hold time

    Day 4

    This is an Active Recovery day.  I do one HIIT session (often with BFR) for about 10 minutes.  Otherwise I focus on longer walks and/or rucks.  I’ll often do a short Yoga session as well.

    Day 5

    This is the day for setting new records.  Getting 90% of your maximum reps is the minimum. What we really want to do here is move to a more advanced progression or add clean reps to the maximum that we can do in our current progression.  We then use this to reevaluate our plan for the next week.
    • Warm up with 5 min of light cardio
    • 1 set of pullups to 90% of your maximum
    • 1 set of most advanced pushups to 90% of your maximum
    • 2 sets of straight pushups 70% of your maximum number of reps
    • 2 sets of rows 70% of your maximum number of reps
    • 2 sets of walking lunges 50 reps
    • 2 sets of hanging knee raises 15 reps (each side)
    • 2 sets of V-Ups 20 reps

    Day 6

    • Warm up with 5 min of light cardio
    • 5 sets of sprinting as fast as you can for 100 meters with no more than 2 minutes rest between sets
    Otherwise, this is an Active Recovery day.  Focus on longer walks and/or rucks.  Do a short HIIT session if recovery for the week has been good.  Do some Yoga otherwise.

    Day 7

    Active Recovery • Longer hikes and/or rucks • Yoga and mobility exercises
  • Planning a Gardening Season

    Planning a Gardening Season

    It’s January!  That means it’s time to start planning the upcoming garden season.  Planning a gardening season is one of the most important factors in helping you guarantee that it’s successful.  In this article, I’m going to describe the process I use in planning a gardening season.  I’m going to assume that you already have a gardening space setup and that you have at least one season under your belt.  On to discussing the things that I do in an effort to improve every year.

    Evaluate Your Past Season

    The first step in planning a gardening season is evaluating your last season.  Did you have enough space to grow everything that you wanted to?  What grew well?  What went wrong related to pests or disease?  Did you have enough time to tend to the garden effectively?  Being honest about your failures (and successes) will go a long way in helping you become a better gardener.

    Identify Your New Season Goals

    After evaluating your past season, it’s time to set goals for the upcoming season.  Maybe you need more gardening space?  Perhaps you had a new issue that you had to deal with and want to figure out a way to prevent that from happening again?  I often have recurring issues and I’m constantly trying new things in order to find more effective solutions.  Each year, I find that I want to try my hand at growing something new.  Also, every season, I try to convert one more area of my growing space into a more permaculture inspired food forest that doesn’t really require my constant intervention.  No matter what else I identify as goals, I’m always trying to figure out ways to save more time while still generating the same amount of (or hopefully more!) crops.

    Create a Plan

    Now it’s necessary to take your goals and create a plan for your gardening season.  Evaluating your past season provides important information for this step.  It goes without saying, that it is crucial to understand the planting dates that you need to hit for your gardening zone.  Maybe you started seeds too late last year? Or you were so excited to get started that you lost something put outside a bit too early?  Having a plan helps account for these types of issues.  I discuss my “Planting Calendar” approach for this below.

    You’ll need to factor in any infrastructure based projects keeping this in mind.  It’s great when some of these projects can be researched/worked on before your actual gardening season begins.  If this can’t be done, you’ll need to identify the best place to fit these in during your season.

    Obtain Seeds

    If you need to buy seeds, January is the latest to start thinking about purchasing if you want the best selection.  I determine the list of what I need to order by first evaluating what I already have from prior seasons.  This is easy to do because I maintain a seed inventory spreadsheet for each gardening season.  Before I make my order, I’ll take the seed inventory from the prior season and go through row by row to see if I still have any of the original seeds from that row remaining.  If I don’t, and I haven’t saved any seed from that crop in the prior season, I’ll delete that row from a copy of the spreadsheet.

    It’s important to keep track of how old your seeds are.  Seeds of different plants also have different viable lifetimes that you will need to be familiar with.  This is why my seed inventory spreadsheet has a column for tracking the year that the seeds were purchased/harvested in.  So if I’m using harvested seeds, I’ll be sure to update the year in that spreadsheet accordingly.  After making these updates, you can go through the spreadsheet and identify what seeds you need to acquire for the upcoming season.

    Organize

    The seed inventory spreadsheet is just the starting point for your plan for the upcoming gardening season, so it’s important to keep everything organized.  I manage my full plan for the gardening season in Google Drive.  I create a folder for each year.  This folder contains the seed inventory spreadsheet for that year, but also is the spot where I add everything related to that gardening season.  At a bare minimum, this will include my seasonal gardening journal.  I’ll discuss this more in the “Track Your Progress” section below.

    So why is it important to have an organization plan?  We’ve kind of defined ‘what’ you want to plant, but we haven’t really addressed ‘when’ (or ‘where’).  We also haven’t even discussed non-planting projects for the gardening season.

    Planting Calendar

    As I mentioned above, it’s important to understand your gardening season schedule in terms of your particular weather climate.  I maintain a planting calendar for my particular micro-climate of Zone 7a.  I’ve adjusted this over the last few years of gardening here to reflect my success growing on the northern slope of a higher point in Montgomery County.  I keep a master copy of this outside of my specific gardening season folders unless there’s a reason to create a more specific version tailored to the season.

    Where to Plant?

    Most crops, especially outside of a permaculture garden, cannot be planted in the same spot year after year.  You’ll need some way of tracking where each crop was grown in each season so that you can move them to a different section.  In many cases, this isn’t as simple as just ‘don’t plant tomatoes here every year’.  There are certain families of plants that shouldn’t be grown in the same spot.  There are also anti-companion plants that aren’t even in the same family.  A great introductory resource on the ins and outs of companion planting is “Carrots Love Tomatoes”.

    In addition to rotating your crops, identifying any microclimates that you may have is a good idea.  Taking advantage of microclimates can effectively extend your gardening season.  At the bare minimum, leveraging microclimates can help you save time in your gardening endeavors.  Crop rotation into and out of microclimates can impact the dates in your planting calendar, so be sure to note this in your gardening journal for the season.

    Infrastructure Projects

    One thing that can require season specific updates to the planting calendar are infrastructure projects.  If I’m building a new garden bed, automated system or a more extensive permaculture project, I’ll use my main planting calendar to determine the absolute latest point for when the project needs to be completed.  If I’m lucky, I’ll be able to find a time that’s less busy from a planting perspective.  All plans and research for these projects is stored in my gardening folder for the season.  This way, I can refer back to when these projects were completed for any details that I may have forgotten.

    Once the research for these projects is completed, I can then start ordering the necessary supplies.  During this research phase, I also plan out what non-seed consumables I need to replace for the season.  This could be soil/amendments, replacing any broken tools/supports.  Growing new crops, or even changing where prior crops were grown may also require you to purchase more containers and/or supports.

    Track Your Progress

    After you have a way to keep everything organized, it’s finally time to get started!  Follow your planting calendar and evaluate what tasks you need to complete on a weekly basis.  As I already mentioned, I start buying seeds no later than January.  Germination for some things begins not long after.  I try to extend my seasons by making the most of indoor gardening.  Just remember that the key to improving each year is to track your progress!

    Tracking for me starts with my seed inventory spreadsheet.  Each seed that I grow, I assign a simple tracking code to.  This can be something as simple as T02 (i.e. the second tomato variety that I’m growing in this season).  There is a column for this in my spreadsheet.  This serves as a shorthand for me to track what I’m doing with every variety without referring to the full variety name everywhere.

    Seed Starting

    I start my seeds in 72 cell germination stations.  Without an easy way to keep track of things, it’s very easy to lose sight of exactly what you’re growing.  I’ll create a new sheet in my seed inventory spreadsheet each time I start a new germination station.  I’ll label this sheet with the date the seeds were started and then put the shorthand for each seed into a cell in the spreadsheet that corresponds to the grid layout of the germination station.  If you move your seed starting trays, it’s also a good idea to mark them in a way so that you can always guarantee that it’s aligned with the grid on the spreadsheet.

    Transplanting

    Eventually, your seeds will need to be transplanted.  If I move them to containers, I label the container with my shorthand code.  When I ultimately plant the plants in the garden, I have 3D printed garden stakes that contain the shorthand code.  This allows me at any time, to identify the exact variety of what’s being grown for future note taking.

    Keep a Journal

    Tracking where you plant your plants is only one part of battle.  You will also need to be observant about any disease or pest issues that arise throughout the season.  Maybe you notice that one variety is not as productive as you would like?  It’s great to take as many notes as you can about these situations so that you can determine a better plan for the next season.  For this I keep a gardening journal.  This started out as a hand written notebook for me, but now I have a running document in my Google Drive folder.  I’ll note down the day and put as much  information as possible.  Note the shorthand for the plant, anything notable about the weather so far, microclimate, etc.

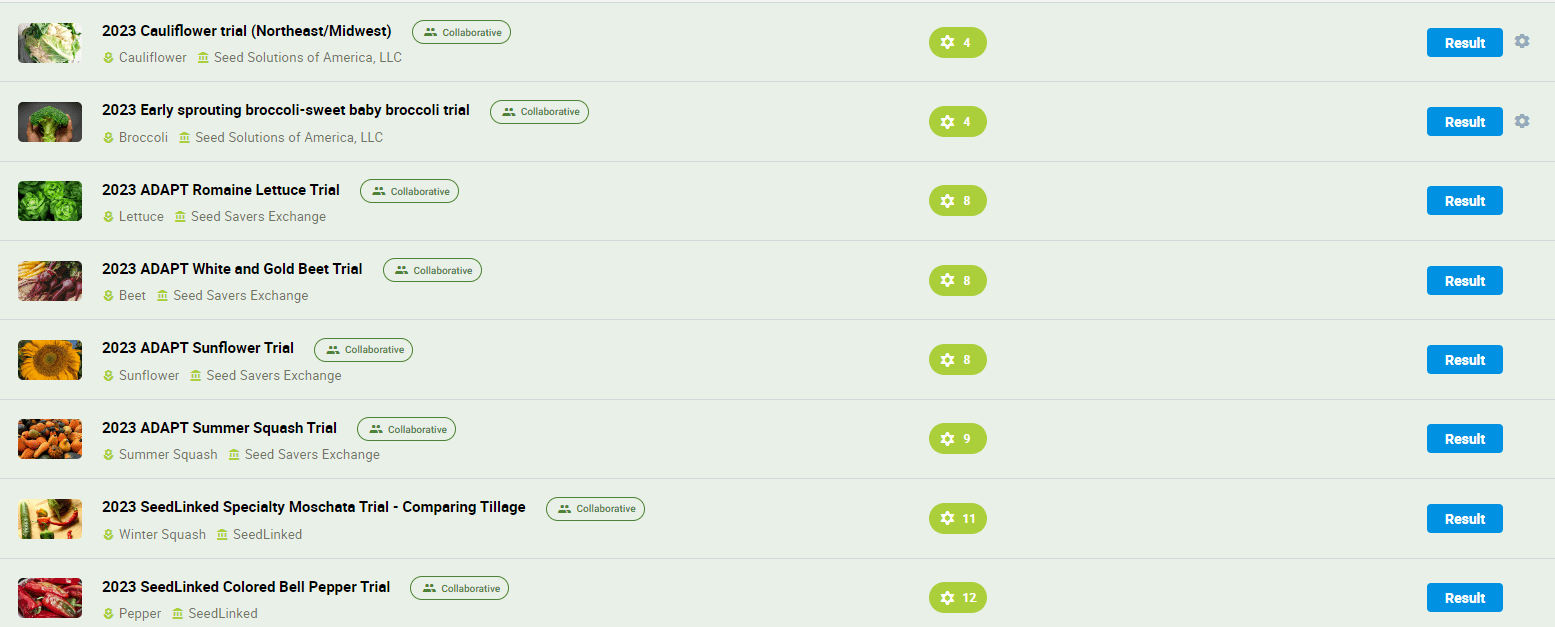
    Over the last few seasons, I’ve participated in several citizen scientist grows for different organizations.  When I obtain seeds for these trials, I denote which organization it is for in my seed inventory spreadsheet.  This is a reminder to me that anything I do with these seeds needs to adhere to the trial conditions specified by the organization that provided the seeds.  None of my typical experimenting is allowed here during the season of the trial.

    SeedLinked

    Initially, for these trials, everyone tried to provide feedback at the end of the season based on their own form of note keeping.  In an effort to streamline this, almost every organization has coalesced around using the SeedLinked platform to do this now.  I still keep my electronic journal, but many of the plant specific items that I note in the field are done using SeedLinked.  If you start using SeedLinked, be sure to search for me on that platform.

    Conclusion

    My gardening success as improved immensely since I’ve started following this fan.  It helps me question assumptions and keep track of things that I need to research further.  Doing something like this is necessary in order to be effective as a seed growing trial participant.  Do you have some tips for planning a gardening season that I haven’t covered here?  Are you interested in participating in some citizen scientist gardening trials?  Interested in discounts on gardening gear?  Drop me a line and let me know!
  • Intro to Breathwork

    Breathing… we all do it.  Most of us probably don’t pay much attention to how we go about it either.  Unless you do, you probably also don’t realize that some subtle awareness when it comes to your breathwork practice can likely make a radical difference in your day to day health.  I was the same way, until I started researching the subject.  After years of doing so, I slowly incorporated some simple techniques that have changed my mind considerably.  If this is of interest to you, read on for my intro to breathwork.

    My Intro to Breathwork Journey

    I’ve had an on again/off again relationship with meditation and yoga my whole life.  Long time practitioners of both always talk extensively about “paying attention to the breath”.  Early on, I never really put much stock into this.  I associated this with the more ‘woo’ side of the practice without any real scientific basis.  My opinion of this started to change after looking for effective ways of reducing my stress while working in a high strung corporate environment.  My first success in using breathwork for this came from a Navy SEAL friend of mine.  He introduced me to Box Breathing (described below) and subjectively, this seemed to allow me to more easily fall asleep on high stress evenings.

    Eventually, as part of that same high strung corporate environment, I often traveled to India.  On the weekends while I was there, I would travel the country with my co workers and take in many of the experiences associated with traveling to India.  This often involved going to Ayurvedic retreats and temples throughout the country, participating in yogic and meditative rituals.  This exposed me to Pranayama.  This practice defines several different techniques for breathing that are meant to induce different types of changes in the body.  At this point, the focus on breathwork while meditating and doing yoga started to make much more sense.

    I was exposed to all of this before I started using the Oura ring.  With the first generation of Oura, it was easy to see the impact of box breathing on my sleep.  The moment that Oura rolled out it’s mediation support, I started to use it with different dedicated breathing techniques.  It was honestly surprising to see how effective some of them were in terms of impacting heart rate and HRV.

    Scientific Basis

    When I started to really dig into this, I came across numerous studies that laid the groundwork for a very scientific basis for many breathwork practices.  Breathing is actually more about regulating Carbon Dioxide (CO2) than oxygenating the blood.  We strive to maintain our CO2 levels in the blood within a very narrow range.  The brain interprets a low oxygen state as a threat and it activates the sympathetic nervous system as a result.  CO2 is also acidic, so the CO2/oxygen balance has direct effects on the blood’s pH.  Taking steps to rebalance these levels does the opposite and results in an overall calming effect.

    In addition to the effects related to blood oxygenation, more research has shown that diaphragmatic breathing (slow abdominal based breathing) directly stimulates the vagus nerve.  This instantly puts you into a more parasympathetic state.  Vagus nerve stimulation has also been tied to improvements in Heart Rate Variability (HRV).  Additionally, heart rate is directly tied to breathing.  This phenomenon is referred to as Respiratory Sinus Arrhythmia (RSA) and directly impacts blood pressure.

    Understanding these basic concepts is the key to using controlled breathwork to achieve different desired states.  Hear are a few things to keep in mind:

    • Slow breathing, especially from the diaphragm stimulates the parasympathetic nervous system and tends to be more relaxing.
    • Fast breathing and chest breathing tends to increase CO2 levels resulting in a sympathetic nervous system response.  This can energize, but also promotes anxiety.
    • Breath Holds increase C02 levels
    • Emphasizing inhales increases heart rate (and often blood pressure)
    • Emphasizing exhales decreases heart rate (and often blood pressure)

    Proper Breathing Technique

    Many people underestimate the importance of breathing ‘correctly’. The hurried modern life and other stressors have an extremely negative impact on how people breathe and most don’t even realize it. If you don’t currently have awareness regarding how you breathe on a regular basis and aren’t prioritizing doing something about it, you will be amazed at how quickly doing so can change the way you feel. There are many breathing techniques that you can use to address many different goals that you may have, but most modern americans are stuck in a continuous stress state. Even moving into a ‘rest and digest’ state a few times a day can have a profound positive impact on your health.

    Based on the information presented so far, the ideal every day breathing technique would seem to be a reasonably slow, diaphragmatic breath.  I’ll add one more rule of thumb that should be followed: breath through the nose.  Not only does breathing through the nose help filter out pollutants, virii, etc.  It helps warm cold air before it hits the lungs.  Additionally, it’s important in order to effectively get nitric oxide into our systems.  Take a look around you and see how many people are actually breathing this way.  Even though, this will generally be the best way to breath, different types of breathwork are designed to achieve certain temporary responses.

    Types of Breathwork

    There are many types of breathwork and I’m always learning more.  This list below are the ones that I actively use.  I briefly explain how to do the technique and why I personally do them.

    Box Breathing

    This was the type of breathwork that started it all for me.  I started doing it as a way to immediately calm myself but I’ve since found that it’s also very effective for getting into a state of focus.  It’s super effective even after doing it for a few minutes and it’s very easy for beginners to learn.  Box breathing starts by expelling all air from your lungs.  Stay in this ’empty’ state for a count of 4.  Now inhale through your nose for a count of four.  Hold for a count of four.  Finally, exhale through your nose again for a count of 4.  This is one cycle of Box Breathing.  Repeat for 2 to 5 minutes and enjoy your state of calm focus!

    4-7-8 Breathing

    My success with Box Breathing lead me to discover 4-7-8 Breathing.  Box Breathing before bed, sometimes had the unfortunate side affect of making me more focused on things that I needed to do tomorrow, etc.  This wasn’t helping me get the sleep that had initially hoped this breathwork practice would provide. This breathwork technique is a form of diaphragmatic breathing that involves inhaling for four seconds, holding the breath for seven seconds, and exhaling for eight seconds.  The longer breath hold combined with the longer exhale is what makes this an even more relaxing technique compared to Box Breathing.  Again, repeating this for a few minutes is all that is needed to achieve a dramatically more relaxed state.

    Physiological Sigh

    The physiological sigh is the easiest way to instantly remove anxiety.  It’s also super easy to do.  Just two rapid inhales through the nose and then an extended exhale through the mouth.  One of these works wonders, but do this a few times to really feel the impact.

    Nadi Shodhana

    Nadi Shodhana (also known as alternate nostril breathing) is a great centering practice and one that I often do while meditating in the sauna.  It can be relaxing and it also increases focus.  Studies have shown that left nostril breathing slows down heart rate and decreases blood pressure. These same studies indicate that right nostril breathing increases both heart rate and blood pressure.  Pranayama’s practice of Nadi Shodhana incorporates asanas and the Vishnu Mudra, but it can be done by just simply doing the following:

    • Use the thumb on your right hand to block your right nostril and inhale through your left nostril
    • Close your left nostril with your index finger and briefly hold
    • Open your right nostril and exhale slowly and then immediately inhale
    • Close your right nostril again and briefly hold
    • Open your left nostril and exhale slowly

    This is one cycle.  From this point you can repeat many times.  You can also add holds on exhale or combine this technique with Box Breathing for added effects.

    Kapalabhati Breathing

    Kapalabhati is another classic Pranayama.  It is also known as “Skull Shining Breath”.  This is considered a purifying breathwork technique.  It involves alternating active, explosive diaphragmatic exhales with a longer passive inhale.  This is an energizing technique, so not something you would want to do when you’re trying to relax/go to sleep.  I use this as a form of Respiratory Muscle Training (RMT) that doesn’t require a device.  RMT has been shown to increase cardio athletic performance and VO2 max.  Be careful with this!  It’s common that new practitioners are in pain the next day because they are using muscles that they are not used to using.

    Wim Hof Method

    While the full Wim Hof Method also incorporates meditation and cold exposure as core tenants, the breathing method is also very effective when used alone.  This technique is closely related to Holotropic breathwork.  It is basically a form of controlled hyperventilation.  Hyperventilation has been shown to slow down the default mode network.  This form of breathing is extremely powerful and I use it as a general ‘reset’.  In my experience, I feel an extended state of bliss for days after practicing this.  When properly done, this technique really shows the range of what you can accomplish with breathwork.

    Conclusion

    There are so many different types of breathwork!  These are a few that I use all the time.  I wish I had familiarity with these longer than I have.  I feel strongly that some of these basic techniques should be taught early in schools and/or be added to every parents’ tool box.  It could really make a huge difference in the mental health of our children to have an effective means of reducing stress/anxiety that they can carry with them wherever they go.  Are you a breathwork advocate?  Are you using a technique that I haven’t covered here?  Let me know in the comments!

  • Apollo Neuro Review

    Apollo Neuro Review

    When I finally got serious about ‘getting fit’, I bought my first Oura ring.  At the time, I primarily wanted to fix my sleep issues.  A happy side effect of this purchase was that it made me more aware of my Heart Rate Variability (HRV).  I always considered my HRV on the lower side, but quickly realized that I felt my best when it was at the higher end of the range.  Pretty much since this realization, I’ve been experimenting with various ways of raising my HRV.  Many ways of raising HRV involve dedication to a regular practice… exercise, breathwork, mindfulness, gratitude, etc.  This isn’t always easy and started my quest for the ‘easy’ fix for raising HRV.  This led me to discover the Apollo Neuro device.  Read on for my Apollo Neuro Review.

    What Piqued My Interest

    I eventually started to hear about the Apollo Neuro on various podcasts.  It started out as advertisements and I was like “yeah, right, this sounds like complete wishful thinking”.  Eventually I heard an interview with the founder and key employees and thought “Ok, I can see how this *could* work.”  This led me to the Apollo Neuro website where I was initially turned off by the price.  I did sign up for the email list though to keep up to date with what they were doing.  Over time, as I had a chance, I read their blog posts and some of the scientific studies.  Eventually, I decided to take advantage of a sale and purchase one in order to test it for myself.

    What is it?

    So what exactly is the Apollo Neuro?  It’s a haptic wearable.  You can clip it to your chest or wear it around your wrist or ankle and it silently delivers vibrations to your body.  Apollo mentions that it needs to be worn near a bone in order to have its stress resiliency improvement results.  This is how it claims to achieve it’s results.  What’s the exact mechanism of action?  It’s not clear, but my prior research into improving HRV has indicated many positive studies related to both touch therapy and increasing vagal nerve tone.

    My Apollo Neuro Review

    The Software

    In addition to the Apollo Neuro wearable device, there is also a mobile app.  The Android app allows you to control which ‘Vibes’ are played on the device.  At the time of writing, this includes things like Energy, Social, Focus, Recover, Calm, Unwind and Fall Asleep.  For each Vibe, you can control the length and intensity of how each play.  There is a mechanism for scheduling Vibes.

    The Apollo Neuro Android app also collects metrics on usage.  This is used to provide a bit of gamification and estimates on the perceived benefits you’ve received by using the device.

    The Protocol

    My plan was to stop doing anything new to intentionally modify HRV for 2 months.  This would define a ‘baseline’ HRV using my OURA ring.  Care was taken to maintain my same workout, drinking regimen and note using Oura tags any anomalies.  After defining this, I would do the same wearing the Apollo Neuro device.  There was a one week transition period to figure out the ins and outs of the wearable.  The data collected during this week would not be counted for either part of the experiment.

    I quickly found that I most preferred wearing the Apollo Neuro around my left ankle.  Yes, it looks like I’m wearing an ankle monitor, but shorts season is only part of the year!  Apollo recommends using the device for at least 90 minutes during the day and 90 minutes during the night.  I followed the following schedule for the duration of the experiment:

    • 9:00 AM Focus Vibe for 30 Minutes at 20% Intensity
    • 11:00 AM Social Vibe for 30 Minutes at 20% Intensity
    • 1:00 PM Energy Vibe for 30 Minutes at 15% Intensity
    • 4:00 PM Recover Vibe for 30 Minutes at 25% Intensity
    • 7:00 PM Social Vibe for 60 Minutes at 25% Intensity
    • 10:00 PM Fall Asleep Vibe for 30 Minutes at 40% Intensity

    So what did I find out while doing this?

    The Good

    Wearing the Apollo Neuro device using the supplied band was fairly comfortable.  Sometimes socks interfered with wearing it, but overall I forgot most of the time that I was even wearing it.

    It actually works at raising my HRV! Based on my testing, it consistently raises my HRV by almost 15%  Even when drinking.  It maybe related, but my deep sleep averaged an extra 3 minutes during this time as well.  The Apollo app estimates that I’ve been getting 6 minutes of extra overall sleep each night during this time.  Oura is recording significantly more total sleep time than that.

    The different vibes feel noticeably different.  Subjectively, I do feel a difference in response to the different vibes.

    The gamification is nice.  This is a good way to guarantee that I’m regularly checking in with the app.

    The scheduling capability is fairly extensive.  You can configure everything that you would want to do.  Even though I’ve kept my schedule the same every day for this experiment, you can easily change it to be completely different every day.

    Oura ring integration.  Nothing really appears to be done with this yet, but I like that they’re thinking about it.  They’re getting tons of free information from me here, so it would be nice if they would give me something in return.

    The device supports airplane mode.  This is a requirement for me for any wearable that is likely to be used while I’m sleeping.

    The Bad

    Former Android developer speaking here… like almost every wearable device, the Apollo Neuro Android app experience has a lot of room for improvement.  My biggest gripes here are described below (with one major one in the ‘Ugly’ section), but so much more could be done with the gamification and responsiveness of the app.

    No Google Fit/Health Connect support. iOS users can link their Apollo Neuro accounts to Apple Health and track their Apollo wearable usage as Mindful Minutes.  It would be great if the same were done for Android users.  This could also be tracked with the Oura integration.

    Inability to join waitlist for the labs features.  I’ve tried several times and in several different ways to get access to the labs features.  There’s at least one vibe that I’m very interested in: Go Back to Sleep.  In the latest version of the app, clicking on ‘join the waitlist’ appears to do nothing.  NOTE: in a future version of the app, I was indeed able to join and gain access to the labs features.  I was able to trial this out and it was mostly pretty buggy on Android.  I ultimately did not continue with this as it was an additional paid feature of the Apollo Neuro app after my trial expired and it wasn’t something that I found value in.

    There are general issues with syncing data.  It’s not seamless and requires you to constantly connect the Apollo Neuro to the app in order to make sure the app is aware of all of your usage.  You’ll soon see why this is a big problem.  I’ve broken my streak in the gamification because of this issue.  For someone like me, the stress caused by this issue likely counters some of the benefits that the Apollo Neuro wearable seems to provide 🤣

    The Ugly

    The ugliest pain point with the Apollo Neuro is unfortunately an issue with just about every wearable that supports Android.  The app/device is plagued by major bluetooth connectivity problems.  Everyone always blames this on “Android Fragmentation”.  As a former Android developer, this was an issue early on, but it’s really not a valid excuse anymore if you’re properly coding to the Bluetooth stack using modern Android best practices.

    Oura has been one of the only wearable manufacturers that seems to be focusing effort on providing an equivalent experience on Android compared to iOS.  Their app now works very well.  This issue is so bad on the Apollo Neuro that it often takes close to 10 minutes for the wearable to connect to the app.  I’ve experienced this on both the Pixel 6 and 8 Pro.  During a firmware update it once lost its connection resulting in a requirement to factory reset the device in order to make it usable again.

    The device still uses micro USB… the most annoying of the USB connectors.  These days, a device that costs as much as the Apollo Neuro should be supporting USB-C.

    The Apollo Neuro customer support is horrible.  They freely admitted that the Android experience wasn’t what it should be and really didn’t have any suggestions for making things better.  On two occasions they pushed a firmware update that stopped the device from working for days at a time.  The process that they had me go through to fix it the second time ultimately resulted in bricking the device.  This poor support for Android users, ultimately became a deal breaker for me and I returned my Apollo Neuro for a partial refund at the urging of customer support.

    Conclusion

    Overall, I was initially happy with my Apollo Neuro purchase.  If they fixed the bluetooth and syncing pain points, it would definitely be a much more effective device for me.  Being my usual Quantified Self, I look forward to some Health Connect support.  More Oura integration is also intriguing… Apollo is likely getting tons of data from this, but it would be great to see the ability to tag in Oura so I can make correlations.  Another awesome feature would be auto-tailoring your Vibes daily schedule based on data from Oura.  I plan on experimenting more with different vibes and intensities and with wearing the device on other places on my body.  Have you used the Apollo Neuro?

    NOTE: I have stopped using the Apollo Neuro because of the longstanding issues with the Android Software and support.  A firmware update was pushed that ultimately bricked the device.  Apollo support was not helpful in resolving the matter so I ultimately returned the device for a partial refund.

  • My Alcohol Dichotomy

    My Alcohol Dichotomy

    I love beer… but I also strive to live the healthiest possible lifestyle.  I often encounter people that think I’m embellishing my beer resume since I guess I don’t look/act like the typical 40+ year old beer drinker.  I have enough proof that I’m not beefing up this resume 😁 Read on if you’re interested in understanding more how I combat the alcohol dichotomy in my life.

    The Alcohol Dichotomy in my Life

    There was a time where studies thought that drinking a small amount could have positive health benefits.  Newer studies have been pointing more and more to there being zero level of alcohol that has health benefits.  I’m such a fan of alcohol (especially beer) that I can’t really imagine a life without imbibing a bit.  Dropping this vice, would likely make an immediate net positive increase in my health.  Because of this, many people who know how much time and resources I spend on optimizing my health, ask me why I don’t do it.  The simple answer is: I enjoy it immensely!  That doesn’t mean that I don’t do things to make the most of the vice that is most detrimental to my health.

    My love for Alcohol (Beer)

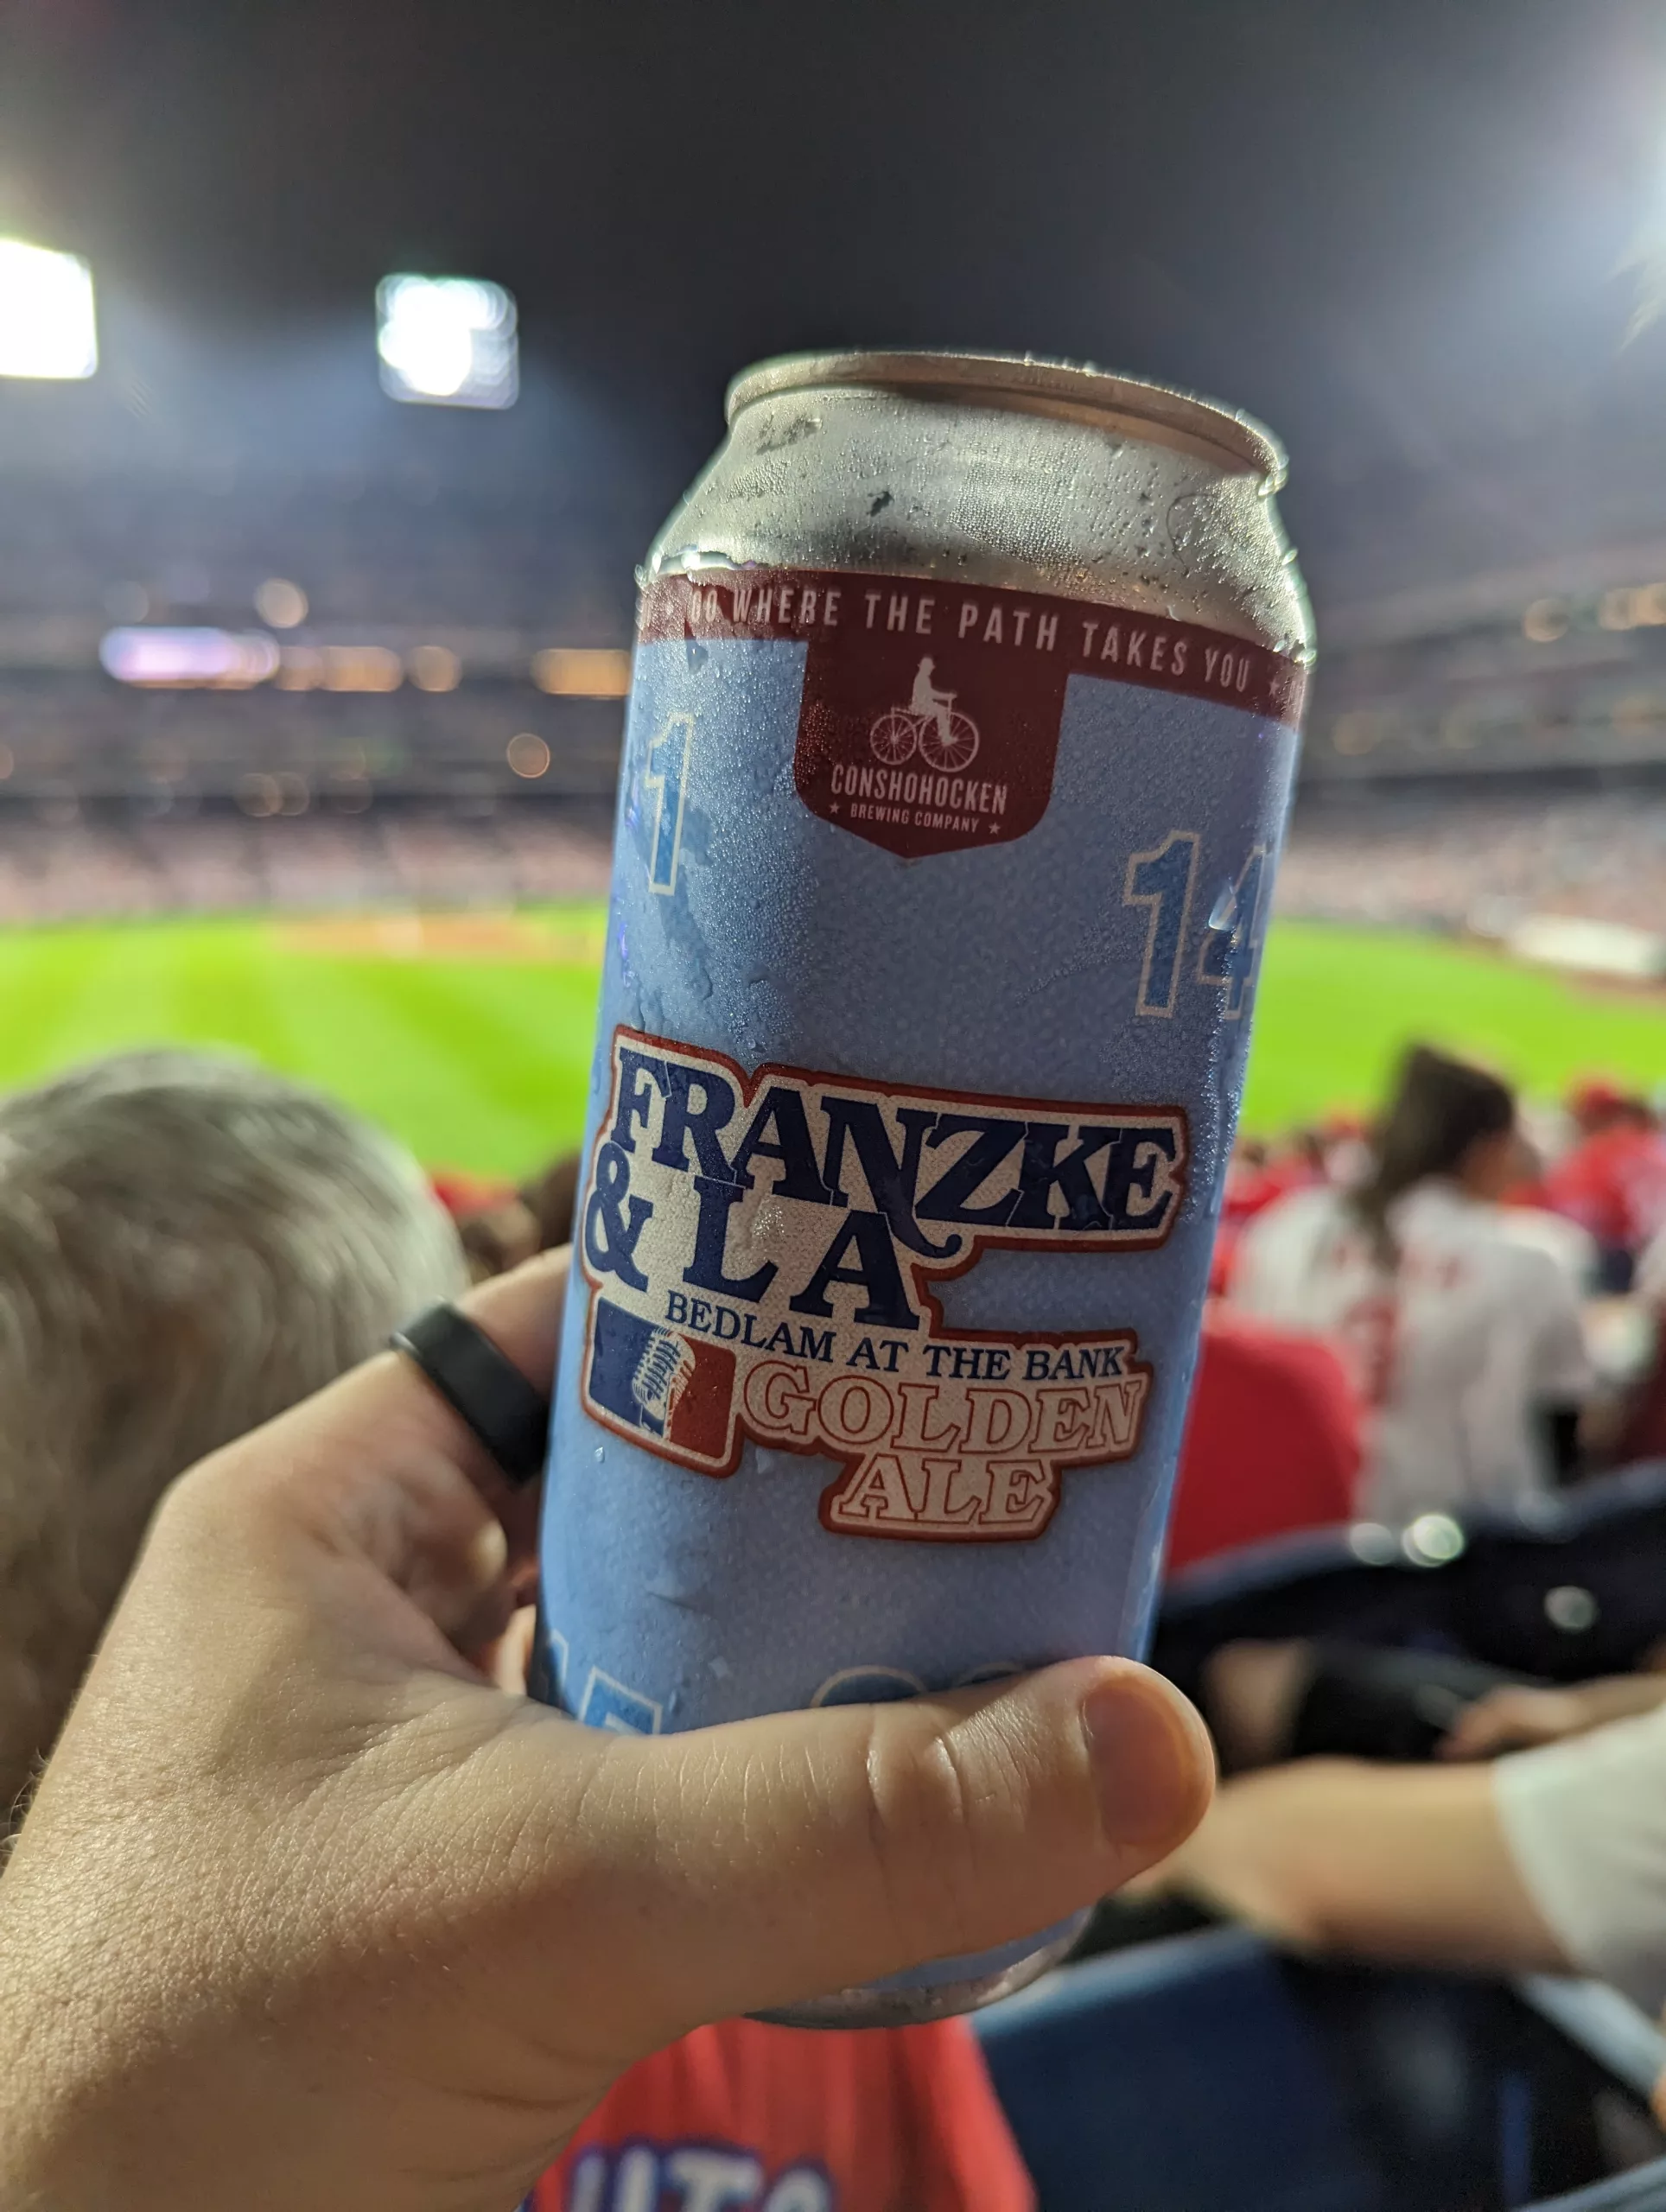
    Beer is a weakness of mine.  I love the taste and the variety.  Even before Untappd gamified it, I was a big fan of the social aspect.  The chemistry and biology involved in creating it throws me back to what it must have been like to be an alchemist.  Understanding the history and geography of how ‘styles’ evolved lured me into becoming a beer judge.  All of this led me to eventually holding beer education events and guided tastings.

    Impact on Health

    At the same time, more and more research is showing that no amount of alcohol is healthy.  Ingesting it, in many ways, goes directly against every other thing I do throughout my day.  This definitely puts me in an ugly situation.  I’m going to argue that there is some good that comes from drinking beer.  At the same time, I’m also going to enumerate the bad that I’ve seen as well.  Keep in mind that everything I’m going to mention is either indisputable fact, or things that I’ve seen directly in my N=1 experiments.

    The Bad

    • Ethanol is undoubtedly a toxin to the human body.  Your liver will go into overdrive the moment it detects its presence and will focus on eliminating it rather than on other more beneficial reactions that the liver is typically involved in.
    • Alcohol dehydrates the human body.  This is part of what often leads to the dreaded ‘hangover’.
    • Alcohol is mostly an ’empty’ calorie.  It’s also the most calorically dense macronutrient after fat (7 calories per gram).  These calories add up!
    • Alcohol negatively impacts sleep, HRV and heart rate.  I’ve conducted numerous experiments related to this using my Oura ring.  For me, crossing beyond two drinks within a few hours of going to bed is extremely detrimental to all of these biomarkers.
    • Frequent drinking leads to a reduction in free testosterone.  I’ve verified this through blood tests via InsideTracker.
    • Heavy drinking seems to induce higher levels of anxiety and depression the day after.  This is subjective as I have no objective way of measuring it.
    • Beyond a point, drinking leads to poor decisions.  These take many forms, but one of the worst for me in terms of health is that I find it very easy to choose less than ideal foods.  This is exasperated by the fact that many places that serve alcohol rarely have healthy food choices to begin with.
    • Drinking has a tendency to destroy any hope of being productive afterward.  This is definitely the case for the day of drinking, but often the hangover effect makes it carry into the next day as well.

    The Good

    Despite this extensive list of bad things, there are a few things that I consider ‘good’ about drinking ‘real’ beer.  I consider anything unfiltered, brewed without extra sweet adjuncts to be ‘real’ beer.

    Real beer is a good source of B vitamins.  This is a byproduct of the yeast used to make it.  If you’re drinking beer that has had this filtered out, you’re not getting the goodness that you should from your favorite fermented beverage.  There’s a reason why health conscious folks have been adding brewer’s yeast to their food for years.

    I’ve noticed that ‘real’ beer (in moderation) seems to have a positive benefit on my gut health.  I started by measuring this subjectively, but have since confirmed using Viome tests.  Beer is fermented (hence a probiotic) and often is a rich source of polyphenols.  Hops used in beer are a unique source of many plant compounds that have several health benefits.

    Moderate drinking helps me keep my blood pressure lower.  This is a fine line, one drink can easily put me over the edge and raise it instead.  The occasional drink definitely seems to help with stress.

    The biggest ‘pro’ of drinking beer to me is it’s positive impact on my mental health.  Kicking back a few sessionable lagers with friends is one of my favorite ways of socializing.

    Mitigating the Bad

    Do the ‘pros’ of drinking beer outweigh the ‘cons’?  Definitely not!  Because of this, I’m always striving for new ways to mitigate the ‘bad’.  Here are some of my tips and tricks.

    Before Drinking

    Mitigation starts long before you start drinking.  First of all, to combat the productivity destroying aspects of a few drinks, I make sure to get all important things for the day out of the way before starting.  Now before you start calling me Captain Obvious, note that this doesn’t just apply to work related items.

    One of the highest priority things that I make sure before I go out for a few drinks is to make sure I get in a good resistance training.  Now this won’t account for all the ’empty’ calories you’re about to consume, but getting your large muscle groups moving helps make the best of the large amount of carbohydrates that will soon be flooding your system.  Didn’t ensure you did this before going out?  I’ve found that something as simple as a few air squats and wall pushes in the bathroom seems to make a big difference.

    Before going out, it also pays to eat something on the healthy side.  This will hopefully make you less likely to gorge on more calorically dense, nutrient devoid bar food throughout the night.

    If you’re into supplements, and a regular drinker, it helps to have a go to stack of liver builders to try to offset any damage to your liver that you’re likely causing.  I have a group of things that works very well for me based on measuring blood levels of liver enzymes.  I’ll also take a binder before leaving the house.  I used to use activated charcoal exclusively, but recently have been preferring algae in the form of both chlorella and spirulina.

    Finally, I’ve recently become a fan of ZBiotics.  This probiotic that helps your body breakdown acetaldehyde has become a great tool for making my next day more productive.

    While Drinking

    I don’t really have anything groundbreaking to offer here.  This is mostly all been said before.  Stay hydrated!  If water doesn’t always cut it for you, you can mix an electrolyte powder in every few glasses.  Respiration helps to eliminate alcohol from your system, so if you can get some steps in while drinking, do it!  I’ll also do my in bathroom workout routine throughout the night.  Just a few wall pushes/air squats is all it takes!

    After Drinking

    Again, nothing that hasn’t been said before here… Remember how important hydration is?  Keep doing it!  Now is the time to replace electrolytes, B vitamins and magnesium.  Definitely do not go to sleep right away!  Try to put as much time between that last drink and sleep as you can because that’s going to negatively impact your next day.

    If you’re interested in really taking things to the next level though, I recommend using much of my sauna cocktail (you can skip the niacin and taurine).  I initially developed this to support detoxification pathways while in the sauna but in general it’s great overall liver support.  In addition to this, I add glycine and NAC as these both upregulate the production of the most powerful endogenous antioxidant: glutathione.  I’ve also started taking DHM at this point as well.

    Other General Rules

    I have a few other general rules.  I feel like these rules have the biggest positive impact for me other than maybe the pro-liver supplements.

    First, I try to always stick to ‘real’ beer, fresh from the source.  I’ll sample a ‘lactose’ beer, but I’m avoiding drinking those by the glass.  I want something as close to what my great great grandfather drank as possible.

    I try to separate days where I have more than one drink by at least two days.  In my experience, drinking more than this tends to start a negative trend with regards to body composition.  There are likely several reasons for this.  This could create a tendency to short your workout routine.  There’s obviously the extra calories factor.  I also feel that, at least for me, this seems to cause body changes that slow fat burning.  I don’t have ways of easily measuring the biomarkers that I believe are involved, but the moment that I can, I plan to conduct an experiment into this.

    Many people feel that day drinking is the ultimate Degen move.  I drink during the day whenever possible.  The detrimental impact of drinking on sleep is so obvious that I want to put as much time as possible between that last drink and bed.  Just make sure that you shift your drinking window rather than elongating it 🤣

    Always eat a healthy meal before drinking.  If you must eat while you’re out, opt for healthier options.  Stay away from the fried stuff and desserts.  Avoid the pizza.  Go for lean protein, undressed salads and sides of vegetables when possible

    Conclusion

    So there you have it.  This is how I try to incorporate something that I love into my life while recognizing it as inherently ‘unhealthy’.  Everything here allows me to go out for a few drinks while still remaining productive the next day.  Maybe these things will work for you?  Maybe you have something that you do that I haven’t tried?  If so, drop me a line… or better yet, let’s discuss it over a ‘real’ beer!